
A wallpaper border comes off without wall damage when you start with the gentlest method and only move up the ladder when the border resists. Most borders come off with warm water, a scraper, and patience; the steamer and the chemical stripper are for the stubborn few. The real skill is not strength: it is giving water or heat enough time to soften the glue, testing each method on a hidden corner first, and stopping the moment the wall underneath starts to complain.
That order matters because every method carries a trade-off: dry peeling is free but useless on a border glued down hard, water can soften bare drywall if you flood it, heat and steam can lift paint, and chemicals bring fumes and safety gear. Work the ladder in order, and the border usually gives up around step two or three.
What You Will Need
Gather everything first — a border job stops and starts constantly, and hunting for a tool mid-job wastes the soak time you just waited for.
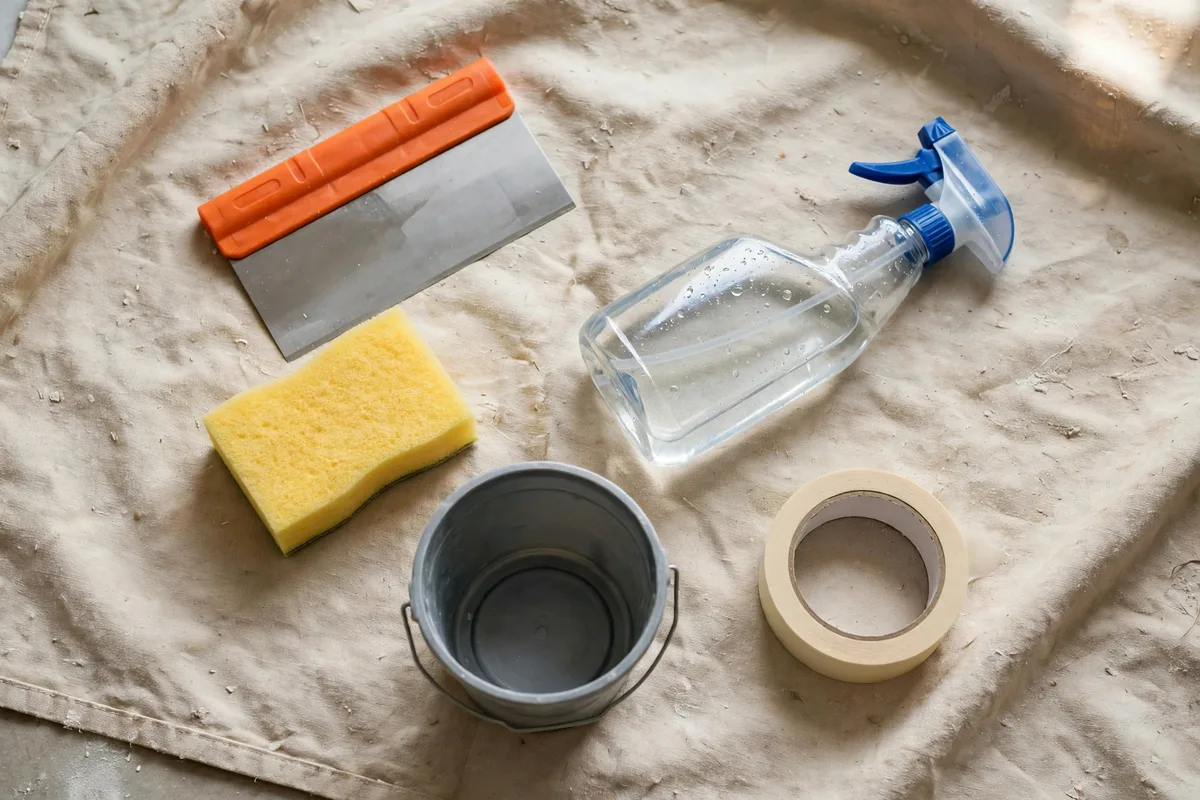
Basic tools — enough for most borders:
- Plastic putty knife or plastic scraper
- Spray bottle
- Bucket and sponges
- Warm water and a little dish soap
- Drop cloths or plastic sheeting
- Painter’s tape
- Stable step stool or ladder
- Rubber gloves
- Safety glasses
Advanced tools — only if the border fights back:
- Wallpaper scoring tool (a spiked wheel that pokes tiny holes through coated surfaces)
- Hairdryer or heat gun
- Wallpaper steamer
- Chemical wallpaper remover or enzyme stripper
- Lightweight spackle with a small taping knife
- Fine-grit sandpaper for repairs
A note on the scraper: several guides insist on plastic scrapers only — a metal blade held at the wrong angle slices the paper face off drywall. If you use a metal putty knife, keep the blade almost flat against the wall.
Before You Start: Identify Your Border And Your Wall
Peel up one corner in a hidden spot — behind a door, or the least visible stretch of wall — and answer three questions.
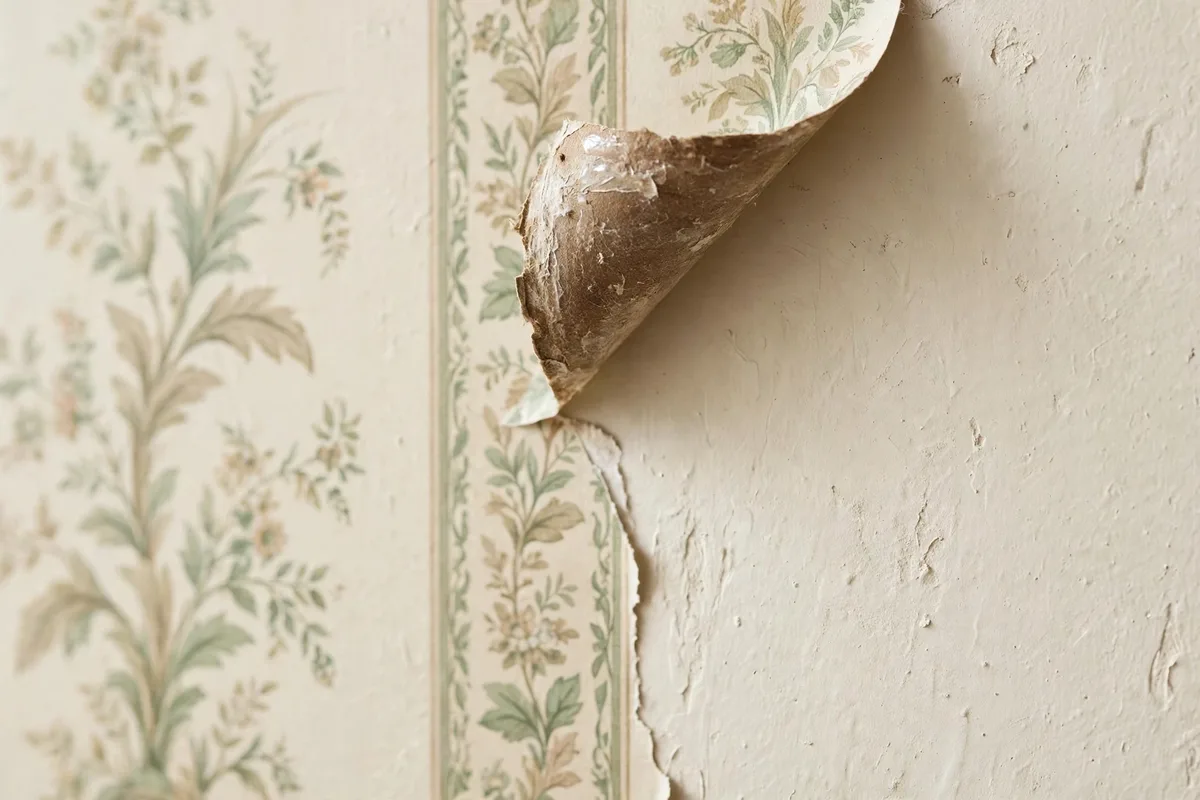
What is the border made of? A paper border feels matte and soaks up a drop of water. A vinyl or coated border feels smooth and slightly shiny, and water beads on it. A painted-over border looks like a slightly raised painted stripe, and water cannot reach the glue until you break through the paint.
What is underneath it? On a painted wall you can be firm — paint takes water, and minor scuffs disappear under primer. On wallpaper you want to keep, you have almost no room for error: water, heat, and steam can all damage it, so stay gentle and stop early. On bare or poorly sealed drywall, go slowly with minimal water — wet drywall tears and its paper face bubbles.
How old is it? A modern peel-and-stick border often lifts off dry — try that first. A 1980s or 1990s border was pasted on hard, and the glue has had decades to set.
Which Method Fits Your Border
| Your Situation | Start Here |
|---|---|
| Corner lifts easily, or a modern peel-and-stick border | Step 1 — Dry Peel |
| Paper border, stuck flat, on a painted wall | Step 2 — Wet Soak |
| Vinyl or coated border, water beads on the surface | Step 3 — Score, then Step 2 |
| Border on wallpaper you want to keep | Step 1, then gentle wet only |
| Border painted over with several coats | Stubborn Cases — score and steam |
| Bare or unprimed drywall underneath | Step 1 and Step 2, slowly |
Prep The Room
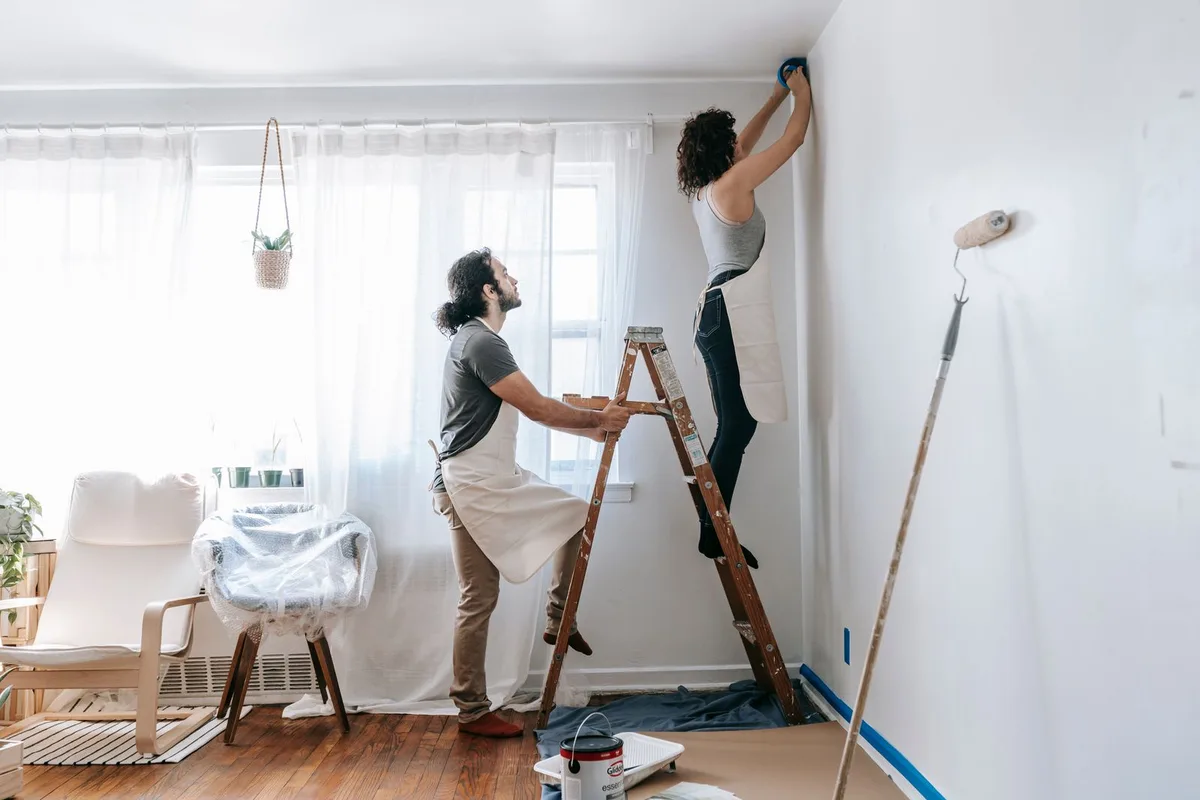
Borders run near the ceiling, so this is a ladder job from the start. Move furniture to the middle of the room and cover it and the floor with drop cloths — wet paper and drips are guaranteed, and gluey water on a carpet is a second job nobody wants. Lay a towel along the baseboard to catch drips.
If you will use water or steam, switch off the power to the room at the breaker and tape over the outlets and light switches on that wall. Open a window or run a fan for ventilation, especially if you get as far as chemical remover. Set the ladder up properly: keep your hips between the rails, move it along the wall instead of leaning sideways, and never stand on the top two steps.
Step 1 — Try Dry Peeling First
Every border job starts here — the cheapest method is also the kindest to the wall. Find a seam or a loose corner, lift the edge with your plastic scraper or a fingernail, then pull slowly and steadily at roughly a 45-degree angle, keeping even pressure as you go.
Pull in long, slow strips rather than short yanks — ripping leaves thin shreds that are far harder to remove than the full border was. If a section starts to tear, stop and work the edge free again. If the whole border peels away like this, skip straight to the glue-cleanup section below. If it barely moves, or the top layer peels off while a thin backing stays glued, do not force it — the glue is still set. Move to Step 2.
Step 2 — Wet Method: Warm Water And Soap
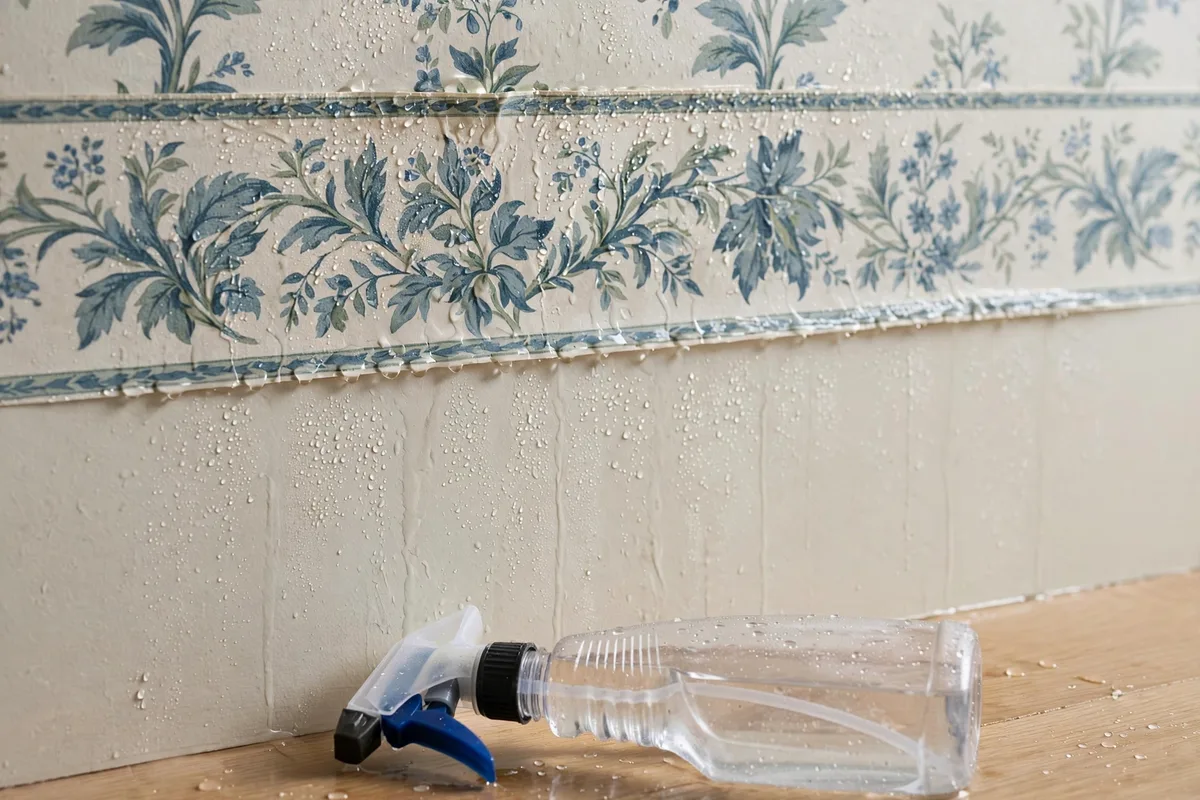
Warm water is the workhorse of border removal and handles most paper borders on its own. Fill a spray bottle with warm water and a squirt of dish soap, then spray a section — about an arm’s length at a time — until thoroughly damp. Wait 10 to 15 minutes so the water can soak through and soften the glue. That waiting time is the whole method; spraying and scraping immediately is the most common reason this step seems not to work.
Lift an edge with the scraper and peel slowly, re-spraying any spot that resists. Keep the border damp as you go — a section that dries out mid-peel goes back to fighting you. If it still holds in places, spray again and wait a few more minutes rather than scraping harder. Do not flood the wall: on painted walls a good soaking is fine, but on bare drywall, heavy water softens the wall itself. Damp, not dripping, is the target.
Step 3 — Score Vinyl Or Coated Borders
If the border is vinyl or coated, Step 2 will seem to fail — and it is not the water’s fault. A vinyl surface is waterproof, so the liquid runs off instead of reaching the glue. The fix is scoring: run a scoring tool over the border to punch tiny holes through the coating, giving the water a way in.
Use light, even pressure — the tool’s job is to break the surface, not carve the wall, and pressing hard gouges the drywall underneath. A plastic scoring tool is the safer choice; metal wheels cut deeper than you intend. Overlap your passes, and score before you spray, not after. Once scored, wet the border thoroughly; stubborn coated borders often need two rounds of score, soak, and scrape.
Step 4 — Vinegar Or Fabric Softener: The Homemade Solutions
When plain water is not enough, the two classic homemade mixes are equal parts white vinegar and warm water, or equal parts liquid fabric softener and warm water. Spray either one on generously, wait 10 to 15 minutes for the vinegar mix (5 to 10 for fabric softener), then scrape and peel as before.
Both have honest drawbacks. Vinegar is recommended by nearly every guide, and it even worked on a painted-over border in one reader’s report. But the smell can linger for days, a real problem if you are keeping the wallpaper underneath — if so, think twice, and ventilate well.
Fabric softener has the opposite reputation split. Several guides present it as a standard method, some using a stronger mix for old or plastic-coated borders. But one major guide openly doubts it: the effect is limited, it can leave a residue that stops paint or new wallpaper from sticking, and it smells strongly. Treat it as an option to try, not a magic solution — and wash the wall thoroughly afterwards, because that residue is what causes the next finish to fail.
Step 5 — Heat: Hairdryer Or Heat Gun
Heat softens old glue fast, which makes it tempting to reach for early — but it belongs in the middle of the ladder, not at the start, because it can also soften paint and damage the wallpaper underneath. Use it on painted walls, in small sections, working from a seam.
Hold a hairdryer a few inches from the border and warm one short stretch at a time, lifting the edge as soon as the glue softens. Keep the heat moving — holding it in one spot can blister paint. The guides disagree on the setting: some say the highest setting for about 30 seconds, others the lowest setting, held about 10 inches away. Start low and only turn it up if the glue does not respond. A heat gun works the same way but runs much hotter. Do not use heat on a border sitting over wallpaper you want to keep — hot air can loosen the wallpaper underneath just as easily as the border.
Step 6 — Steam
A wallpaper steamer is the heavy lifter of this ladder, and for a genuinely stubborn border it is often the tool that finally ends the fight. Hold the plate against a small section for about 10 seconds, then lift the softened edge and peel while the glue is still warm. Keep moving — leaving the plate in one spot can damage plaster or saturate drywall.
Direction: most guides say to work from the bottom up, because steam rises into the next section. One guide says top to bottom instead. Bottom-up is the majority method, so start there; the direction matters far less than keeping the sections small and the plate moving.
Rent or buy? For one room, rent — a steamer spends most of its life in a cupboard. A handheld clothing steamer works in a pinch, but it is slower and drips hot water, so wear gloves and eye protection. If you want a second walkthrough, This Old House’s guide to removing wallpaper border covers the same ladder in detail, including scoring-and-steam for old borders.
Step 7 — Chemical Stripper, The Last Resort
If dry, wet, scored, heated, and steamed methods have all failed, a chemical wallpaper remover is the final step — not the first. Choose a product matched to your wall type and follow the maker’s instructions exactly; the label’s dilution and dwell time are not suggestions. Score the border first so the remover can reach the glue, apply it, wait the time the label states (usually 10 to 15 minutes), then scrape gently.
Wear rubber gloves, eye protection, and a respirator if the label calls for one, and ventilate the room well. Test on a hidden spot first — some removers can mark paint or stain a wall. Whatever you use, wash the wall thoroughly afterwards: chemical residue causes the same adhesion problems as old glue.
Stubborn Cases: Painted-Over, Old, And Bathroom Borders
Some borders need more than the standard ladder. These are the cases that make people give up halfway — and each one has a specific answer.
Painted-over borders. This is the hardest case in the whole job: paint seals the border into a single hard layer, so water cannot reach the glue at all. The method is scoring followed by steam — score in overlapping passes with firm, even pressure, holes every 6 to 12 inches, then hold the steamer on each 2-foot section for 10 to 20 seconds and scrape at a shallow angle while the glue is warm. Work slowly and expect to repeat sections. First test whether the paint is latex or oil-based in a hidden spot: modern latex usually holds better under steam than old oil-based paint, which can soften and lift. If the border still will not move, an enzyme stripper applied after scoring is the next step.
Borders that are twenty years old. The glue hardens over decades and the paper turns brittle, tearing into shreds instead of peeling in strips. Score first, soak longer than the standard 10 to 15 minutes, and accept that an old border comes off in pieces. A steamer earns its keep here: heat and moisture together soften glue that water alone cannot reach.
Bathroom and kitchen borders. Humidity and cooking steam make these extra stubborn — wet-room adhesives are stronger and the glue has been reactivated by steam for years. Warm soapy water first, vinegar next, chemical remover with good ventilation as the fallback. Keep the sections small: a wet bathroom floor gets slippery fast.
Corners and edges. Tight corners defeat a wide scraper — use a smaller scraper or a 5-in-1 tool, start dry, and wet the corner only as much as needed. For the last inch, a fingernail or a plastic knife often works better than any scraper.
Remove Every Trace Of Glue
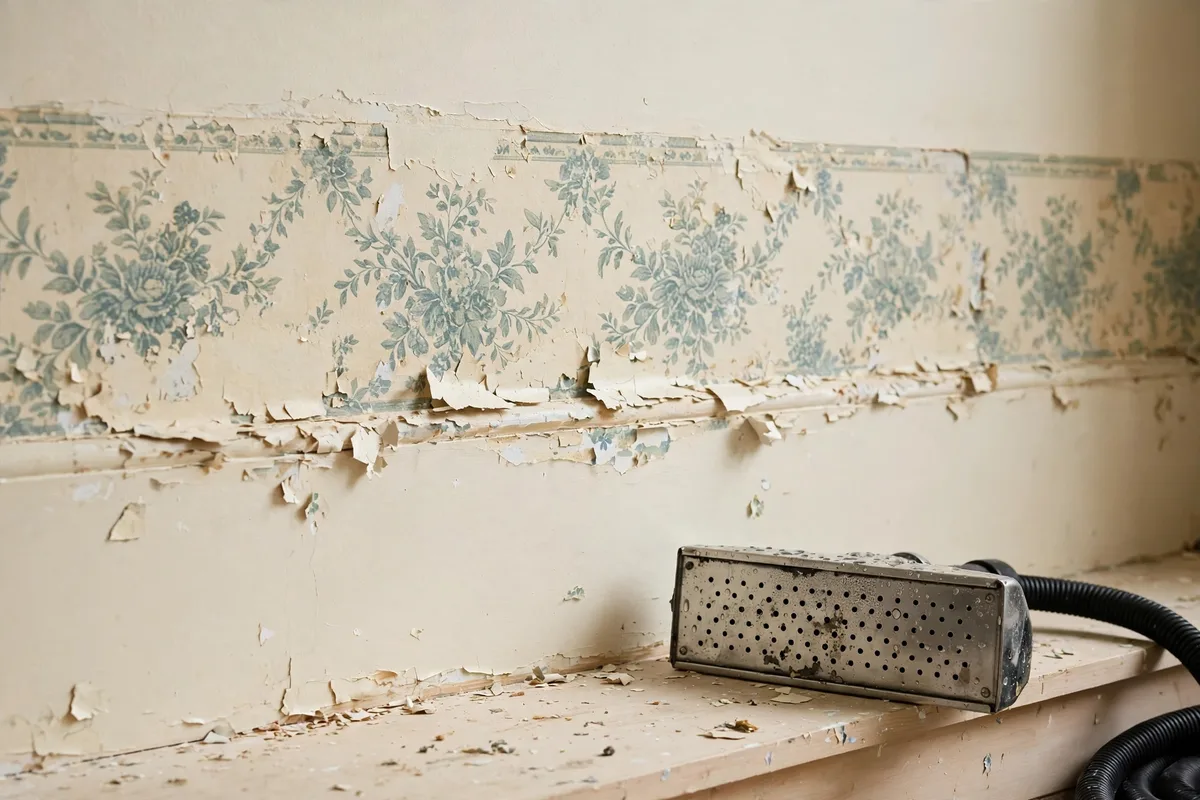
Getting the border off is only half the job. The thin layer of glue left behind is what ruins the next finish — and this is the step most people rush. Dried glue reactivates under fresh paint, which makes it flake and bubble, and new wallpaper will not stick to a gluey wall.
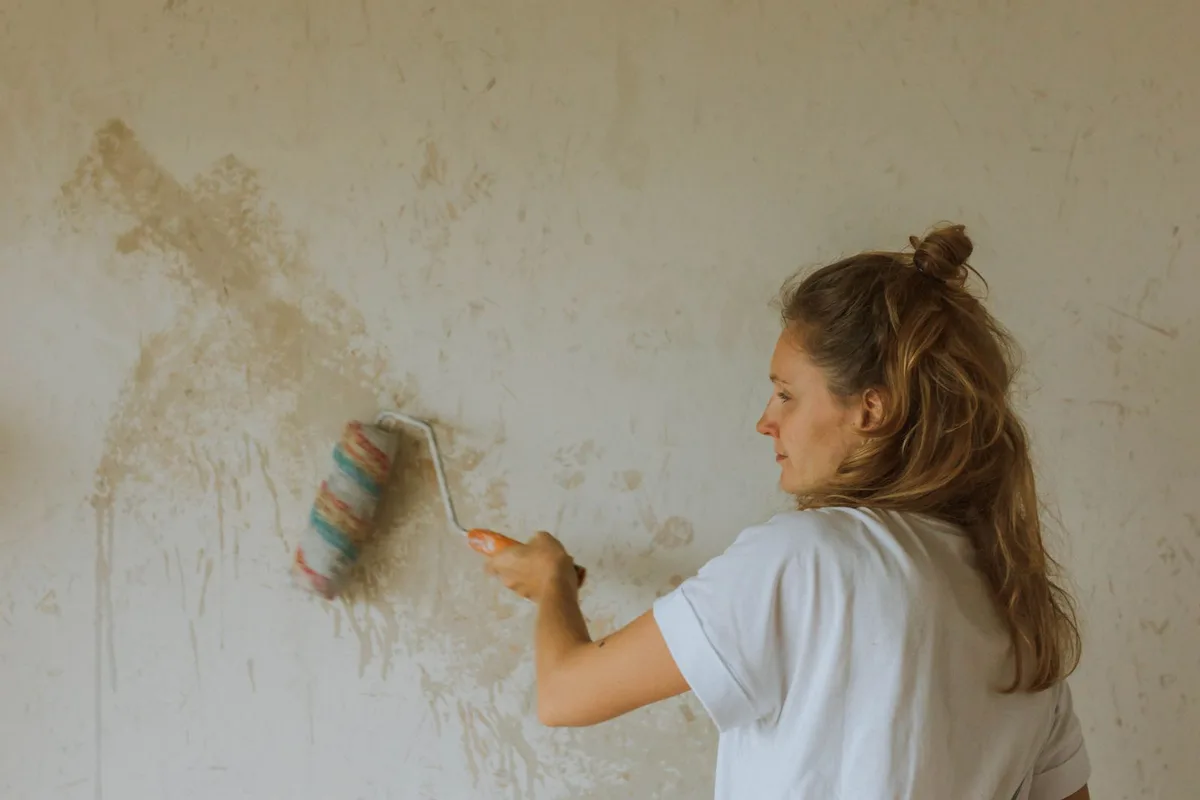
Wash the whole strip of wall with hot water and a little dish soap, using a sponge and working in circles. Rinse with clean water and repeat. The test is simple and comes from a wallpaper removal specialist: keep washing until the wall no longer feels slimy to the touch. A wall that still feels slick still has glue on it, and an hour spent washing now saves far more time in repairs later.
For stubborn residue, try warm water, washing-up liquid, and a little bicarbonate of soda sponged in gentle circles — or an ammonia and hot water wash for a final pass, windows open and gloves on, never mixed with bleach-based cleaners. Let the wall dry completely before you judge it; a damp wall hides both glue and damage. Leave it bare overnight if you can.

Repair And Prime Before You Repaint Or Re-Paper
Once the wall is clean and dry, inspect it in good light. Run your hand along the strip where the border sat — you will feel every tear and ridge your eyes miss. Small tears in the drywall’s paper face and shallow scraper marks are normal and easy to fix: press down lifted paper edges, fill the damage with lightweight spackle in thin layers, let each layer dry, and sand smooth with fine-grit paper. Wipe away the dust.
Then prime — do not skip this. A primer-sealer made to lock down residual adhesive and porous drywall gives the next finish something even to hold onto: it seals any glue you missed, evens out the patched strip, and stops the old border line showing through as a faint stripe. Two coats of paint over an unprimed patch will flash, while one coat of primer prevents it.
The same prep-first thinking decides whether a repaint lasts — our guide to repainting painted cabinets makes the same point for kitchens: the painting is the easy part, and the prep is what keeps the finish on the wall. Give the wall the same treatment — clean, repair, prime, then paint.
Troubleshooting: When The Border Fights Back
| Problem | What Is Happening | What To Do |
|---|---|---|
| Border tears into shreds | The paper is old and brittle, or you are pulling too fast | Slow down, wet the section again, and peel in shorter strips |
| Top layer peels but a thin backing stays glued | The border is a two-layer paper; the backing needs its own soak | Spray the backing, wait 10 to 15 minutes, and scrape it off separately |
| A faint “ghost line” where the border was | The wall under the border is a different shade, or glue residue remains | Wash again until the wall feels clean, then prime |
| Glue will not wash off | The adhesive is synthetic or has set for decades | Try the bicarbonate of soda mix, then an enzyme stripper, and wash again |
| Wall surface tears or bubbles | Too much water on bare drywall, or the scraper dug in | Stop, let the wall dry fully, cut away loose paper, spackle and sand before continuing |
If the wall damage is spreading faster than the border is coming off — torn drywall paper, crumbling plaster, or a border that will not move after scoring and steam — stop. Pushing on costs more in repairs than the border is worth.
When To Hire A Pro Instead?
Most borders are a DIY job, but not all of them. Call a professional if the border runs through several rooms, if it is painted over and covering damaged plaster, if the wall underneath is crumbling, or if you have tried the full ladder and the border is still winning. A pro brings a commercial steamer and the experience to read a wall.
Cost-wise, Angi puts professional wallpaper removal at roughly $0.60 to $3 per square foot, but contractors often have job minimums, so a border-only job can cost more per foot than a whole wall. Get two or three quotes and ask whether the price includes glue cleanup and priming — a quote that ends at “border removed” leaves you the messiest half of the job.
Or paint over it instead? It is an honest option when the border is flat and firmly stuck: clean it, sand the edges lightly, prime over it, and paint. The edge line stays faintly visible, and if the border ever loosens, it takes the paint with it. For a clean, lasting finish, removal is the better job.
Frequently Asked Questions
Can I Remove A Wallpaper Border Without Damaging The Wallpaper Underneath?
Yes, if you are gentle about it. Start with dry peeling, the least likely to harm the wallpaper below. If that fails, wet the border sparingly — a light spray, not a soaking — and keep heat and steam away, because both can loosen the wallpaper underneath just as easily. If it starts to lift or bubble, stop and reassess.
How Long Does It Take To Remove A Wallpaper Border?
A cooperative border in one room is often an afternoon’s work, including cleanup. An old, painted-over, or bathroom border can take a full weekend, because the soaking and steaming steps cannot be rushed. Set aside more time than you think — the waiting between sprays is where most of the clock goes.
Will Vinegar Damage Paint?
Vinegar mixed half and half with warm water is widely used on painted walls and generally safe on sound paint — but test a hidden spot first. The bigger concern is the smell, which can linger for days, so ventilate well and avoid vinegar if you are keeping the wallpaper underneath.
Do I Need A Steamer To Remove A Wallpaper Border?
No. Most borders come off with water, patience, and a scraper. A steamer is for the stubborn ones — old borders, painted-over borders, and borders that survived every gentler method. For a one-off job, rent one.
Can I Paint Over A Wallpaper Border Instead?
You can — it is a legitimate shortcut when the border is flat and firmly stuck. Prime over it first so the paint bonds, and expect the border’s edge to stay faintly visible. If you want a truly clean wall, removing the border and priming the bare wall gives the better result.
The Bottom Line
A wallpaper border is not a demolition job. Start dry, add water, score the coated ones, try vinegar or fabric softener, bring in heat, then steam, and keep the chemical stripper as the last resort. Test each step on a hidden corner, work in small sections, and never force a border that is not ready. Clean every trace of glue — wash until the wall stops feeling slimy — then repair the small damage and prime before you paint. Do that, and the wall will look like the border was never there.