
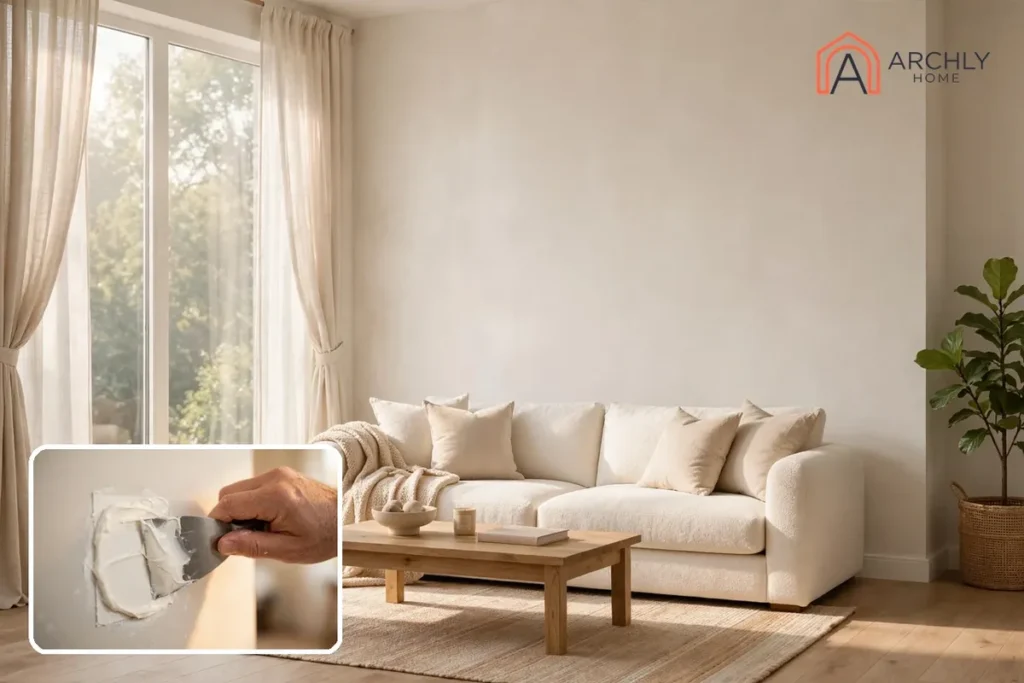
Yes, you can patch drywall yourself, and most holes are easier than they look. The whole job comes down to matching the method to the size of the damage. Spackle fills pinholes. A mesh patch covers medium holes. A cut-in plug with wood backing fixes large holes. After the patch comes the part that decides whether anyone can tell: thin coats of compound, feathered wide, sanded smooth, then primer and paint.
A small nail hole takes about half an hour plus drying time. A large hole takes a couple of hours of work spread over two days. Every coat of compound has to dry before the next one goes on. This guide walks through all three methods in order, including the exact moments to stop and call a professional.
How To Pick The Right Patch Method?
Start by measuring the damage, not by shopping. The size of the hole decides the method. Using the wrong one is how patches fail. Compound alone cannot bridge a wide hole. A full cut-in plug is overkill for a nail hole.
- Pinholes and nail pops, up to about half an inch: fill with spackle or lightweight joint compound, two thin coats, sand and paint. No patch needed.
- Dents and dings with the paper intact: same treatment — thin coats of compound feathered a few inches past the dent.
- Hairline cracks: widen slightly with a utility knife, bed paper tape in joint compound, then coat over it. Spackle alone will not hold a crack.
- Small holes, about half an inch to 2 inches: fill with compound in thin coats, or cover with a small self-adhesive mesh patch for extra strength.
- Medium holes, about 2 to 6 inches: self-adhesive mesh patch, or a California patch if you want the flattest finish.
- Large holes, over 6 inches: cut the damage into a clean square, fit a drywall plug onto wood backing strips, tape the seams and coat.
Tip: if the drywall is soft, swollen, stained or smells musty, do not patch yet. Wet gypsum has to dry out — or be replaced — before any compound will hold. Fix the leak or moisture source first.
What You Will Need?
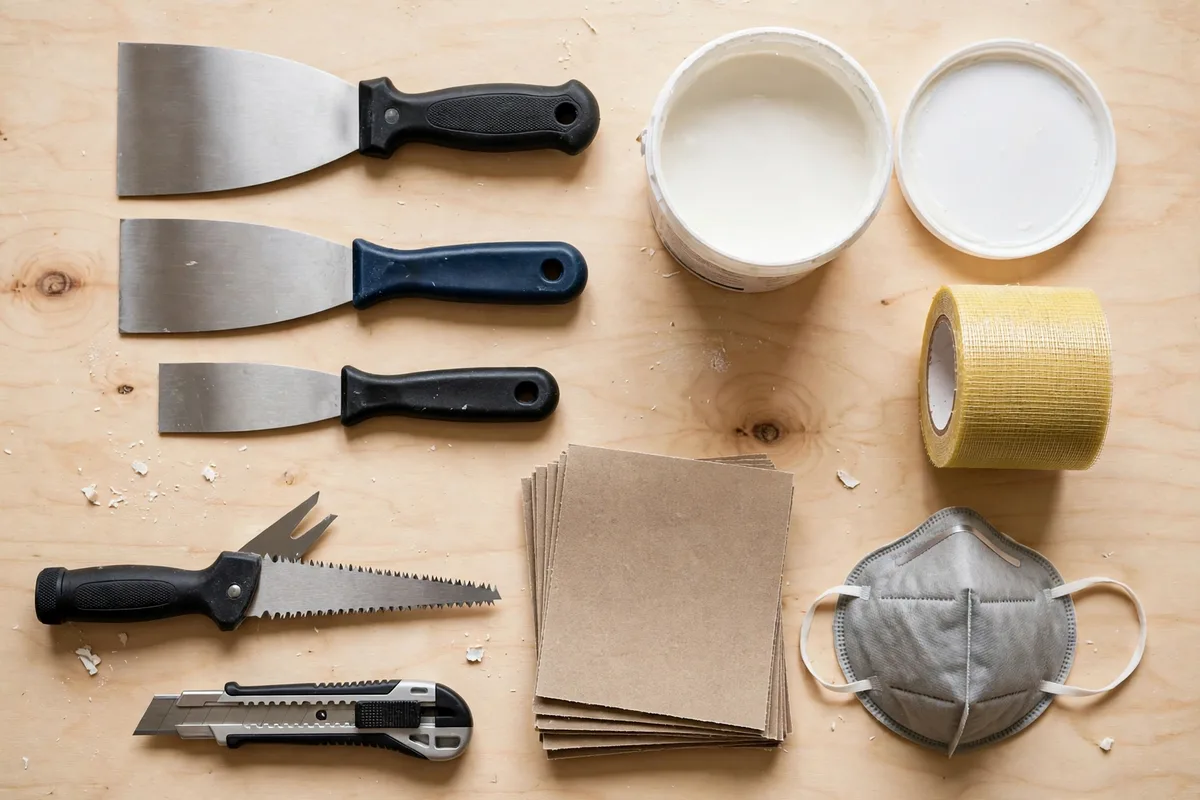
Gather everything before you start. Climbing down mid-job to hunt for a tool is how wet compound gets knocked and patches get smudged.
- Spackle (pre-mixed) — for small holes and nail pops
- All-purpose joint compound — for taping and larger repairs
- Putty knives, 2-inch and 6-inch — small knife for filling, wide knife for feathering
- 12-inch drywall knife — for wide final coats over patches
- Self-adhesive mesh patch or metal patch — for medium holes
- Scrap drywall, same thickness as your wall (usually half an inch) — for large holes and California patches
- 1×2 wood strips or furring strips — backing for large holes
- Drywall screws and a drill or driver — for backing strips and the plug
- Drywall saw and utility knife — for cutting the wall and the patch
- Paper tape or self-adhesive mesh tape — for seams and cracks
- Sandpaper or sanding sponge, 120 to 220 grit — fine grit for the final pass
- Stud finder — to locate studs and avoid wires before cutting
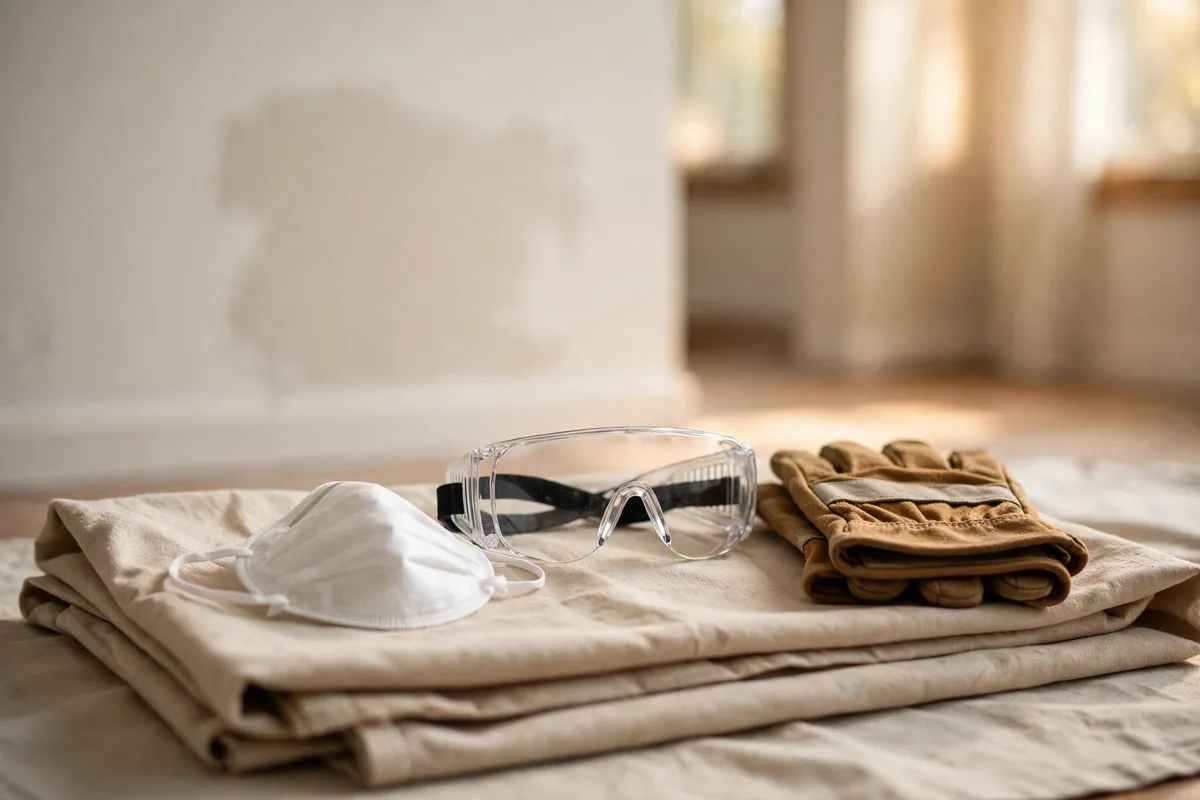
- Dust mask, safety glasses and work gloves — sanding and cutting kick up fine dust
- Drop cloth — floors and furniture stay clean
- Primer and matching paint — primer is not optional on a patch
Spackle Vs Joint Compound: Which One To Use?
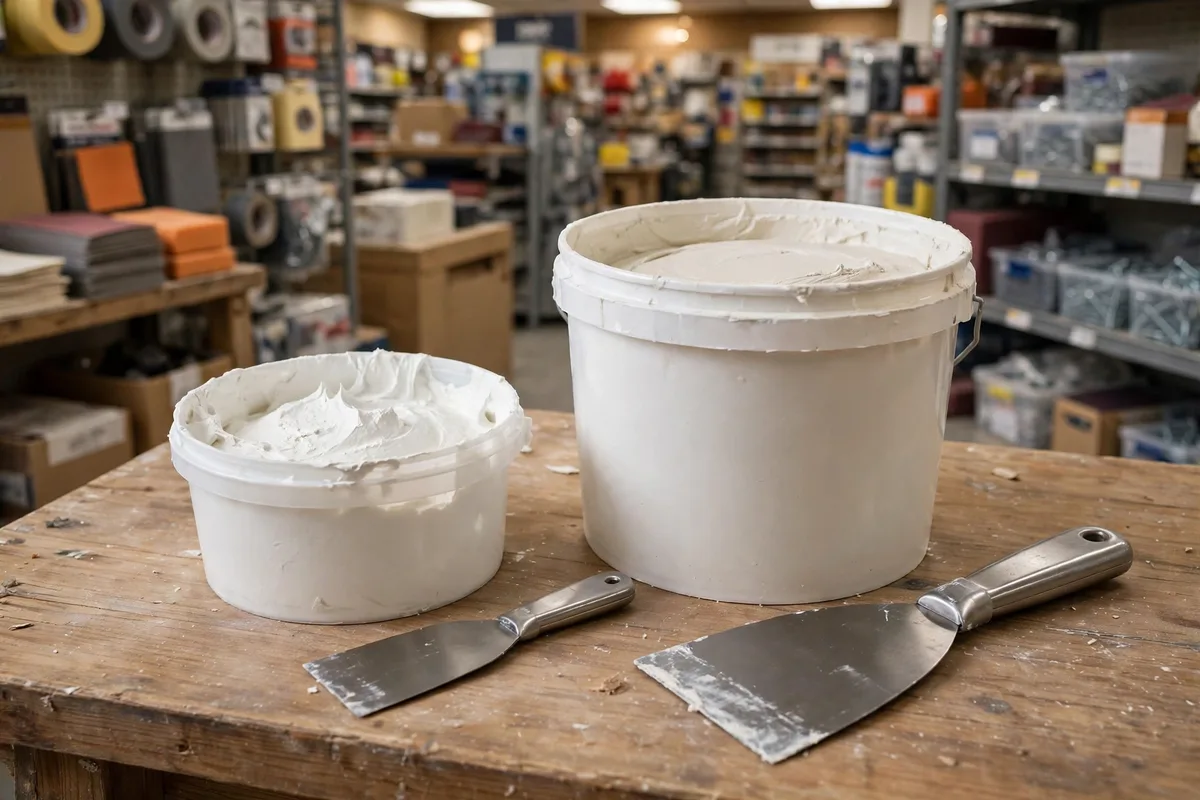
The hardware aisle sells two white pastes that look identical, and picking the wrong one is the most common beginner mistake. They are not interchangeable.
Spackle is for small, shallow repairs. It is thicker than joint compound, dries faster, shrinks less and sands easily. Use it for nail holes, pinholes, small dents and popped fasteners. It comes in small tubs, which is all a small job needs. It is not strong enough for taping seams or bridging cracks.
All-purpose joint compound is for everything bigger. It is the workhorse for taping seams, covering mesh patches and coating drywall plugs. It comes in large buckets, spreads smoothly and feathers well. It shrinks more than spackle as it dries, which is why large repairs need two or three thin coats instead of one thick one. Never try to fill a deep hole in a single heavy coat — the compound will shrink, crack and leave a hollow.
Setting-type compound is the fast, tough option. Sold as a powder you mix with water, it hardens by a chemical reaction rather than by drying. It shrinks very little. It sets in as little as 20 to 90 minutes, depending on the mix. It is the best choice for deep fills and for a first coat over a large patch. It is harder to sand, though, so keep it off the final coat. Mix only small batches — once it starts setting, you cannot slow it down.
Tip: for a first repair, buy pre-mixed spackle for the small holes and a small bucket of all-purpose joint compound for anything bigger. That pair covers every method in this guide.
Before You Start: Check For Wires, Water And Lead Paint
Five quick checks before the first cut. Each one takes a minute, and skipping one is how a simple patch turns into a real problem.
Find the studs and the wires. Electrical wires usually run along studs, so run a stud finder across the area before you cut anything. If the damage sits near a switch, outlet or plumbing wall, turn the power off at the breaker before cutting. Cut shallow and slow — a drywall saw only needs to go through half an inch of board.
Check for moisture. Press the drywall around the damage. If it feels soft, crumbly or swollen, or you see staining, find the water source first — a roof leak, a plumbing drip or condensation. Patching over wet drywall is wasted work; the compound will not bond and the damage will come back.
Think about the age of the paint. In a home built before 1978, assume the paint may contain lead until it is tested. Sanding and scraping lead paint creates hazardous dust, so follow lead-safe practices and get the paint tested before you sand. If you are unsure, hire a lead-certified professional for the sanding step.
Watch out for old popcorn texture. Some older ceiling textures may contain asbestos. Do not scrape or sand a popcorn ceiling until you know what is in it — check local rules and testing options first.
Protect yourself and the room. Wear a dust mask and safety glasses for sanding and cutting. Lay a drop cloth under the work area. Keep the room ventilated while compound dries. Drywall dust is fine and gets everywhere, including into lungs and electronics.
How To Patch Drywall Step By Step?
Work through the method that matches your hole and do not skip ahead. The safety steps above come first for a reason. Everything after them assumes the wall is dry, the power is safe, and the damage is only cosmetic.
Step 1: Fix Small Holes And Nail Pops
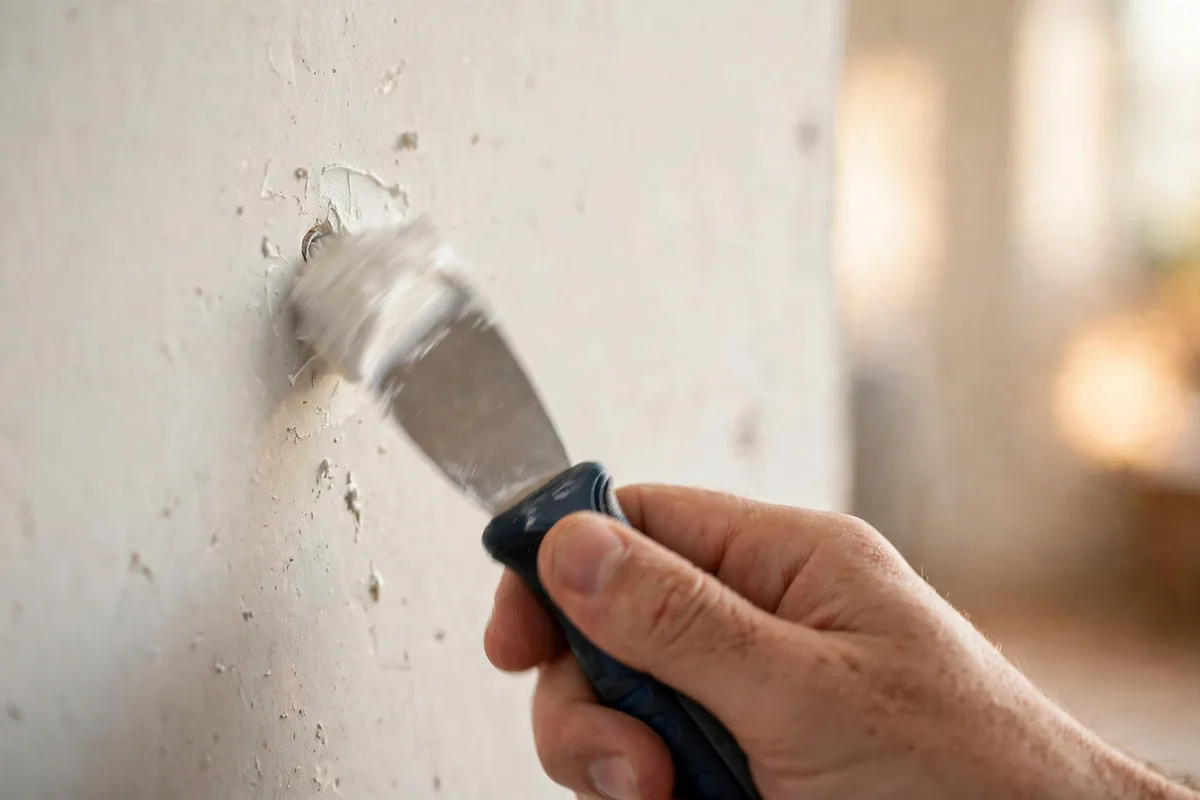
Small holes — nail holes, anchor holes and popped fasteners up to about 2 inches — are the fastest repair in the house. No tape, just filler and patience — a small mesh patch adds strength if the hole is on the bigger end.
Clean The Hole First
Scrape away any loose paint edge or frayed drywall paper with a putty knife or utility knife. If the paper around the hole is torn and fuzzy, trim it flat — compound spread over loose paper bubbles and peels.
Fix A Nail Pop Properly
A popped nail or screw is a fastener that has worked loose. Covering it with filler alone will not hold. Push the drywall tight against the stud. Then drive a drywall screw about an inch and a half above the popped fastener. Add one below it if the board still moves. Sink each screw head just below the surface. If a nail head is sticking out, tap it back in or pull it out entirely before you fill.
Fill In Two Thin Coats
Press spackle into the hole with a 2-inch putty knife, wipe it flat, and let it dry completely. Then apply a second thin coat, feathering the edges a few inches past the hole so the filler blends into the wall. Keep each coat thin — a thick blob shrinks as it dries and leaves a dent.
Sand Lightly And Finish
Once the second coat is dry, sand with fine-grit paper using light pressure. Do not oversand or you will dish out the filler and expose the hole again. Brush the dust away, spot-prime, and touch up with matching paint. Holes left by wall anchors fill exactly the same way. These are the holes left when you take down shelves or move how to hang curtains to a new window.
Step 2: Fix Medium Holes With A Self-Adhesive Patch
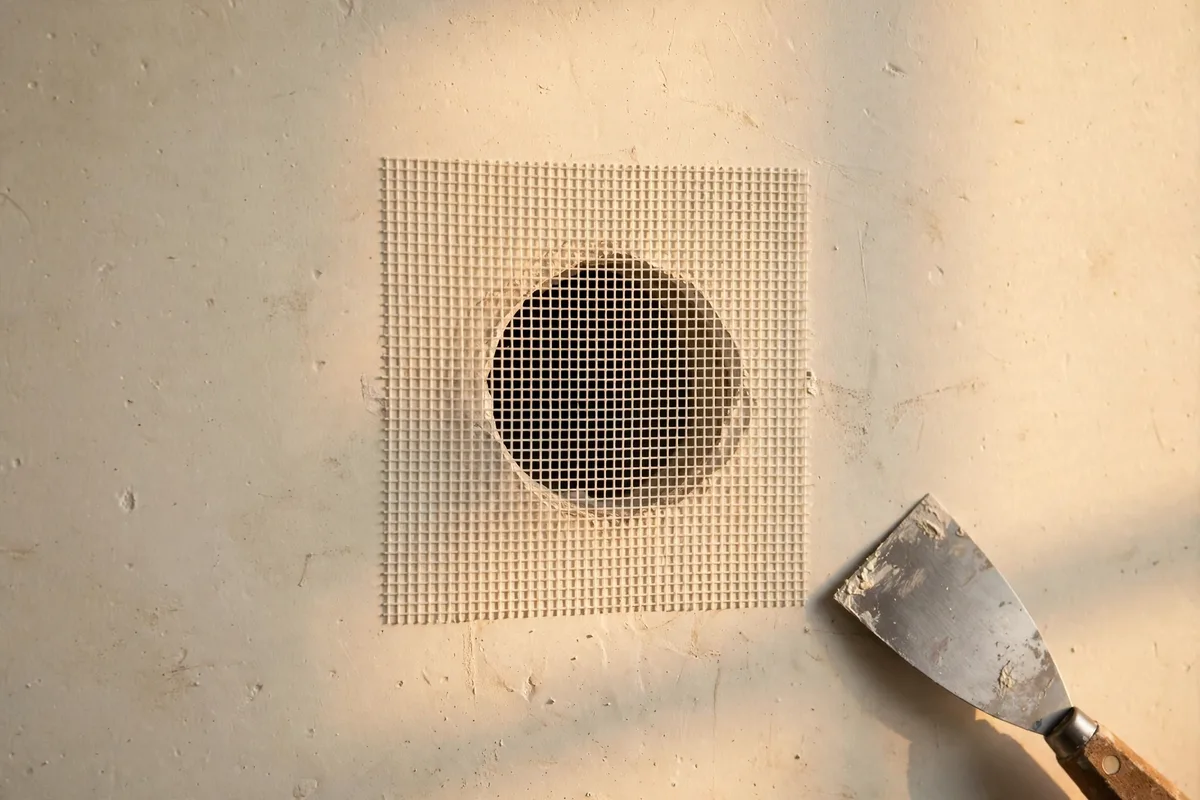
For holes between about 2 and 6 inches — the classic doorknob hole — compound alone has nothing to hold onto. A self-adhesive mesh patch gives it a backbone, and the whole repair takes about an hour plus drying time.
Trim The Ragged Edges
Cut away loose paper and flatten any part of the hole edge that sticks out past the wall surface. The patch has to sit flat, and a raised edge will print through every coat.
Stick The Patch On
Center the self-adhesive mesh patch over the hole and press it firmly so it sticks smoothly all the way around. The patch should extend at least an inch past the damage on every side. A patch barely bigger than the hole has nothing to grip. It will crack at the edges.
Cover It With Compound
Using a 6-inch drywall knife, spread joint compound over the patch in a crisscross pattern, pressing it through the mesh. Feather the edges 2 to 3 inches past the patch so the compound thins out gradually instead of ending in a hard line. Let it dry completely.
Add A Second, Wider Coat
Once the first coat is dry, sand it lightly and apply a second coat, feathering it wider than the first. If you can still see the mesh pattern or a raised edge, the feather is too narrow. Go wider, not thicker. Sand smooth when dry, then prime and paint.
Alternative: The California Patch
Want the flattest finish on a hole up to 6 inches? Cut scrap drywall 2 inches larger than the hole in both directions. Score the back about an inch from each edge, snap off the gypsum and leave the paper backing intact. Trace the gypsum square onto the wall and cut the hole to match. Butter the paper border with joint compound. Then press the patch in so the paper acts as its own tape. Coat over it, feathering wide, and let it dry — usually a full day — before sanding. It takes more cutting than a mesh patch, but there is no mesh hump to hide.
Step 3: Fix Large Holes With A Drywall Plug And Backing
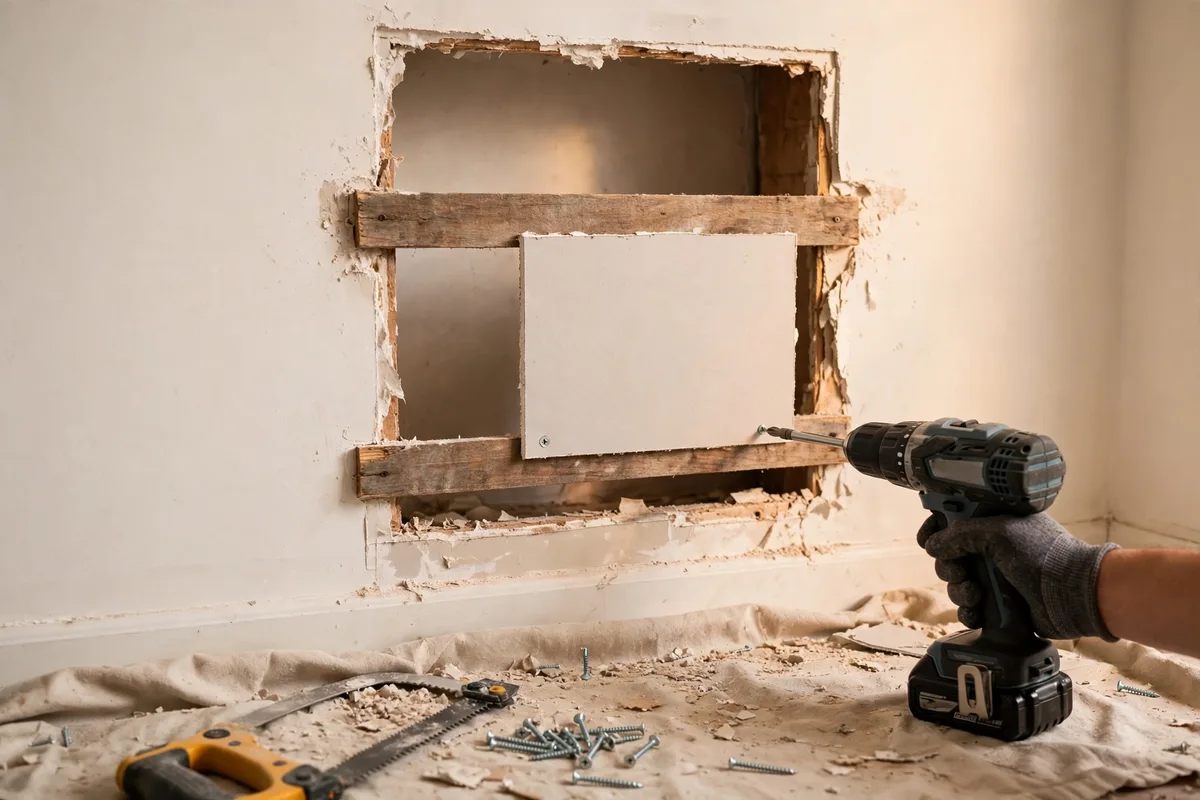
A hole wider than 6 inches needs real structure: a piece of drywall screwed to wood backing, with taped seams. It sounds like a big job. But it is a short sequence of simple cuts. It is the only method that stays flat and crack-free on a large repair. If you have already handled a straightforward home repair, the rhythm will feel familiar. Learning how to replace a faucet follows the same pattern: measure, cut, fit, fasten, finish.
Square Off The Hole
Cut a piece of scrap drywall slightly larger than the damaged area and hold it over the hole. Trace its outline onto the wall, then cut along the lines with a drywall saw, enlarging the hole to a clean rectangle. Check for studs and wires one more time before the saw goes in — wires run along studs, so keep the cut shallow near them.
Fit The Wood Backing
Cut two 1×2 wood strips slightly longer than the hole is tall. Slip them inside the opening and hold them vertically along the sides. Screw them to the existing drywall from the front. Put one screw above the hole and one below it on each strip. Sink each screw just below the surface. The strips should sit slightly recessed from the wall face so the plug sits flush.
Cut And Screw The Plug
Cut the drywall patch to fit the squared opening exactly, matching the thickness of your wall. Set it in place and screw it to the backing strips, sinking each screw head just below the paper surface. The plug should sit flush with the wall — if it sticks out, trim the edge with a utility knife until it does.
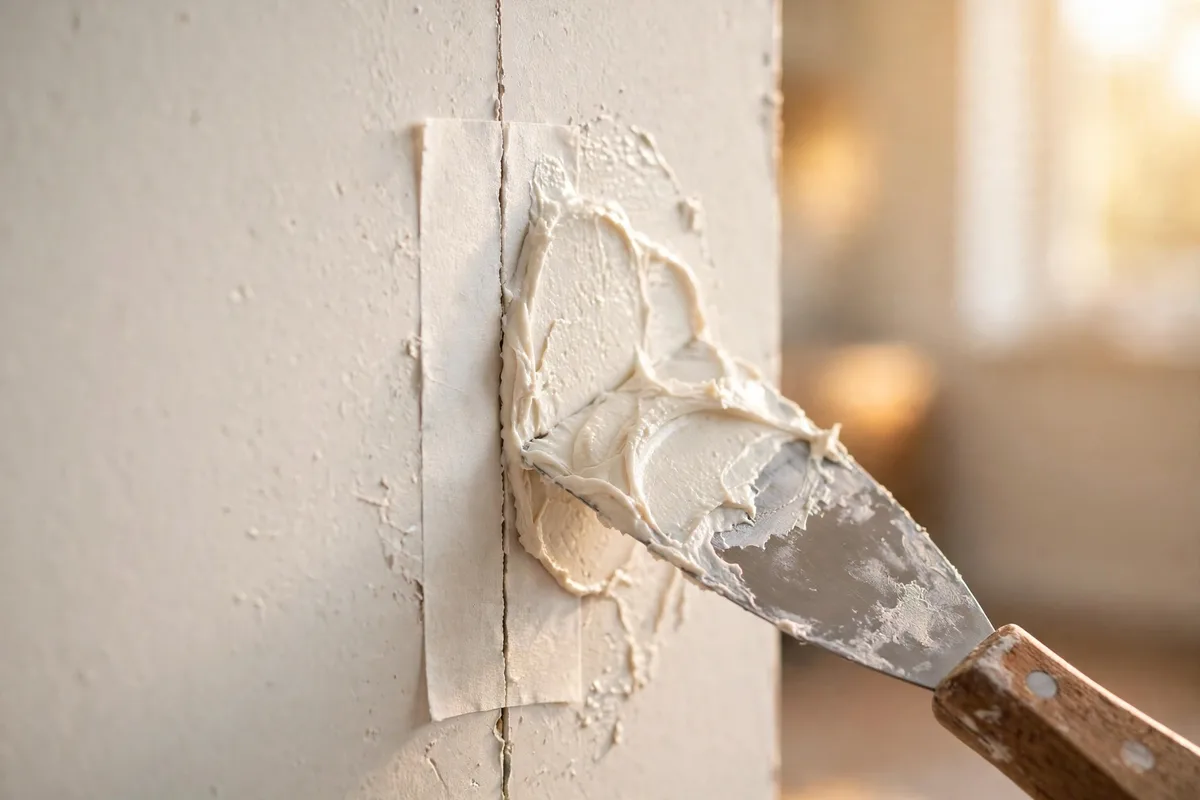
Tape The Seams
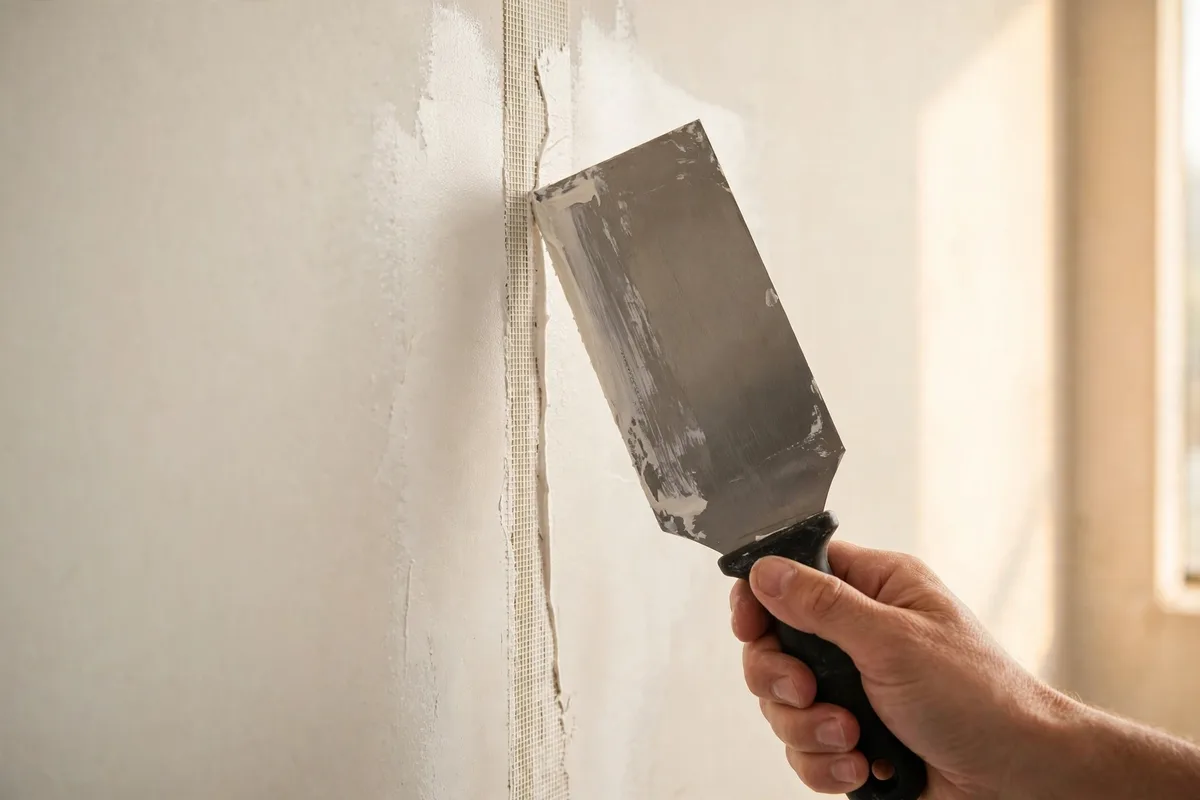
Press self-adhesive mesh tape over every seam, centering the tape on the joint. For the strongest repair, bed paper tape in a thin coat of compound. It holds better than mesh on seams. Mesh is faster, though, and perfectly fine for a patch this size. This Old House’s guide to patching drywall walks through the same large-hole method with a contractor’s eye, including the backing-strip trick.
Coat In Three Thin Passes
Apply the first coat of joint compound over the tape, feathering 4 to 6 inches past the seams. Let it dry fully, sand lightly, then apply a second coat feathered wider than the first. A third coat, wider still, is what makes the repair disappear. A pro does three coats, not two. Each thin pass shrinks less and sands flatter than one thick one. If you can see the joint before painting, it will look worse after painting. Keep going until the wall reads flat under a raking light.
How To Fix Cracks And Nail Pops That Keep Coming Back?
A crack that returns after patching is not a patching problem — it is a movement problem. Fix the movement first, or the crack will come back through every coat.
Hairline cracks need tape, not just filler. Lightly widen the crack with a utility knife so the compound has something to grip. Brush out the dust. Then bed a strip of paper tape in a thin coat of joint compound. Wipe it smooth, let it dry, and add one or two more coats, each wider than the last. Mesh tape works, but paper tape resists cracking better on seams and corners.
Re-secure a nail pop before you fill it. Drive a new drywall screw an inch or two above the popped fastener, into the stud. Dimple the surface slightly without breaking the paper. Cover both the old fastener and the new screw with two or three thin coats, sanding between coats. If pops keep appearing in several places, the framing may be moving. The original fastening may be weak. Either way, get a professional look before you patch the whole wall.
Know when a crack is a warning. A hairline crack at a corner or seam is usually seasonal movement and nothing to fear. A crack that widens over time, runs in steps, or comes with sticking doors and sloping floors can signal foundation or framing movement. Patch the cosmetic cracks yourself, and get a professional evaluation before you spend time finishing a crack that keeps growing.
Sand The Patch Smooth
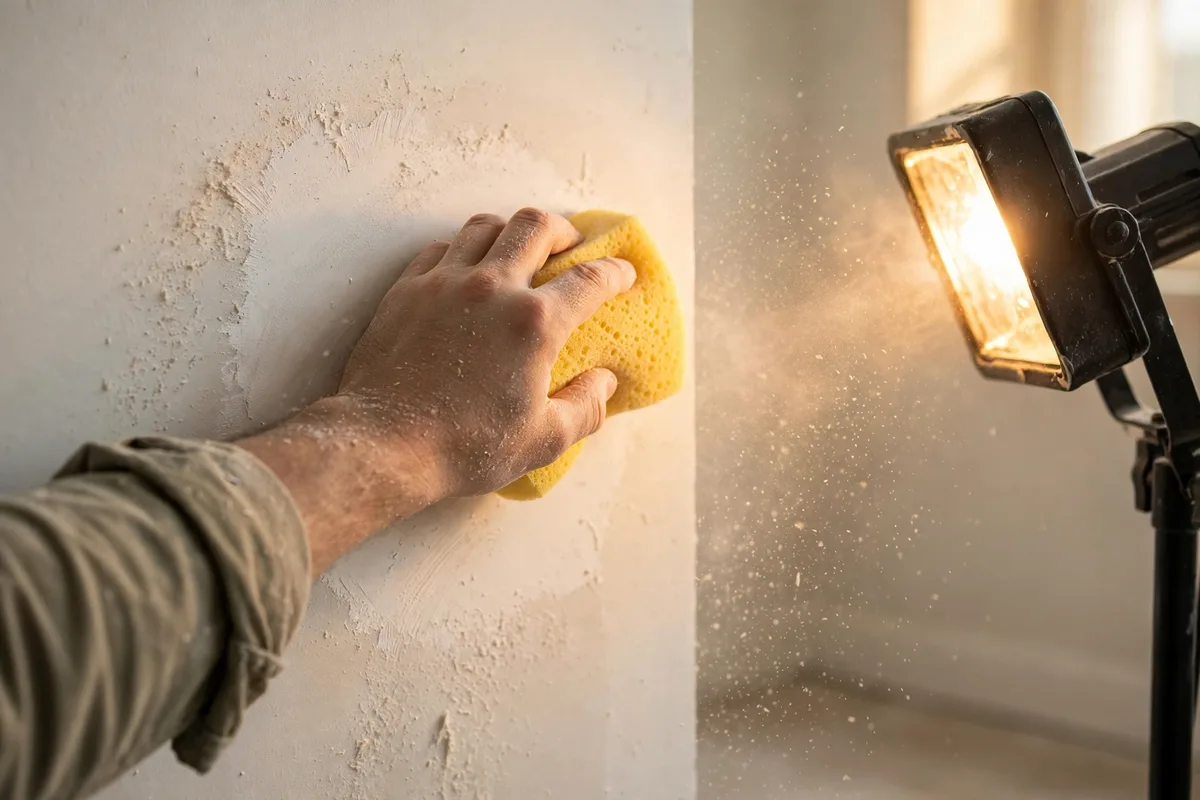
Sanding is where most repairs are won or lost. The goal is a flat surface, not a polished one — oversanding dishes out the compound and exposes tape or mesh.
Work through the grits. Start with 120- or 150-grit to knock down ridges, then finish with 200- to 220-grit for a smooth surface. A sanding sponge follows the wall’s shape better than a flat block on curved or uneven spots.
Use a raking light. Hold a bright work light at a sharp angle to the wall, almost parallel to the surface. Shadows will show every ridge and hollow that head-on light hides. Run your hand across the patch too — your fingers catch a bump your eyes miss.
Sand in circles, lightly. Small circular motions keep you from carving grooves into the compound. Keep the sanding tight to the repair; sanding a wide halo around it creates a shallow dish that catches light and shows through paint. Wipe the dust off with a barely damp cloth and let the wall dry before priming.
Match The Wall Texture
A perfectly flat patch on a textured wall still looks patched. Matching the texture is the step most guides rush past, and it is the one that makes the repair invisible.
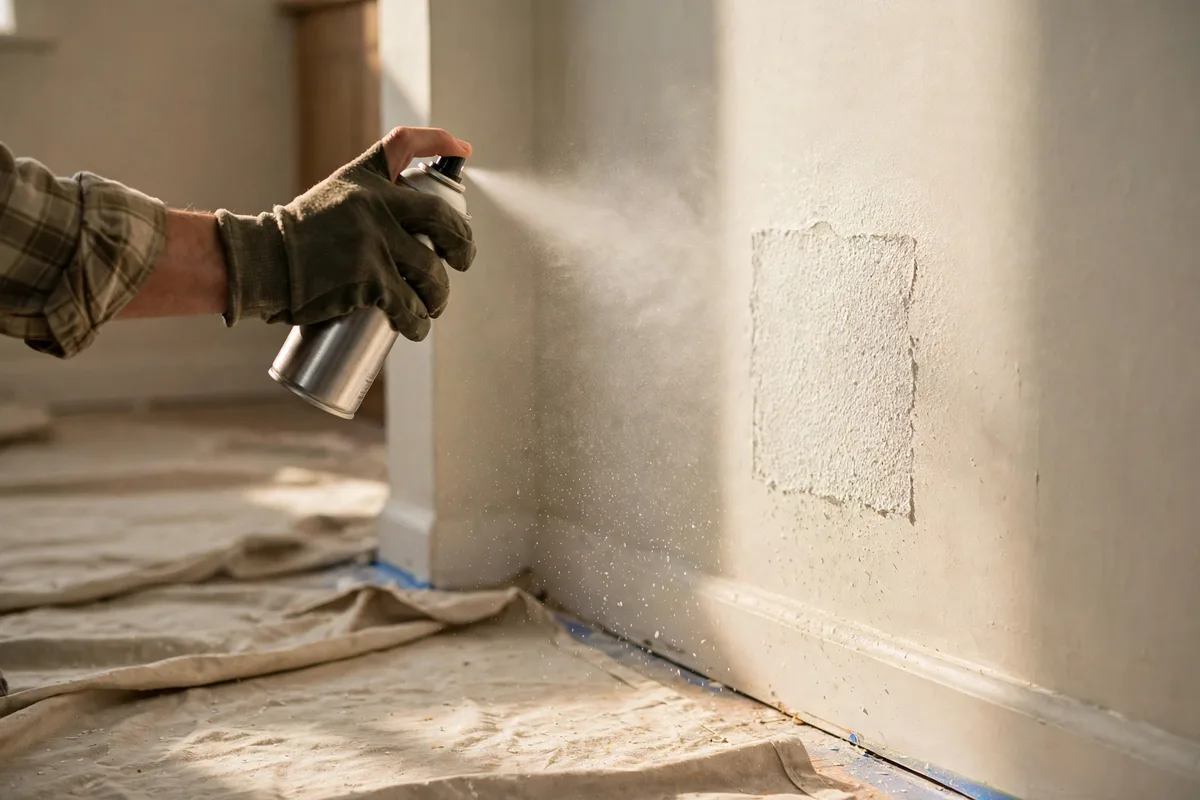
Identify the texture first. Orange peel is a fine pebbly spray. Knockdown is sprayed texture flattened lightly with a knife. Smooth walls have no texture at all. On a smooth wall, feathering matters most because every flaw shows.
Practice on scrap before the wall. Whether you use a spray texture can or thinned compound flicked from a stiff brush, try it on scrap first. Use a piece of cardboard or scrap drywall. For spray texture, hold the can 6 to 18 inches from the surface and work in a circular motion. For knockdown, spray or dab the compound on, wait until it starts to set, then flatten it lightly with a wide knife.
Blend past the repair. Apply texture slightly beyond the patched area and fade it outward into the existing texture. Texturing only the patch leaves a hard edge your eye finds instantly. Let the texture dry fully, then prime before painting — texture products vary, so follow the drying time on the can.
Prime And Paint For An Invisible Finish
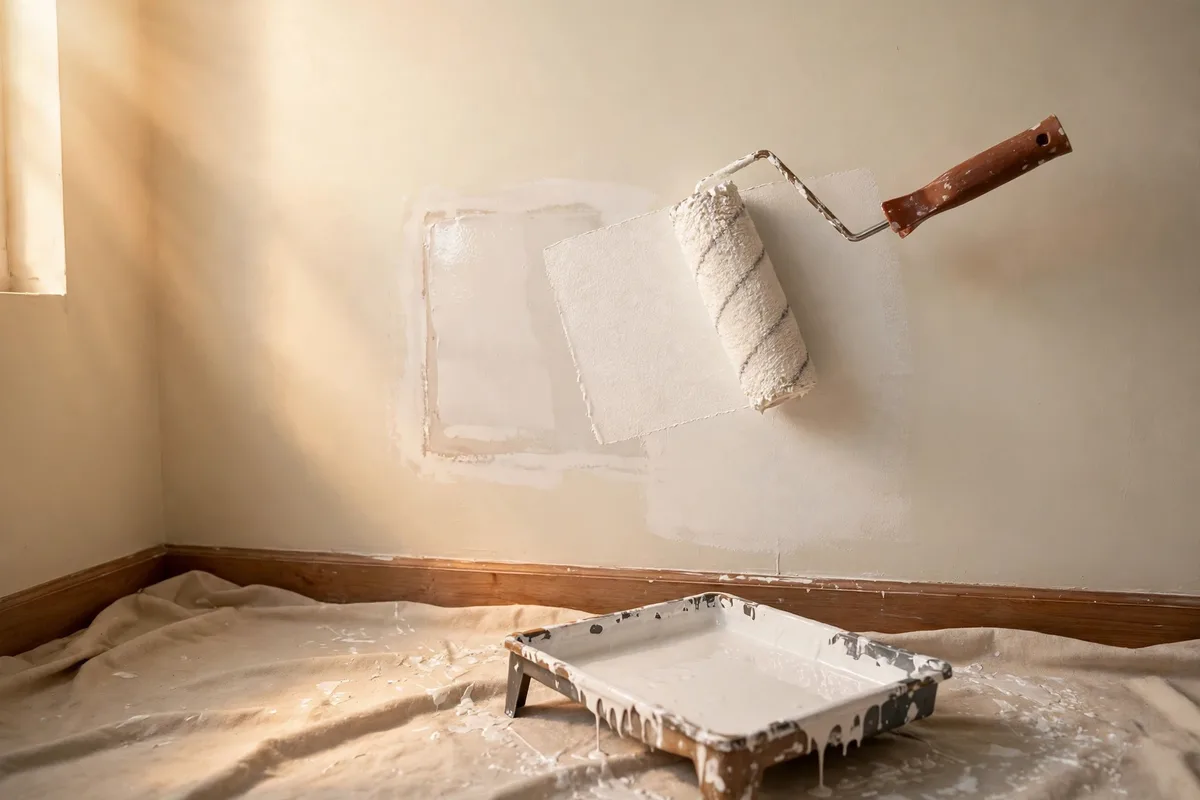
Primer is the step beginners skip and professionals never do. Joint compound is porous. Paint soaks into it differently than into the surrounding wall. Without primer, the patch shows up as a dull or shiny spot called flashing, even under two coats of paint.
Prime the whole patch. Roll or brush a coat of primer over the entire repaired area, extending slightly past it. Let it dry fully. On flat paint especially, priming is what keeps the patch from flashing.
Paint to blend, or paint the wall. Touch up with matching paint, feathering the roller past the repair so the edge disappears. If the wall was painted a while ago, the color may have faded. A spot touch-up will stand out. In that case, repaint the whole wall. Matching the sheen matters as much as matching the color. Flat, eggshell and satin all reflect light differently. The wrong sheen is visible from across the room. When you are patching several holes at once, priming and repainting the full wall is usually faster than chasing a perfect match on each one.
Troubleshooting: Common Patch Problems
Most patch failures have one of a few causes, and each one has a simple fix. Work through this list before you sand everything off and start again.
- A ring shows around the patch: the feather is too narrow. Add a wider skim coat, sand gently, prime and repaint.
- A shiny or dull flashing spot: the patch was not primed, or the paint sheen does not match. Prime the area and repaint with the same sheen.
- Bubbles in the compound: compound went over torn, unsealed paper, or the surface was dusty. Cut the bubbles out, seal the paper with primer, then skim again.
- The crack comes back: no tape, movement in the framing, or a weak base coat. Re-tape with paper tape, feather wider, and consider a setting-type compound for the first coat.
- Tape shows through: not enough top coats, or the tape was not bedded flat. Add coats, feathering wider each time, and sand lightly between them.
- A dip around the hole: oversanding the surrounding paint. Skim the dip with a thin coat, sand as little as possible, prime and paint.
- Texture looks heavier than the wall: sprayed too close or too much. Sand or scrape it lightly if it is safe to do so, then re-apply a lighter coat and blend farther out.
When To Call A Professional?
Most drywall damage is a weekend DIY job. These situations are not — they point to a problem behind the wall, and patching over them hides it instead of fixing it.
- Wet, soft, sagging or crumbling drywall — the moisture source has to be found and fixed first, and large wet sections need replacing.
- Visible mold, or a musty smell behind the wall — mold remediation is professional work, especially over a large area.
- Cracks that widen over time or return quickly after a proper taped repair — that can signal foundation or framing movement.
- Lead paint or asbestos-containing texture you cannot manage safely — testing and abatement belong to certified professionals.
- Damage on a ceiling, especially a large hole — overhead patches need stronger backing and are physically harder to finish flat.
- Fire-rated drywall (often in garages) — the replacement board has to match the same fire rating.
- A hole that exposes damaged wiring or plumbing — stop, turn off the power or water, and call a licensed tradesperson.
- You have patched the same spot twice and it still fails — a pro will find the cause in minutes, and a third patch costs more than the call.
There is no shame in calling a professional at any of these points. The goal is a wall that stays fixed, not a heroic story. A pro can usually sort out a stalled repair in a single visit. For another common DIY repair, our guide on how to unclog a drain follows the same idea. Know the steps, know the limits, and know when the job has outgrown the toolbox.
Frequently Asked Questions
How Long Does It Take To Patch Drywall?
A small nail hole takes about half an hour of work plus drying time. A medium patch takes about an hour plus drying. A large plug repair takes a couple of hours of work spread over two days. Each coat of compound has to dry fully before the next one. A thin coat usually takes a few hours. Thicker coats can take up to a day. Follow the drying time on the package rather than guessing.
Can I Patch Drywall Without A Patch Kit?
Yes, for small holes you need nothing but spackle and a putty knife. For medium holes you can cut a California patch from scrap drywall instead of buying a mesh patch kit. For large holes you need scrap drywall, wood strips, screws and tape — all standard hardware-store items, no kit required.
Do I Need To Prime Before Painting A Drywall Patch?
Yes. Joint compound absorbs paint differently than the surrounding wall, so an unprimed patch shows up as a dull or shiny spot under paint. Prime the whole repaired area, let it dry, then paint. This matters most with flat paint and with semi-gloss or high-gloss finishes, which highlight every difference in surface texture.
What Is The Difference Between Spackle And Joint Compound?
Spackle is thicker, dries faster and shrinks less — it is made for small, shallow repairs like nail holes. Joint compound is made for taping, patching and coating larger areas; it feathers better and is stronger, but it shrinks more and needs thin coats. Setting-type compound is a powder you mix with water; it hardens chemically, shrinks very little and sets fast, but it is harder to sand.
How Do I Fix A Hole In Drywall Without Cutting A Big Square?
For holes up to about 6 inches, use a self-adhesive mesh patch or a California patch — neither needs a square cutout. For anything larger, a square cutout with a drywall plug is the reliable method. The plug needs straight edges and solid backing to stay flat. Skipping the backing on a large hole is the fastest way to a patch that flexes, cracks and prints through the paint.
A patched wall should look like nothing ever happened. Pick the method that matches the size of the hole, work in thin coats, feather wide, sand lightly, and never skip the primer. Do that, and the first time you walk past the repair, you will have to look twice to find it.