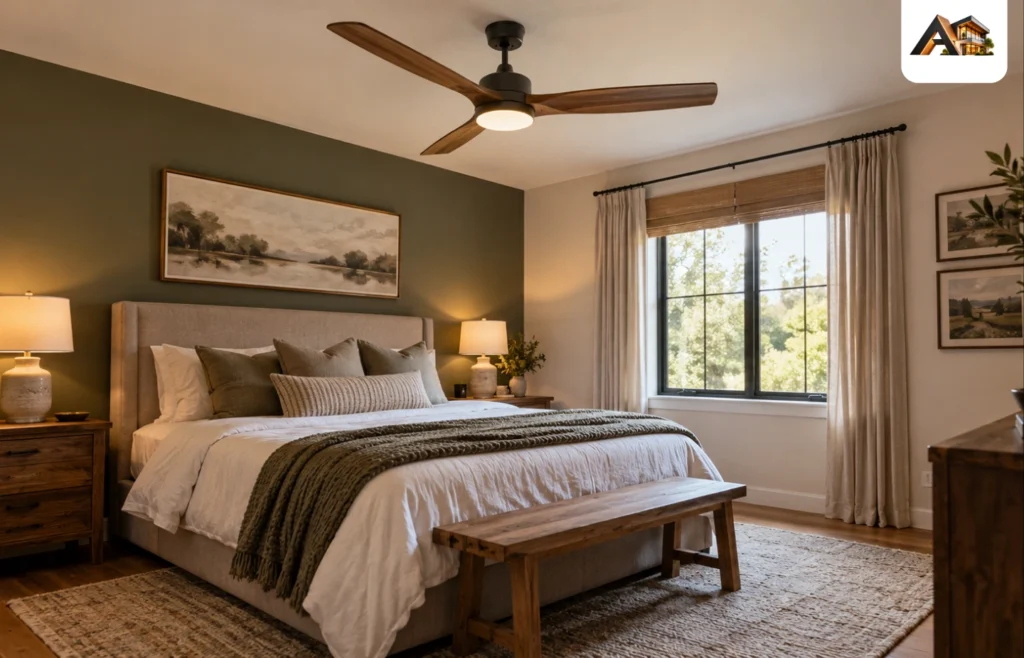
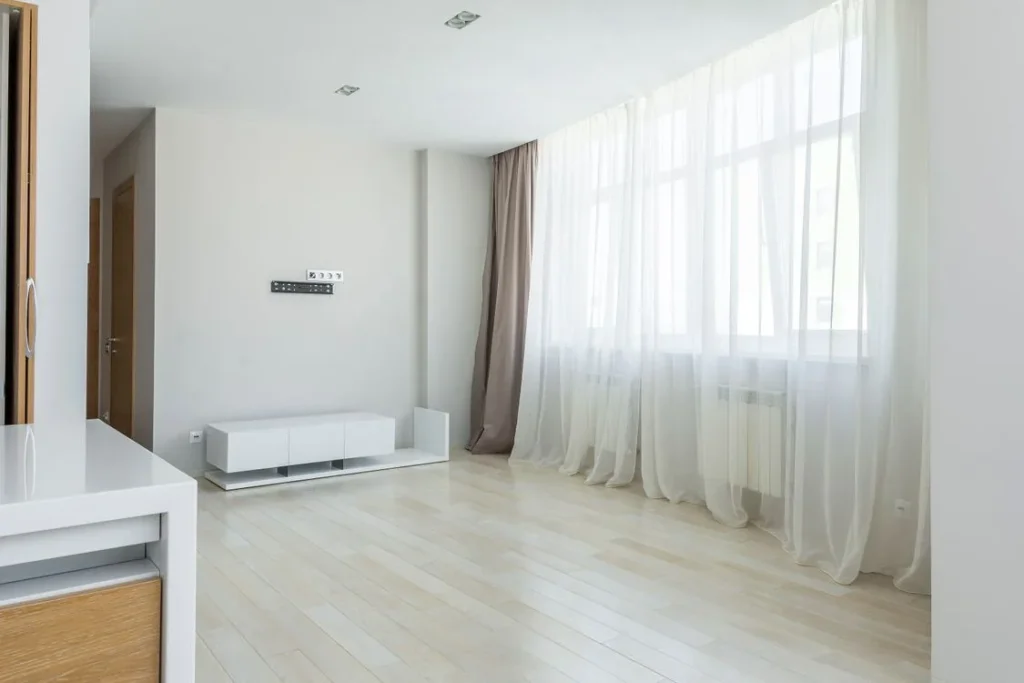
Curtains are one of the few home improvements where a few centimetres make the difference between a room that looks finished and a window that looks like an afterthought. Hang the rod too low and the window shrinks. Hang it too narrow and the curtains block light even when open. Hang it slightly out of level and the eye finds the fault every time it enters the room.
The good news is that hanging curtains well is mostly measuring, not skill. A tape measure, a level, a drill, and a patient hour will beat a rushed job with expensive fabric every time. This guide covers the measurements that matter, the hardware choices for different walls, and the fixes for the windows that do not behave like standard windows.
Before You Drill: Choose The Rod And The Curtains Together
Rod and curtains should be chosen as a pair, because each affects the other. A heavy velvet curtain needs a thicker rod and a centre support on a wide window, while a sheer panel can hang happily on a slim rod. A curtain with grommets, rings, or a rod pocket each sits at a slightly different height on the rod, so the final rod height depends on the curtain’s hanging style and its finished length.
Measure the curtains you plan to hang before fixing the rod height. Standard ready-made lengths are common, and the rod height should be set so the curtains land where you want them: just above the floor, brushing the floor, or pooling slightly for a formal look. If the curtains are too short for a high rod, you will either need to lower the rod, hem the curtains, or buy a longer pair, and discovering that after drilling is the most common curtain frustration. Have the curtains in hand, or at least their exact length, before you mark the wall.
The Height Rule That Makes Windows Look Taller
The single most effective curtain rule is simple: hang the rod high. A rod placed just above the window frame makes the window look like its actual size. A rod placed well above the frame, closer to the ceiling, draws the eye upward and makes both the window and the room feel taller. As a starting point, place the rod about ten to fifteen centimetres above the window frame, and higher still if the ceiling allows and the curtain length can reach the floor from that height.
Leave a small gap between the rod and the ceiling or crown molding so brackets can be fitted and curtains can move freely. In rooms with very high ceilings, a rod placed a third of the way between the frame and the ceiling often looks better than a rod pushed right up to the ceiling, because it keeps the window in proportion with the wall. The goal is a rod height that looks intentional, not a rod that is simply as high as possible.
The Width Rule That Saves Your Light
Width matters as much as height. A rod that ends at the window frame forces curtains to cover part of the glass even when open, blocking light and making the window look smaller. Extend the rod beyond the frame on each side, typically by fifteen to twenty-five centimetres, so curtains can stack back fully onto the wall when open and the whole window is clear.
For a wide window or a heavy curtain, add a centre support bracket to stop the rod sagging in the middle. A sagging rod is easy to spot and hard to ignore, and it usually appears only after the curtains have hung for a few weeks. If the window is very wide, a rod with a centre bracket fitted from the start will stay level far longer than a rod that relies on end brackets alone. When measuring width, measure the full rod length including finials, and check that the extended rod will not hit a corner, a door frame, or a light switch on either side.
Marking Level, Even On An Uneven Wall
Marking is where most crooked curtains are born, so take your time here. Measure the rod height from the floor on both sides of the window, not from the window frame, because frames and floors are not always level. Mark both bracket positions lightly in pencil, then check them with a spirit level before drilling. A level rod matters more than a rod that is exactly the same distance from the frame on both sides, because the eye judges level against the room, not against the frame.
A simple marking trick helps on wide windows. Cut a piece of cardboard to match the distance from the window corner to the bracket position, mark the screw holes on it, and use it as a template on both sides. That gives you matching marks without remeasuring, and it catches mistakes before any holes are drilled. Step back and look at the marks from across the room before drilling, because a mark that looks right up close can look wrong from the doorway.
Brackets, Anchors, And Different Wall Types
Bracket fixings should match the wall, because a curtain rod pulls outward and downward every time curtains are drawn. Where a bracket lands on a wall stud, a wood screw driven into the stud gives the strongest hold. Use a stud finder to check, and shift the bracket slightly if a stud sits close to the planned position, rather than forcing a fixing into plasterboard alone.
Where no stud is available, use wall anchors rated for the curtain weight. Standard plastic anchors suit light sheers, while toggle or heavy-duty anchors suit heavy drapes and wide rods. Plaster walls need care: drill slowly, avoid hammer action, and use anchors made for plaster rather than forcing a drywall anchor into a crumbling hole. Brick and concrete need masonry drill bits and appropriate plugs, and the hole should be drilled to the plug depth, not beyond it. If a hole becomes loose, fill it, let it set, and redrill rather than hanging a heavy curtain on a fixing you do not trust.
Hanging, Adjusting, And The Final Check
Once brackets are fixed, fit the rod, hang the curtains, and adjust before calling the job done. Distribute the fabric evenly across the rod, check that rings or grommets move freely, and make sure the curtains hang straight without twisting. Check the length at both ends and in the middle, because a curtain that looks even at the sides can still bunch in the centre if the rod sags or the fabric is uneven.
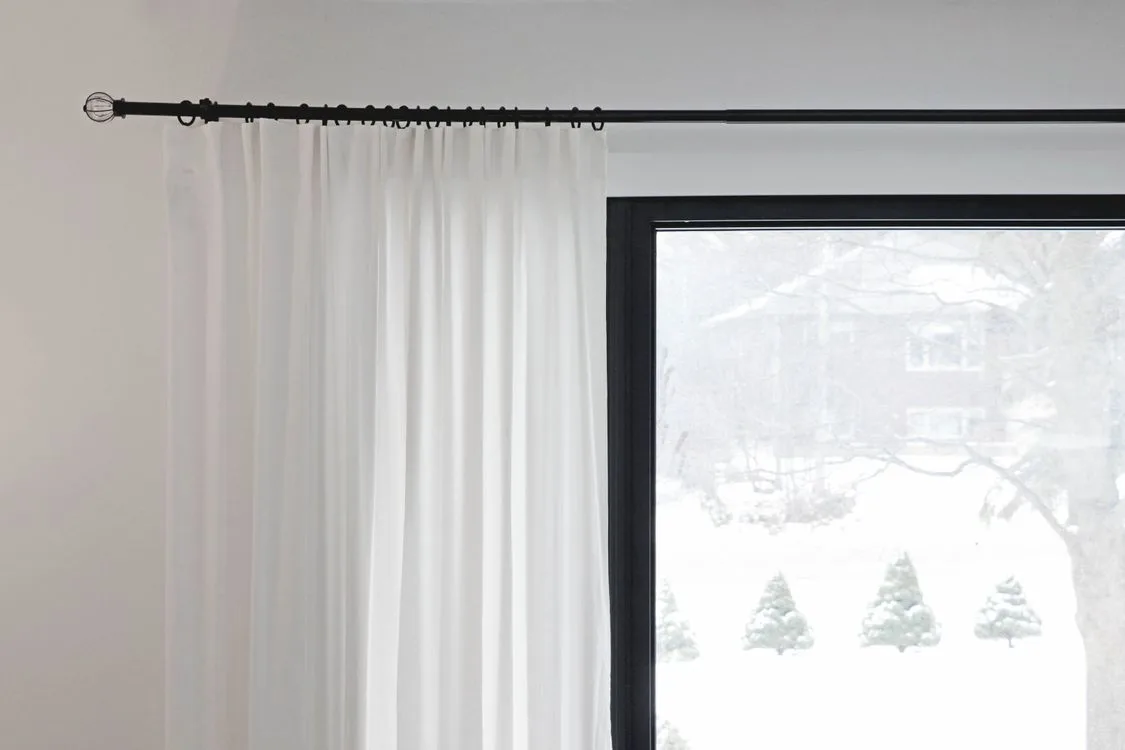
Step back and check the whole window from across the room. The rod should look level, the curtains should stack back clear of the glass when open, and the length should be consistent across the window. Steam or iron the curtains if they carry packaging creases, because creases draw the eye to the fabric rather than to the window. For a detailed visual walkthrough of rod selection and installation, see This Old House’s curtain rod guide, which covers measuring, brackets, and hardware in step-by-step form.
Tricky Windows And Sensible Workarounds
- Bay windows: use a bay window rod set or separate rods for each section, rather than forcing a straight rod across angles.
- Very wide windows: add a centre support, or use a ceiling-mounted track for a cleaner, stronger result.
- Windows near a corner: use a corner connector or a shorter return on the corner side, and let the curtain stack on the open side.
- Rental homes and no-drill options: tension rods suit light curtains inside a frame, and adhesive hooks suit very light sheers, but neither carries heavy drapes well.
- Doors with glass: use a narrow rod fitted to the door itself, or a magnetic rod for light curtains, so the door can still open freely.
- High windows: measure from the floor, use a stable step ladder, and have a second person hold the rod while you check level.
Frequently Asked Questions About Hanging Curtains
How High Above The Window Should A Curtain Rod Go?
Start with ten to fifteen centimetres above the frame, and higher if the ceiling and curtain length allow. A rod closer to the ceiling makes the window and the room feel taller, as long as the curtains still reach the floor neatly.
How Wide Should A Curtain Rod Be?
Extend the rod fifteen to twenty-five centimetres beyond the frame on each side, so curtains stack back onto the wall when open. Add a centre support on wide windows or with heavy curtains to prevent sagging.
Can I Hang Curtains Without Drilling?
Light sheers can hang on a tension rod inside the frame, and very light curtains can hang on adhesive hooks on smooth surfaces. Heavy curtains need screws and anchors, because adhesive fixings usually fail under the weight and the daily pull of opening and closing.
The Bottom Line On Hanging Curtains
Hanging curtains well comes down to three measurements: high enough to lift the room, wide enough to clear the glass, and level enough to look intentional. Measure from the floor, check with a level, match your fixings to your wall, and adjust the fabric before you step back. Do those four things, and curtains that cost little can look like they were made for the room. For more window and room finishing ideas, see Archly Home’s cozy living room ideas and Archly Home’s interior decorating ideas.