
The best paint for kitchen cabinets is a waterborne alkyd enamel — a hybrid alkyd that cures to the hard, scrubbable shell of an oil paint with soap-and-water cleanup. The single best all-round product is Benjamin Moore Advance, at roughly $89 a gallon, with excellent self-leveling and a 16-hour recoat time. If budget matters most, Behr Alkyd Semi-Gloss does the same job for $35 to $45 a gallon. If you need the fastest turnaround, Sherwin-Williams Emerald Urethane recoats in 4 hours. The 10 paints below cover every kitchen — wood, laminate, thermofoil, and MDF — with the prices, finishes, and surface advice to match, so you buy once instead of repainting in a year.
What Makes A Paint Right For Cabinets?
Kitchen cabinets take more punishment than almost any other surface in a home. Grease, moisture, repeated touching, and constant door-closing add up fast, and the wrong paint shows it within months: it peels, chips, and looks worn while the walls around it still look new. Four things separate a cabinet paint from a wall paint.
Hardness after cure. Cabinet paint has to cure to a hard shell that resists dents, chips, and the daily grip of fingers on door edges. Standard wall paint stays soft by design — it is made to stay flexible and dry fast on drywall, not to survive being grabbed fifty times a day. No amount of extra coats makes wall paint a cabinet paint.
Self-leveling. A good cabinet paint flattens itself after application, smoothing out brush marks as it dries. Benjamin Moore Advance, for example, keeps leveling for up to 30 minutes after you put it on — which is why it looks sprayed even when it was brushed. Poor leveling leaves every stroke visible, and on a door you look at daily, that matters.
Recoat time you can live with. Recoat time is the real differentiator between cabinet paints. Emerald Urethane recoats in 4 hours, which can turn a three-week project into a two-week one, while Advance needs 16 hours but levels better. Either is fine — what fails projects is recoating early, which traps solvent between layers and causes wrinkling and peeling.
The right finish. Satin and semi-gloss are the professional standards for cabinets. Satin hides surface flaws better, which matters on older doors with dents and visible grain. Semi-gloss is more scrubbable and more grease-resistant, which matters around the stove. Flat or matte is not cleanable and should never go on cabinets; high gloss is very washable but shows every brush mark and grain line, so it belongs to pros with spray gear.
The Paint Types, Compared
Three paint families dominate the cabinet market, plus one decorative option that does not belong in a busy kitchen. Understanding the chemistry helps you pick right — and avoid the peeling that comes from choosing wrong.
| Paint Type | Best For | Watch Out For |
|---|---|---|
| Waterborne alkyd enamel | Maximum durability, professional results | Longer recoat time, slower to sand between coats |
| Acrylic cabinet enamel | DIY-friendly, faster recoat, flexible finish | Not quite as hard as a top waterborne alkyd |
| Oil-based alkyd | Very hard finish on dark cabinets | Yellows over time, high VOCs, slow dry |
| Chalk paint | Decorative or furniture projects | Must be topcoated for any durability; porous on its own |
Waterborne alkyd enamel is the best overall choice. It gives you oil-paint hardness with low VOCs, low odor, and water cleanup, and it will not yellow on whites the way true oil paint does. Acrylic cabinet enamel is the easier runner-up: it dries faster, is more forgiving to apply, and handles minor wood movement without cracking, though it is not quite as hard as a top-tier waterborne alkyd. Traditional oil-based alkyd still dries to the hardest finish of all, but the trade-offs are real — high VOCs, a respirator and ventilation, 16 to 24 hours between coats, mineral-spirits cleanup, and yellowing on light colors over the years. Chalk paint is porous on its own and needs a protective topcoat to hold up at all; the topcoat becomes the durable layer, not the chalk paint underneath, so it suits decorative furniture far better than a kitchen that gets used every day.
This article is about choosing the paint. For the full job — cleaning, sanding, priming, painting, curing, and reassembly — see our companion guide to repainting painted cabinets, which walks through the whole process step by step.
How To Pick Your Finish?
Sheen matters more on cabinets than on walls. A higher sheen means a harder, more cleanable surface — but it also shows every imperfection underneath. Here is how the common sheen levels stack up for cabinets.
| Sheen | Durability | Hides Flaws | Cleanable | Verdict For Cabinets |
|---|---|---|---|---|
| Flat / Matte | Low | Good | No | Never |
| Eggshell | Low | Good | Poor | Avoid |
| Satin | Good | Good | Yes | Good — best for DIY |
| Semi-Gloss | Best | Fair | Yes | Best — industry standard |
| High Gloss | Best | Poor | Yes | Pro only |
Choose satin if you are painting yourself. It is wipeable, durable, and forgiving enough to hide minor surface flaws that a glossier sheen would put on display. Choose semi-gloss if you want the toughest washable surface and your prep is careful — it is the industry standard, hard, scrubbable, and moisture-resistant, but it shows imperfections if the prep is sloppy. Either way, buy the sheen in the same product line as your paint; switching brands between coats is how finishes go wrong.
1. Benjamin Moore Advance — Best Overall
Advance is the paint every other cabinet paint gets measured against. It is a waterborne alkyd enamel — Benjamin Moore calls it a waterborne alkyd — that combines oil-paint hardness with soap-and-water cleanup, and it self-levels better than anything else in its class. It dries to the touch in 4 to 6 hours, needs 16 hours before the next coat, and keeps flattening for up to 30 minutes after application, which is why brushed doors come out looking sprayed.
Best for: DIYers and pros who want the most professional result and can wait between coats.
Finish: satin, semi-gloss, or high gloss.
Price: roughly $89 a gallon at list.
Recoat: 16 hours.
Watch out for: it yellows slightly over time on whites in dim spots — Benjamin Moore says a small amount may still occur, most visible in light colors and dark corners. For white cabinets in a dark kitchen, an acrylic enamel is the safer pick.
Tip: the hardest discipline with Advance is leaving it alone. Apply it and walk away — brushing it again once it starts to set leaves permanent marks.
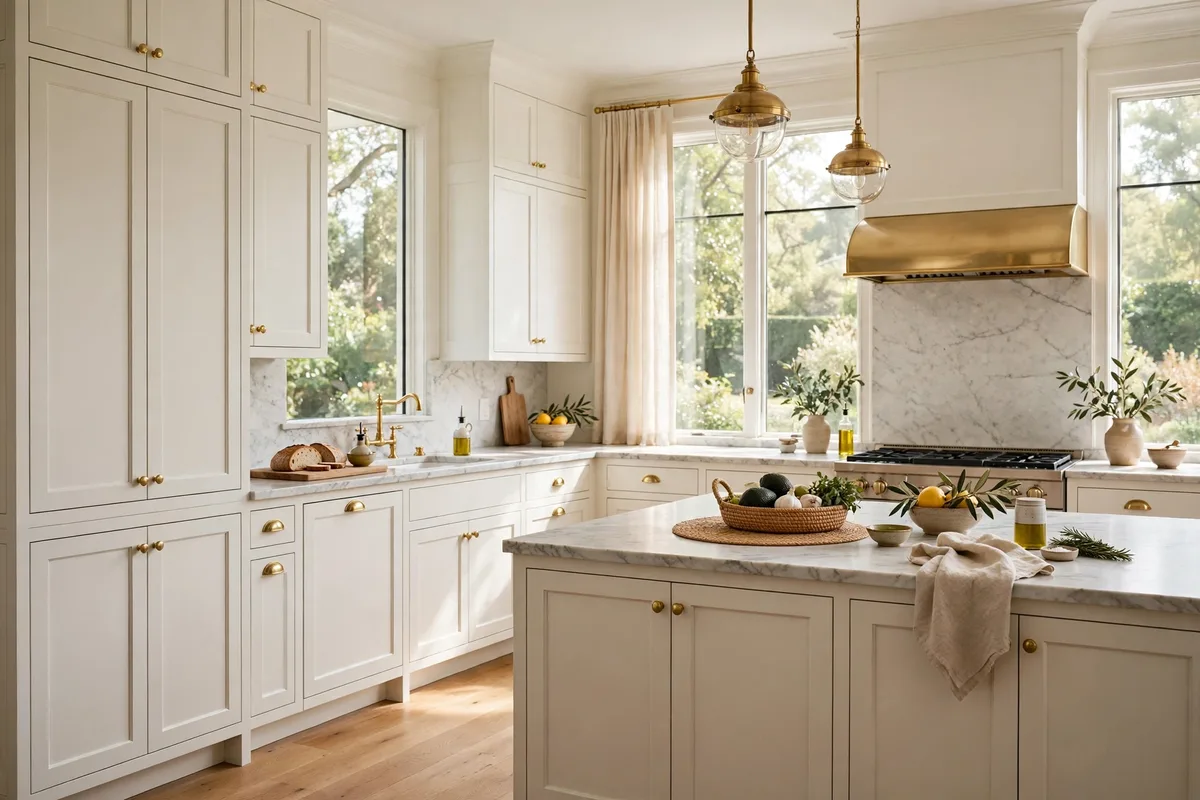
2. Sherwin-Williams Emerald Urethane Trim Enamel — Fastest Turnaround
Emerald Urethane is the water-based urethane that glides on smoothly with minimal brush marks and self-levels to a sleek finish. Its real advantage is speed: it recoats in 4 hours, against Advance’s 16, which can cut a week off a full kitchen project. It is durable enough for light to normal use, though not quite as hard as the toughest pro coatings.
Best for: DIYers who want a fast project, and anyone painting in a kitchen they need back quickly.
Finish: satin or semi-gloss.
Price: $130 to $132 a gallon at list — though Sherwin-Williams often sells below list, and contractor pricing typically runs 15 to 25 percent less. Recoat: 4 to 6 hours.
Watch out for: it takes a while to fully cure, so plan for patience after the last coat even though recoats are fast.
Tip: Emerald Urethane is the forgiving pick for a first-timer. It levels well, gives you time to fix mistakes, and the short recoat time means a missed spot does not cost you a day.
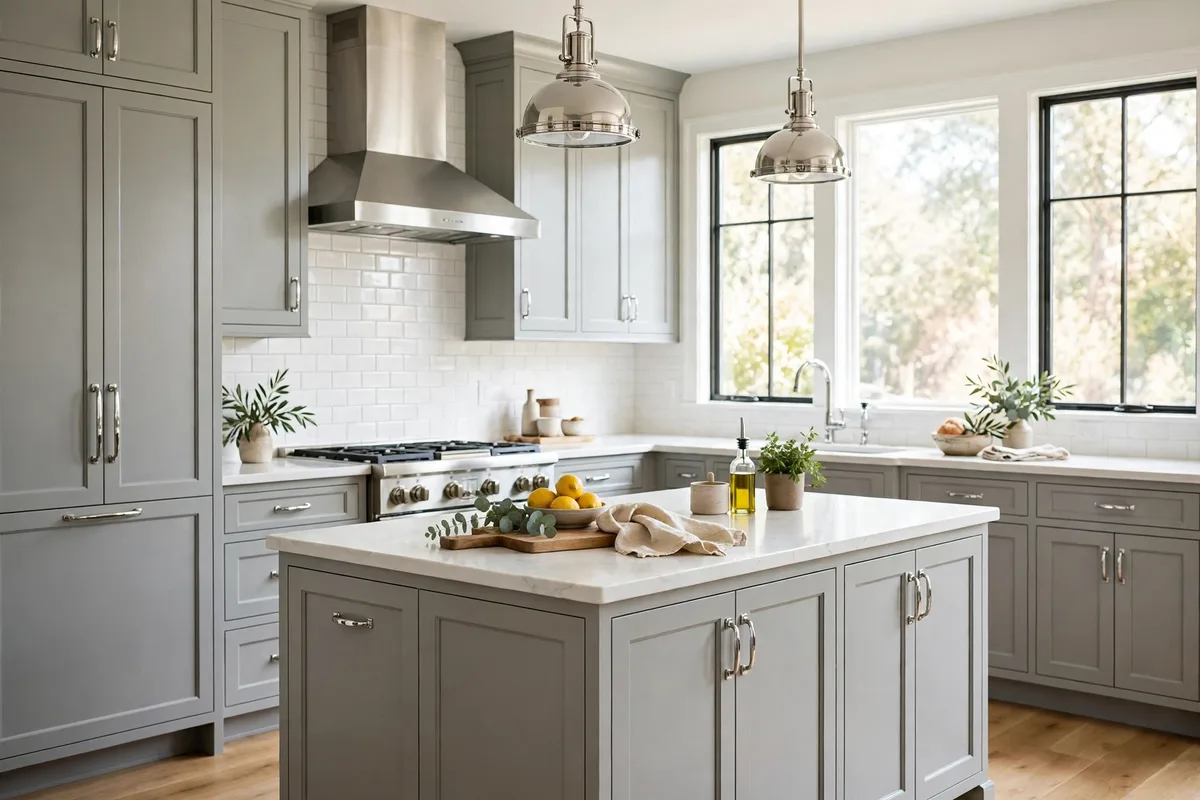
3. Behr Alkyd Semi-Gloss — Best Budget
Behr’s Alkyd Semi-Gloss is the budget pick that does not feel like a compromise. It is a hybrid alkyd with good leveling, soap-and-water cleanup, and a hard semi-gloss finish — the same chemistry family as the premium picks, at roughly a third of the price of Emerald Urethane.
Best for: budget jobs, rental kitchens, and anyone painting a full kitchen without spending $500 on paint alone.
Finish: semi-gloss.
Price: $35 to $45 a gallon.
Recoat: 4 to 6 hours.
Watch out for: leveling is good rather than excellent, so thin coats and a light sand between coats matter more here than with Advance.
Tip: at this price you can afford the third coat. Two coats is the standard, but a third coat on the most-used doors — around the sink and the stove — is cheap insurance.
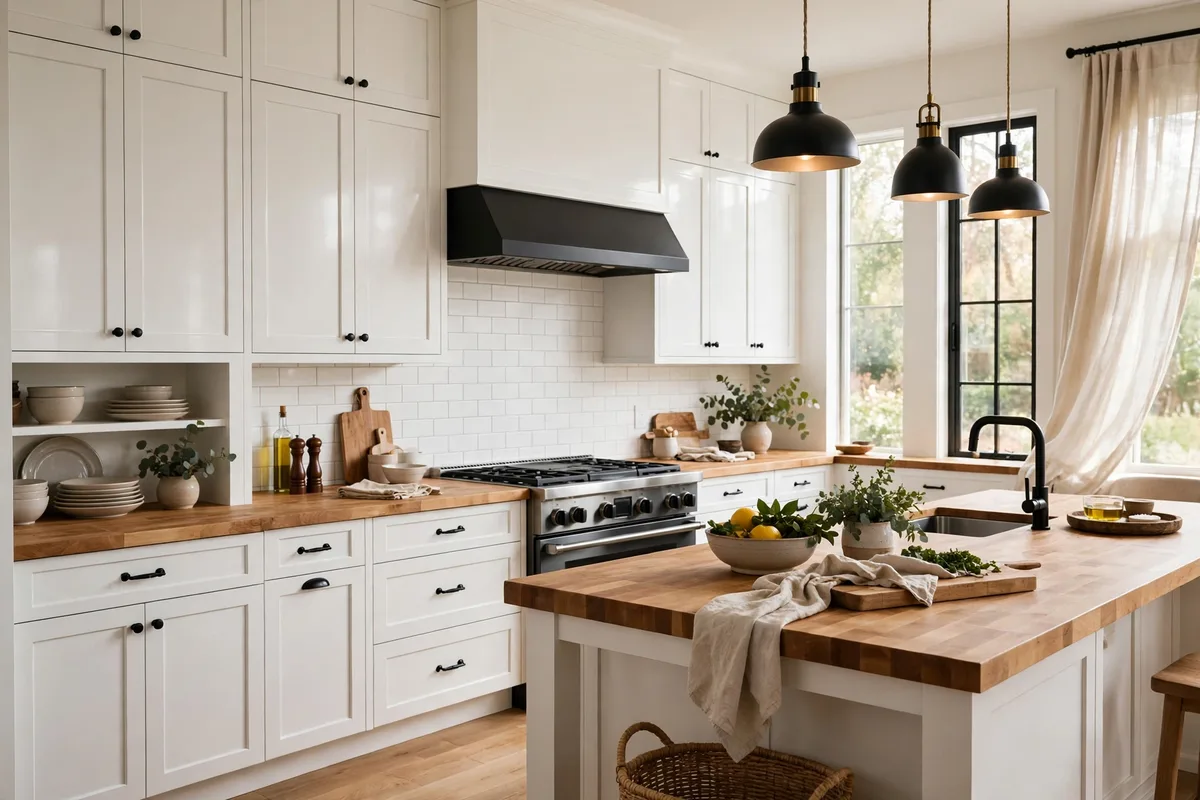
4. INSL-X Cabinet Coat — Best Acrylic Urethane
Cabinet Coat is a waterborne acrylic urethane made specifically for cabinets, and it is the strongest argument that you do not have to buy an alkyd to get a durable finish. It recoats in 6 hours, cleans up with water, and is formulated for the glossy factory finishes that make ordinary paint peel.
Best for: DIYers who want a faster, more forgiving paint than a waterborne alkyd, especially on previously painted or factory-finished cabinets.
Finish: satin or semi-gloss.
Price: varies by retailer — no list price was published in the sources checked.
Recoat: 6 hours.
Watch out for: it is an acrylic, so it will not cure quite as hard as a top waterborne alkyd — for most home kitchens the difference is minor, but a very high-traffic kitchen will notice it over years, not months.
Tip: Cabinet Coat pairs well with a bonding primer on slick surfaces. The primer does the adhesion work; the paint does the wearing.
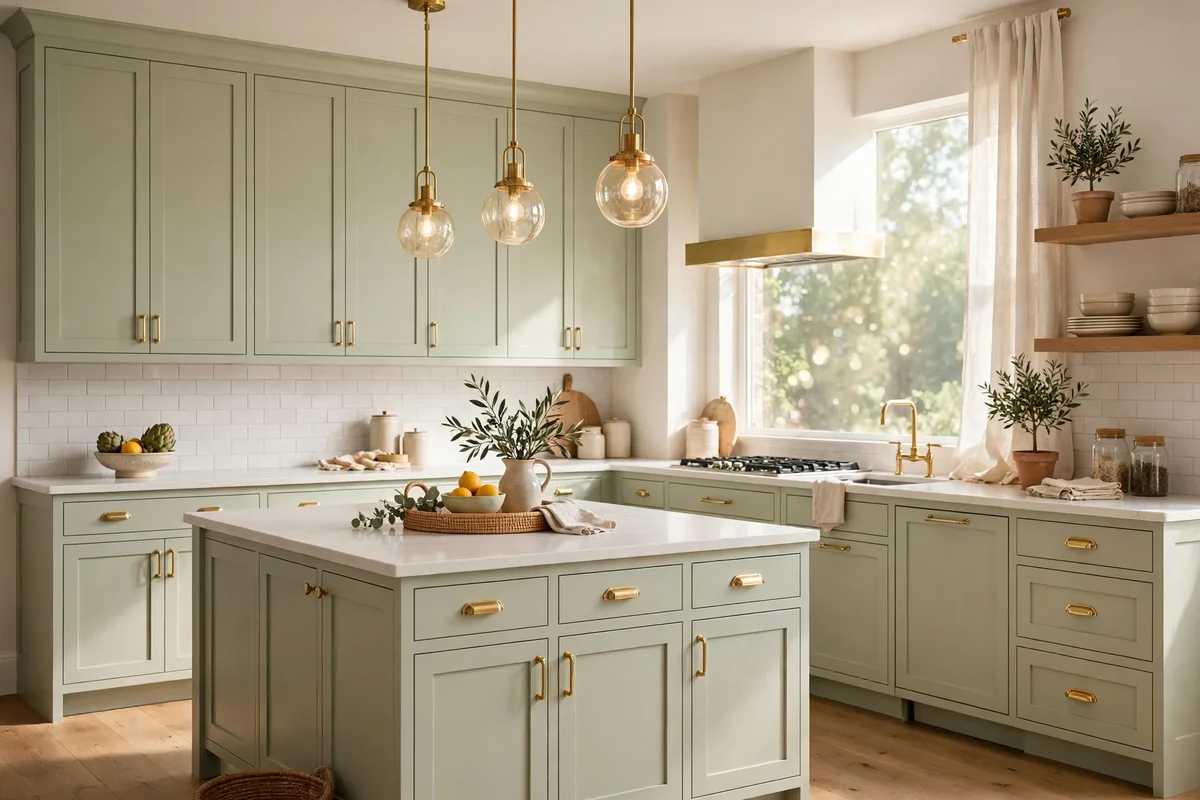
5. Fine Paints Of Europe Hollandlac Brilliant — Best Mirror Gloss
Hollandlac Brilliant is the traditional oil-based alkyd for a true mirror finish — the paint that turns cabinets into furniture. Its leveling is exceptional, and it cures to the hardest, most durable finish of any paint in this list. It is also the most demanding: sticky application, long drying times, mineral-spirits cleanup, and a price that reflects its import status.
Best for: luxury kitchens and anyone chasing a high-gloss, mirror-like finish.
Finish: high gloss.
Price: $65 to $185 by can (up to 2.5 litres), depending on size and color.
Recoat: about 16 hours.
Watch out for: high VOCs, a respirator and ventilation, yellowing on light colors over time, and a finish that shows every flaw underneath. Leave it to pros unless you are very experienced.
Tip: a mirror finish is only as good as the surface under it. Every dent, grain line, and dust nib shows at this gloss level, so the prep has to be flawless — and that is most of the cost of hiring it out.
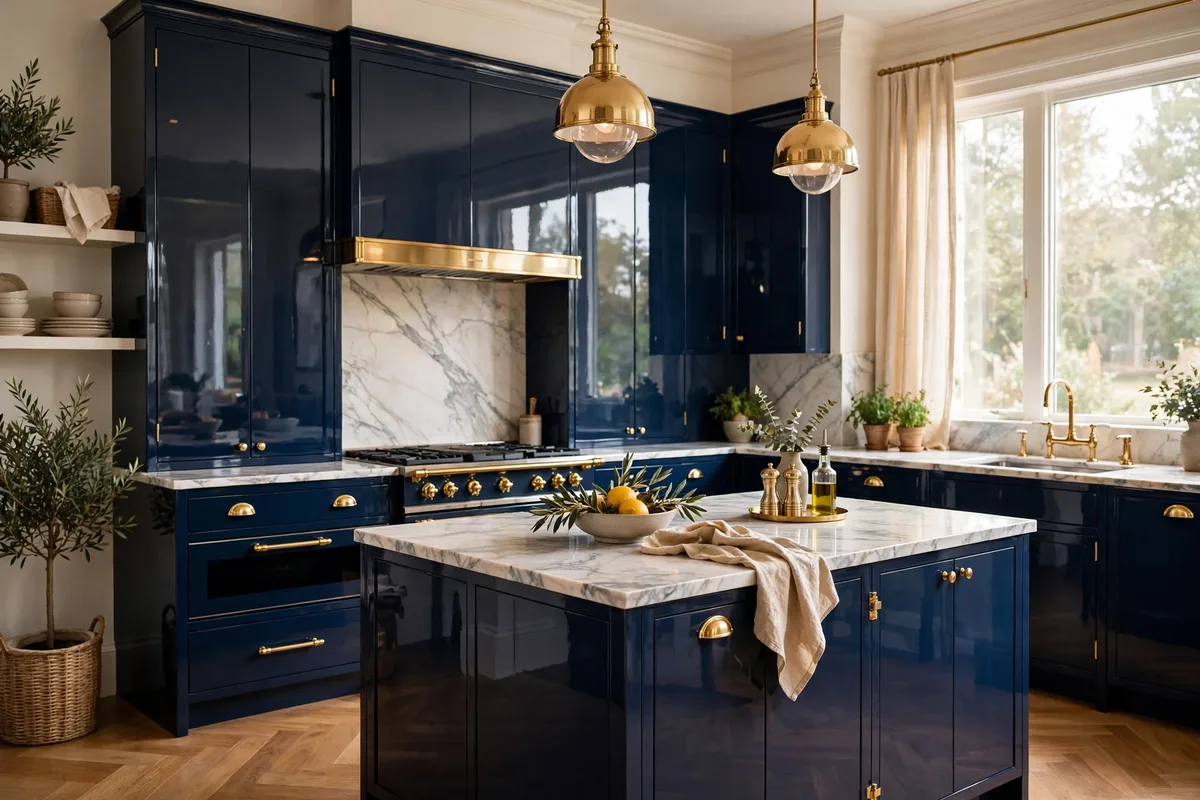
6. Renner 2K — Best Pro Two-Part Coating
Renner 2K is a two-part coating — a resin and a hardener that cure together into a finish far harder than any single-part paint. It is what professional painters reach for in high-traffic kitchens, because it stands up to scratches and daily wear better than anything you can buy off a shelf.
Best for: pro-sprayed jobs and high-traffic kitchens where durability is the whole point.
Finish: satin to semi-gloss, sprayed.
Price: varies by retailer and supplier — no list price was published in the sources checked.
Recoat: fast — it dries quickly, which is part of why it has to be sprayed by someone who knows it.
Watch out for: it is strictly a pro product. It dries fast, needs spray equipment, and has a limited pot life once the two parts are mixed.
Tip: if you are hiring a painter and they propose a 2K coating, ask which system and how they spray it. A painter who cannot answer that clearly is not the painter for a 2K job.
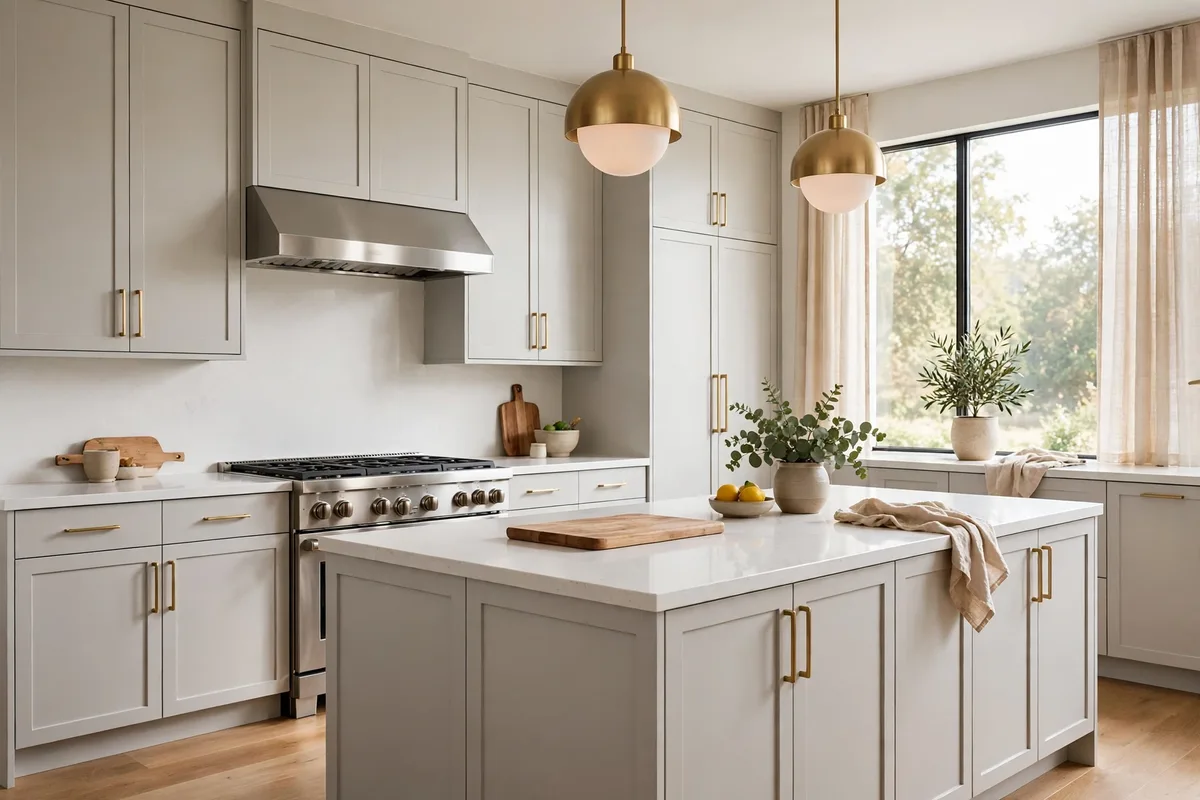
7. General Finishes Enduro — Best Pro-Grade Alternative
Enduro is General Finishes’ pro-grade cabinet line, with a tough, smooth finish that competes with the two-part coatings for durability. It is a waterborne system, so cleanup is easier than a true 2K, but it still demands precise mixing and timing — this is not a paint to learn on.
Best for: pros and advanced DIYers with patience, and anyone who wants a pro-grade finish without a two-part system.
Finish: satin to semi-gloss.
Price: varies by retailer — no list price was published in the sources checked.
Recoat: varies by product in the line; follow the label, not a guess.
Watch out for: the learning curve. Precise mixing and timing matter, and rushing a coat the way you might with a latex will show.
Tip: Enduro rewards a sprayer. Brushing it is possible, but the finish it is known for comes from a fine-finish spray setup.
8. Farrow & Ball Modern Eggshell — Best For Colour
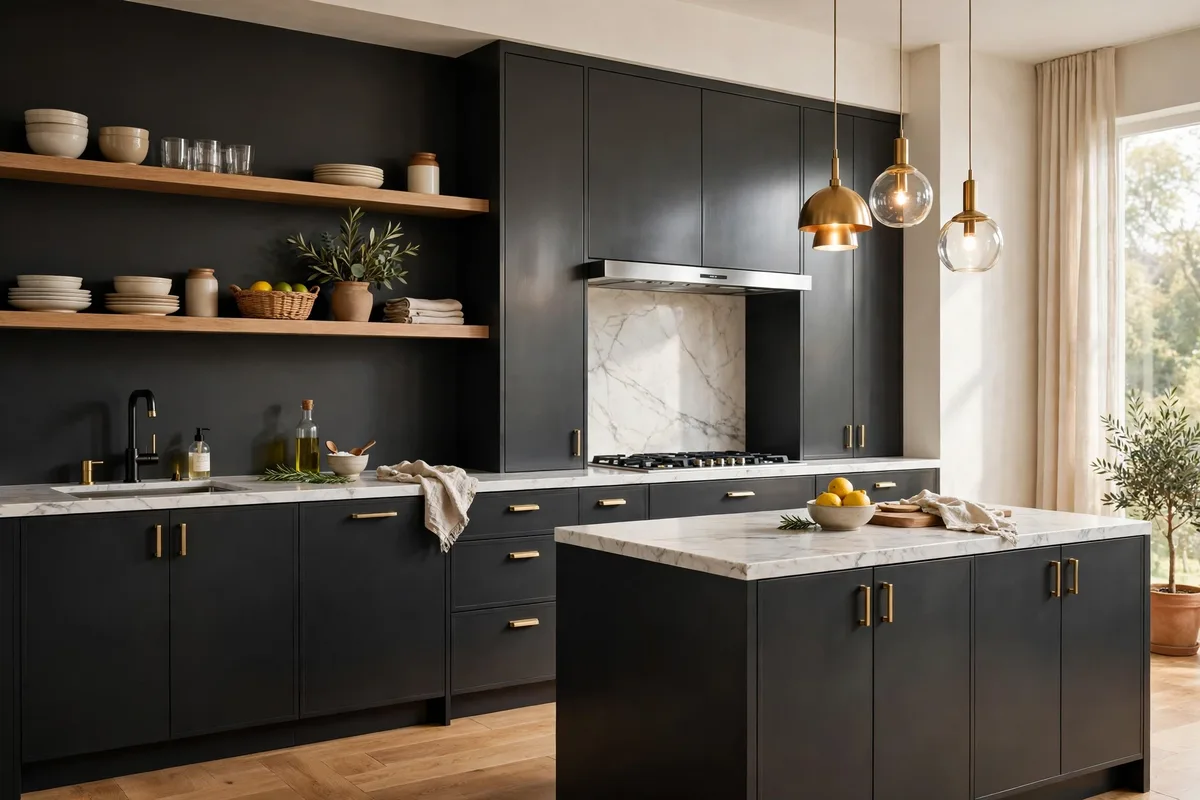
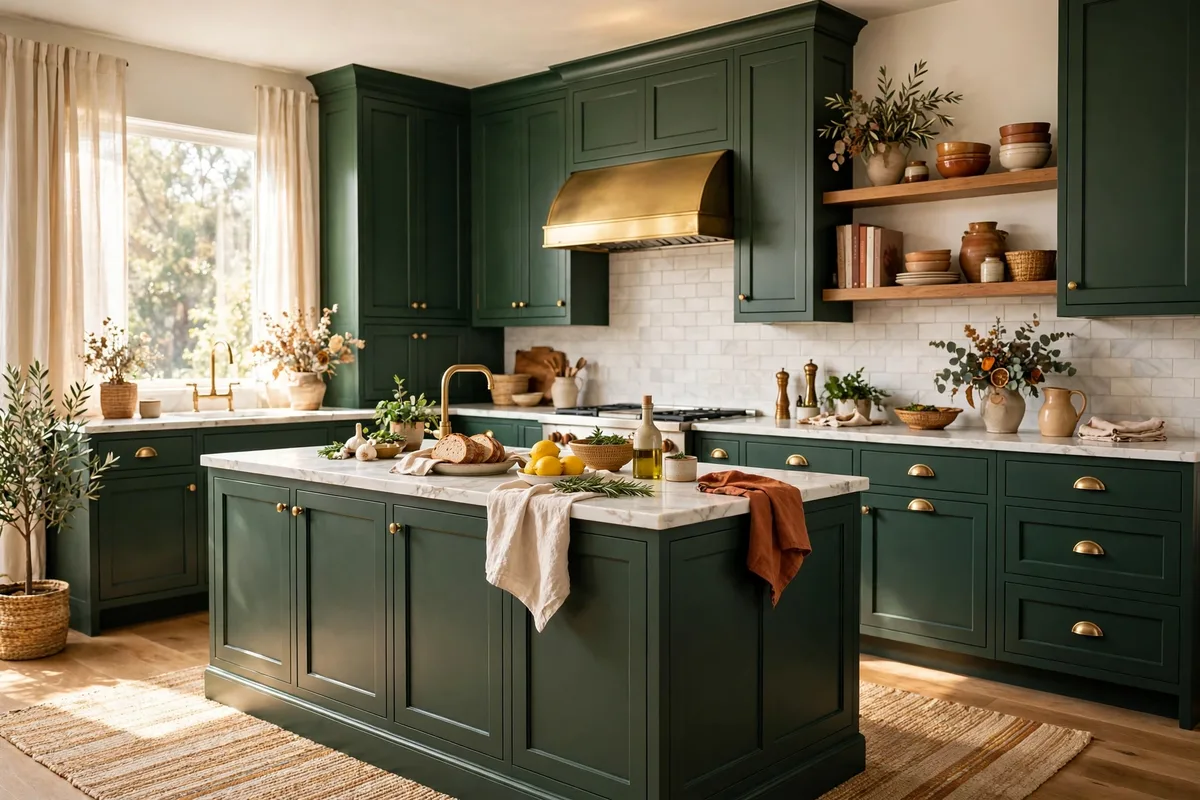
Modern Eggshell is Farrow & Ball’s finish formulated specifically for wood cabinets and trim, and it is the pick when color matters as much as durability. The paints are highly pigmented, so colors have depth instead of looking flat — the reason designers reach for them on statement kitchens. School House White, French Gray, Studio Green, and Inchyra Blue are among the most-used cabinet colors in this line.
Best for: kitchens where the color is the design — deep greens, moody blues, and soft layered whites.
Finish: eggshell (in Farrow & Ball’s naming, a mid-sheen eggshell made for woodwork, tougher than a wall eggshell).
Price: varies by retailer — no list price was published in the sources checked.
Recoat: follow the label; allow a full cure before heavy use.
Watch out for: it is a premium-priced line, and the color depth that makes it beautiful also makes touch-ups harder to hide — keep a small pot of the same batch.
Tip: buy the color in the finish you will actually use. Farrow & Ball colors look different across finishes, so test the real product on a door, not a paper swatch.
9. Tikkurila Helmi — Best For Hard-Wearing Professional Results
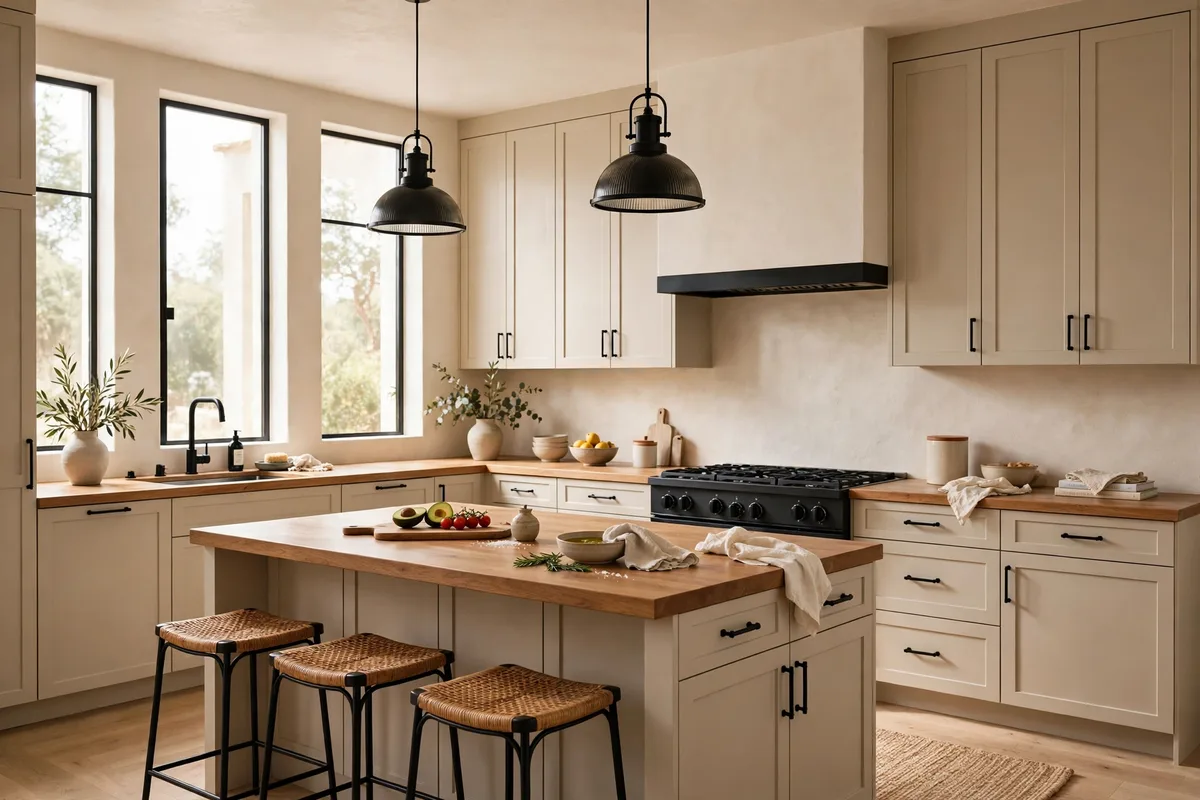
Helmi is a Finnish paint designed specifically for trim and cabinetry, and it is a quiet favorite among professional painters. It is known for extreme durability and smooth results, levels well, and is made for high-use areas — the kind of paint that gets specified when a kitchen has to survive a family, not just photograph well.
Best for: durability-first kitchens and pro painters who want a hard-wearing waterborne option.
Finish: satin to semi-gloss.
Price: varies by retailer — no list price was published in the sources checked.
Recoat: follow the label for the product variant you buy.
Watch out for: availability. It is less widely stocked than the American brands, so check your local supplier before you plan a weekend around it.
Tip: Helmi is a good answer when the brief is “paint it once and forget it for ten years.” It is not the cheapest can, but it is the cheapest per year of service.
10. General Finishes Milk Paint — Best Furniture-Style Look
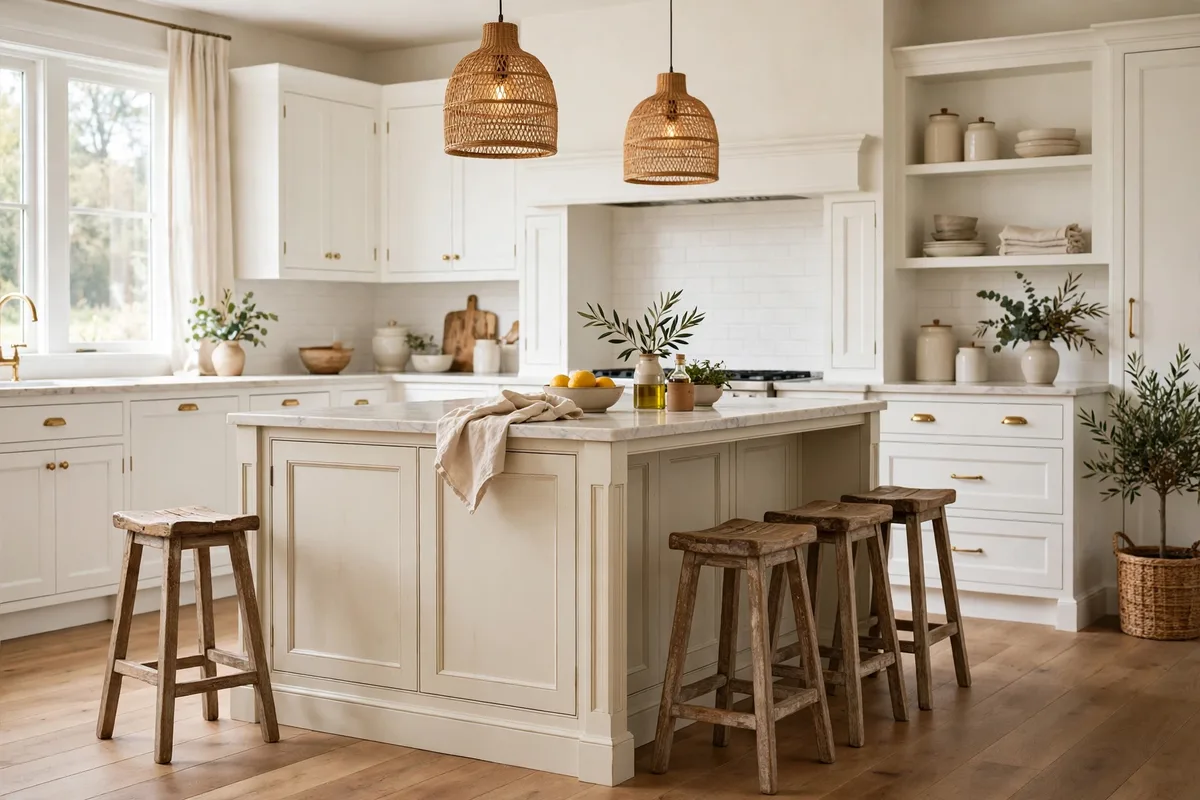
Milk Paint is an acrylic paint formulated for cabinets and furniture — not a chalk paint, despite the name — and it is the pick for a softer, furniture-style finish rather than a slick enamel look. It adheres well to cabinet surfaces, is very durable when properly sealed, and is one of the easier paints in this list for a DIYer to get good results with. It recoats in 2 to 3 hours.
Best for: furniture-style kitchens, islands, and DIY cabinet projects where you want character rather than a factory finish.
Finish: matte to satin, sealed with a topcoat for full durability.
Price: sold by the pint up to the gallon — no single list price was published in the sources checked.
Recoat: 2 to 3 hours.
Watch out for: it needs sealing for a busy kitchen. Unsealed, it will not hold up to daily cleaning and moisture the way an enamel does.
Tip: for small projects — a bathroom vanity, a single run of uppers, a kitchen island — Milk Paint is the easiest way into a good result. For a full high-traffic kitchen, seal it properly or step up to a hybrid alkyd.
Match The Paint To Your Cabinet Surface
The best paint for your cabinets depends on what they are made of. Each material needs different prep, primer, and paint — and the surface, not the brand, is what decides whether the paint sticks. Not sure what your cabinets are made of? Remove a door and check the back: solid wood shows grain on all surfaces, laminate has a printed pattern over particle board, thermofoil feels like smooth plastic, and MDF has a uniform texture with no visible wood grain.
| Surface | Difficulty | Primer | Best Paint | Sanding |
|---|---|---|---|---|
| Solid wood | Easy | Shellac-based (BIN) or bonding primer | Any hybrid alkyd or quality latex | 120-grit, then 220 between coats |
| Laminate | Moderate | Bonding primer required (Stix, GRIPPER, or BIN) | Hybrid alkyd only — latex peels on laminate | 220-grit light scuff only, never sand through |
| Thermofoil | Hard | Bonding primer (BIN shellac is safest) | Hybrid alkyd with flexible cure (Advance) | 320-grit ultra-light scuff |
| MDF | Moderate | Shellac-based primer to seal porous edges | Hybrid alkyd or quality acrylic latex | 150-grit faces, 220 between coats |
Solid wood is the easiest surface. Sand with the grain, fill open grain on oak with wood filler before priming, and any hybrid alkyd or quality latex will work. Laminate lives or dies on the primer. The primer does all the adhesion work — skip it and the paint peels within weeks. Scuff lightly and never sand through the laminate layer. Thermofoil is the hardest surface. It is a vinyl wrap over MDF, so heat guns and heavy sanding will melt or peel it; use only a gentle scuff and let the primer cure 24 hours or more before painting. If the film is already lifting from the substrate, or the boxes are water-damaged, painting only postpones a decision you will have to make anyway. MDF edges absorb moisture like a sponge. Seal all edges with shellac primer first, then a second coat — without this step the edges swell and the paint bubbles.
Tip: if you are going from a dark finish to a light one, tint the primer toward your topcoat color. It saves a coat of paint and stops the old color reading through.
Colour Ideas That Work On Cabinets
Paint choice and color choice are inseparable — the same paint in the wrong color will fight the room for years. These are the color directions that work, drawn from the paint-and-color pairings designers actually use.
- Warm whites: Swiss Coffee by Benjamin Moore is the most popular white for kitchens for a reason — warm enough to avoid looking stark or gray, clean enough to feel fresh. School House White by Farrow & Ball is the softer alternative, a classic white with subtle warmth and depth.
- Soft neutrals: Natural Tan by Sherwin-Williams is a warm neutral for kitchens where white feels too stark and darker colors feel overwhelming. It works especially well on wood cabinets and pairs with stone, wood, and metal finishes.
- Greens and blues: Studio Green by Farrow & Ball is a deep, moody green that has become the go-to for kitchen islands and lower cabinets. Inchyra Blue, a blue-green with gray undertones, is bold but livable long term and adapts to changing light.
- Deep tones: Deep Reddish Brown by Farrow & Ball is a warm, earthy alternative to black or charcoal — it brings depth without feeling cold and pairs well with brass and wood. French Gray, a timeless gray with green undertones, shifts subtly with the light and works across many design styles.
Two rules for color: first, paint a sample somewhere inconspicuous — inside a lower door — and let it cure for a few days, because colors dry differently than they look wet and shift as they harden. Second, if your kitchen is dark, be careful with whites in a waterborne alkyd, which can yellow slightly in dim spots; an acrylic enamel is the safer pick there. For more color and layout inspiration, our kitchen ideas cover the rooms these colors live in.
How Much Paint Does A Typical Kitchen Need?
A typical kitchen needs 3 to 4 litres of cabinet paint — roughly a single gallon — plus 1 to 2 litres of bonding primer. That covers one coat of primer and two coats of paint on the doors, drawer fronts, and frames of an average kitchen. A dramatic color change or a third coat on heavily used doors will push you toward the higher end, so buy the extra litre rather than running out mid-coat.
Budget $300 to $600 in materials for a typical kitchen, with paint and primer accounting for most of it. A professional refinish costs $4,000 to $6,000 for the same kitchen — the gap is almost entirely labor, because a typical kitchen takes 30 to 60 hours of hands-on work spread over two to three weeks, most of it preparation rather than painting. If you are also replacing hardware, budget $3 to $15 per piece and count carefully: a typical kitchen needs 25 to 40 pulls and knobs.
| Cost Item | DIY Range | Notes |
|---|---|---|
| Paint (1 gallon) | $35–$132 | Behr $35–$45; Advance ~$89; Emerald $130–$132 |
| Primer (1–2 litres) | $25–$60 | Bonding primer; tint toward topcoat color |
| Supplies (sandpaper, rollers, tape, filler) | $50–$100 | Brush, mini foam roller, tack cloths |
| Full DIY materials total | $300–$600 | Paint and primer are most of it |
| Professional refinish | $4,000–$6,000 | Labor is the difference |
Brush, Roller Or Spray — And How Long To Wait?
The smoothest finish comes from a sprayer, and it is what professionals use — a fine-finish sprayer with the appropriate low-pressure tip, spraying cabinet paints unthinned, straight from the can. But a brush and a mini foam roller will get you a very good result with a self-leveling paint, and they need no setup, no masking of the whole room, and no learning curve. Use an angled brush for edges, corners, and detail work, and a mini foam roller on flat panels, finishing each rolled section by lightly rolling back over it to even out the texture.
Two thin coats always beat one thick one. Cabinet paint is formulated to build over multiple layers, and a third coat is worth considering on heavily used cabinets or a dramatic color change. Work doors and drawer fronts first — they need the most drying time and have two sides — then move to frames and boxes, and finish with trim. Paint between 10°C and 25°C (50°F to 77°F) in a well-ventilated space with moderate humidity, because cool or humid air extends every drying time considerably. And never thin a waterborne alkyd more than 5 to 10 percent: thinning destroys the self-leveling and sag resistance you paid for.
The most misunderstood part of the job is the difference between dry and cured. Dry to the touch means the surface is no longer wet; cured means the paint has chemically hardened to its full durability. Here are the timings for Benjamin Moore Advance, the most-used cabinet paint in this list:
| Stage | Advance Timing | What You Can Do |
|---|---|---|
| Dry to touch | 4 to 6 hours | Handle carefully |
| Recoat | 16 hours | Apply the next coat |
| Reinstall | 24 to 48 hours | Hang doors, reattach hardware |
| Light use | 5 to 7 days | Normal opening and closing |
| Full cure | Up to 30 days | Full durability, normal cleaning |
Other paints cure faster — Emerald Urethane recoats in 4 hours and most hybrid alkyds reach full cure in two to three weeks — but the rule is the same for all of them: wait the full recoat time on the label, since recoating early is the second most common cause of failure after skipping prep. For a full walkthrough of the application itself, This Old House shows the no-sanding route in their guide to painting kitchen cabinets without sanding.
First-Month Care
For the first month, treat the cabinets gently. Avoid harsh cleaners, abrasive sponges, and heavy impact, do not line shelves with adhesive paper, and do not return heavy items for the first week. Do not scrub anything for a full 30 days — after that, the finish cleans with mild soap and water and holds up to normal kitchen use for years.
Three small habits protect the finish. Do not overtighten screws when reattaching hardware, because fresh paint is soft and an overtightened screw head leaves a permanent dent. If a door edge sticks or rubs, the paint is usually too thick at the edge rather than the door being misaligned — let it cure longer before adjusting anything. And put wax paper between stacked doors while they cure, so they do not stick together and pull paint off each other.
Before You Start
The paint is one decision in a bigger job, and the job succeeds or fails on preparation, not on the brand on the can. Degrease with a TSP substitute, scuff sand, fill dents and holes, apply a bonding primer, and sand lightly between coats — skip any one of those steps and you are repainting within a year. The single biggest reason DIY cabinet jobs fail is rushing the prep, so budget two to three weeks, not a weekend, and let the drying times set the pace.
If you want the whole process in order, our guide to repainting painted cabinets covers each stage from assessing the cabinets through curing and reassembly. Pick your paint from the list above, match it to your surface, test the color on a hidden door, and give it the full cure time — that is the whole secret, and it is not a secret at all.
Frequently Asked Questions
What Is The Best Paint For Kitchen Cabinets?
A waterborne alkyd enamel — a hybrid alkyd — is the best paint for kitchen cabinets. It delivers oil-paint hardness with low VOCs and easy water cleanup. The best overall product is Benjamin Moore Advance at roughly $89 a gallon, with Sherwin-Williams Emerald Urethane the fastest option at a 4-hour recoat, and Behr Alkyd Semi-Gloss the best budget pick at $35 to $45 a gallon.
Can I Use Regular Wall Paint On Kitchen Cabinets?
No. Regular wall paint is made to stay flexible and dry fast on drywall, not to hold up against constant gripping, slamming, and cleaning. It stays soft, dents, chips, and turns sticky in a humid kitchen — and the edges of cabinet doors are the first place it fails, with chips appearing within months. Use a product designed for cabinets.
Do I Need To Sand Before Painting Kitchen Cabinets?
Yes. Even the best paint needs something to grip, and a glossy factory finish is too smooth for anything to adhere to. Scuff sanding is about dulling the finish, not removing it: 150- to 180-grit for the first pass, 180- to 220-grit for the final pass, and a light 220-grit scuff after primer. Vacuum and wipe with a tack cloth before each coat.
How Many Coats Of Paint Do Kitchen Cabinets Need?
One coat of bonding primer and two coats of paint is the standard. A third coat is worth considering on heavily used cabinets or a dramatic color change, and a second coat of primer helps when covering dark wood or a strong grain pattern. Two thin coats always beat one thick one.
How Long Before I Can Use My Kitchen Normally?
You can hang the doors and reattach hardware after 24 to 48 hours, use the cabinets lightly after 5 to 7 days, and clean them normally only after full cure — up to 30 days for Benjamin Moore Advance, two to three weeks for most other hybrid alkyds. Treat the finish gently for the first month: no harsh cleaners, no scrubbing, and no adhesive shelf paper.