An unfinished basement ceiling is easy to ignore until you actually want to use the room. Then every joist, pipe, wire, and duct is right there overhead, and the space feels like a work zone no matter what you put on the floor.
The good news is that a basement ceiling does not need drywall, a contractor, or a big budget to look finished. The cheapest fixes work with what is already there instead of hiding it, and the slightly pricier ones still cost far less than a full remodel.
This guide walks through the ideas in rough order of cost, from a coat of paint to panels and tiles, so you can match the finish to your ceiling height, your need for access, and how damp your basement runs. If you want to compare materials side by side first, This Old House’s guide to basement ceiling ideas is a useful second reference.
Start With The Three Questions That Decide Everything
Before you buy anything, three things narrow the list fast:
- How much headroom can you spare? Paint and thin panels hug the joists and lose almost nothing. A drop ceiling needs several inches for its grid, which matters a lot in a basement that already feels low.
- How often will you need to reach what is up there? Pipes, wires, shutoffs, and ductwork all live above a basement ceiling. If you need regular access, pick a finish you can lift, unscrew, or tile out of the way.
- How damp does the basement get? Dampness rules out some materials entirely. Wood, paper-faced products, and standard fiber tiles suffer in a wet basement, while vinyl, PVC, and metal hold up.
Answer those three and most of the ideas below either fit or rule themselves out.
Paint The Exposed Joists For The Lowest Cost Finish
Painting everything one color is the cheapest basement ceiling idea there is, and it is also the one that keeps every inch of headroom. Joists, pipes, ducts, and wires all get the same coat, and once the color is uniform, the eye stops picking out individual parts. The ceiling reads as intentional instead of unfinished.
Black or dark charcoal is the popular choice because it makes utilities disappear into shadow. White does the opposite job: it reflects light and makes a dark basement feel taller, which suits a low ceiling or a room with little natural light. Either way, use a flat finish. Gloss catches the light and points right back at everything you were trying to hide.
Preparation is short but it matters. Clear away cobwebs and dust, and prime bare metal ductwork before the topcoat, or the paint will peel off the shiny surface. A sprayer covers joists and pipes far faster than a brush or roller, and it reaches the awkward angles between them. Plan the lighting before you spray: pendant lights on long cords bring light down from a dark ceiling, and light-colored walls plus warm furniture stop a black ceiling from making the room feel like a cave.
On cost, published guides typically put a painted basement ceiling at roughly $1 to $2 per square foot, and a gallon of quality ceiling paint runs roughly $30 to $50 and covers roughly 350 to 400 square feet. The real price of this job is a day of masking and spraying, not the materials. The prep lesson is the same one in our guide to repainting painted cabinets: the finish only holds if the surface underneath is clean and properly primed.
Install A Budget Drop Ceiling When You Need Access
A drop ceiling, also called a suspended ceiling, hangs a metal grid below the joists and fills it with lightweight tiles. It hides every pipe and wire completely, and when something needs attention, you lift a tile instead of cutting into a finished surface. That easy access is the reason drop ceilings stay popular in basements, even though the grid itself is not the prettiest sight in home design.
This is the right pick when shutoffs, valves, or junction boxes sit above the ceiling and you want to reach them without a repair job. Basic grid-and-tile systems are sold as starter sets, and tiles come in far more finishes than the plain white office squares people picture, including wood-look and decorative patterns.
For budgeting, published guides put DIY materials for a basic grid and tile system at roughly $1.50 to $3.50 per square foot, while a professionally installed standard tile ceiling runs roughly $5 to $8 per square foot. Two tradeoffs deserve an honest mention. First, the grid lowers the finished ceiling by several inches, so measure your clearance before committing. Second, cheap tiles can look dated, so choose simple patterns and skip heavy textures if you want the room to feel like a home rather than an office. In a damp basement, pick moisture-resistant or vinyl tiles, since standard fiber tiles can sag and stain when they get wet.
Cover The Joists With Plywood Or Beadboard Panels
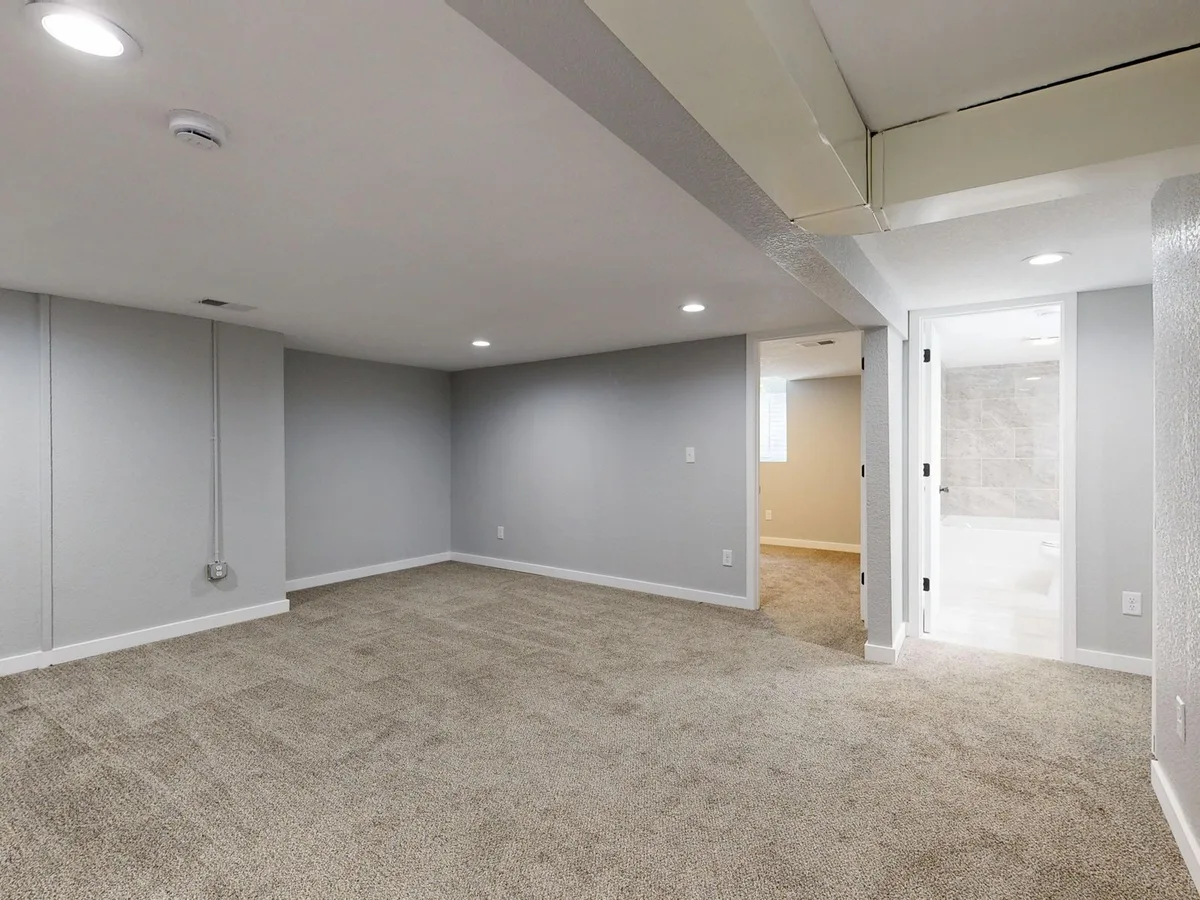
Panels screwed to the joists or to thin furring strips give you a real, solid ceiling surface while losing very little height. They look deliberate, they take paint or stain well, and if you screw them rather than glue them, individual panels can still come down when you need access.
Stained Plywood Panels
Plywood is the budget workhorse here. Sheets can be stained for a warm, rustic look or painted to match the walls, and they trim neatly around vents and fixtures. One published roundup puts stained plywood at roughly $200 to $600 for a room, which keeps it among the cheapest panel options. Keep the screws visible and evenly spaced, and a panel becomes a removable hatch rather than a permanent cover.
Beadboard Panels For A Cottage Look
Beadboard brings a cottage or coastal feel that plywood cannot, with narrow grooved planks that read as finished carpentry. Full 4-by-8 sheets go up much faster than individual planks, and the tongue-and-groove edges hide the seams. Published guides put beadboard at roughly $1 to $2 per square foot. One moisture warning applies: in a damp basement, choose PVC beadboard instead of wood, so the panels do not warp or feed mold.
Add Corrugated Metal Or Tin-Look Tiles For Character
Corrugated Metal Panels
Corrugated metal suits an industrial or loft-style basement, and it asks almost nothing in maintenance. New roofing metal gives a clean, modern look, while upcycled sheets bring a rustic edge. Metal resists moisture, which is a genuine advantage below ground, and its reflective surface bounces light around a room that may have no windows at all. Fitting panels between the joists leaves the beams exposed and adds an architectural rhythm to the ceiling. Wear gloves when handling cut metal, and seal rusty upcycled sheets with a clear coat so the rust does not keep spreading. One published roundup puts corrugated metal at roughly $300 to $800 for a room.
Glue-On Foam And Tin-Look Tiles
Glue-on tiles are the fastest cover on this list. Made from foam, polystyrene, or PVC, they come in tin, wood, and coffered patterns, stick straight to a flat surface or furring strips, and need no grid at all. They are light enough for one person to install, and most tile options run under roughly $2 per square foot. Many can be painted to match the room. PVC versions are fully moisture-proof and suit damp basements, though they should stay away from high-heat areas.
Soften The Ceiling With Fabric Panels
Fabric is the softest option, and the simplest to undo. Staple sheets or other fabric to the joists and let them billow down in gentle tufts, or clip stretch fabric to a frame around the room’s perimeter for a cleaner, tighter look. The result hides the mess above while making the room feel cozy, and the whole thing comes down easily when you need access. Fabric can be vacuumed or taken down and washed, and published guides put fabric draping at roughly $1 to $5 per square foot. The tricky part is lighting, so plan where lights will go before you staple anything overhead. Fabric suits playrooms, lounges, and media rooms best, and it is a poor match for a workshop ceiling that will collect dust and damage.
Choose The Right Idea For Your Basement
When the ideas sit side by side, the choice usually makes itself. Match the finish to the constraint that matters most in your basement, not to the prettiest photo.
| Idea | Approximate Cost | Best When |
|---|---|---|
| Painted joists | Roughly $1–$2 per square foot | Budget is tightest, or the ceiling is already low |
| Drop ceiling | Roughly $1.50–$3.50 per square foot in DIY materials | You need regular access to pipes and wires |
| Plywood panels | Roughly $200–$600 per room | You want a rustic look on a tight budget |
| Beadboard panels | Roughly $1–$2 per square foot | You want a cottage look without losing height |
| Corrugated metal | Roughly $300–$800 per room | You want an industrial style, or the basement runs damp |
| Foam or tin-look tiles | Under roughly $2 per square foot | You want a fast weekend cover with no grid |
| Fabric panels | Roughly $1–$5 per square foot | You want a soft look that comes down easily |
Costs above are approximate material ranges from published guides, and they vary with room size, region, and whether you hire help. Once the ceiling is done, keep the rest of the room calm: the same less, bigger, intentional rule from our over kitchen cabinet decorating ideas works overhead too, since a few confident choices always beat a ceiling full of competing details.
Mistakes To Avoid With A Cheap Basement Ceiling
- Covering a leak instead of fixing it. Any ceiling traps moisture behind it. Dry the basement first, or the new finish will hide a problem until it becomes a bigger one.
- Sealing off shutoffs, junction boxes, and valves with no way back in. Keep access panels in place, or choose a finish you can remove.
- Sanding or cutting old ceiling tiles in an older home without knowing what they are. Homes built before 1980 may have tiles that are worth having checked before you disturb them.
- Skipping primer on bare metal ductwork. Paint peels off shiny metal, and the whole job ends up looking worse than the bare ceiling did.
- Painting everything dark and forgetting lighting. A dark ceiling needs extra light sources, or the room feels like a cave.
- Choosing paper-faced or standard fiber tiles for a damp basement. They sag and stain. Use moisture-resistant materials where dampness is a fact of life.
Frequently Asked Questions
What Is The Cheapest Way To Finish A Basement Ceiling?
Paint. One color over the joists, pipes, and ducts, applied with a sprayer, costs less than any panel or tile system and loses no headroom at all.
Can You Paint Pipes And Ductwork On A Basement Ceiling?
Yes. Clean everything first, prime bare metal, use a flat finish, and spray rather than brush for even coverage. Leave shutoff handles and labels readable so you can find them fast when you need them.
How Do You Keep Access To Pipes With A Finished Ceiling?
Choose a finish that opens: lift-out drop ceiling tiles, screwed panels that unscrew, or dedicated access panels over shutoffs and valves. Note where every shutoff and junction box sits before you cover anything, so you are not hunting for them later.
Does A Drop Ceiling Lower The Ceiling Too Much?
It drops the finished height by several inches for the grid. In a basement with generous clearance that rarely matters, but if your joists already leave little room overhead, paint or panels that hug the joists are the better call.
What Ceiling Works Best In A Damp Basement?
Fix the water first, then pick moisture-proof materials: PVC or vinyl tiles, corrugated metal, or PVC beadboard. Avoid standard fiber tiles, untreated wood, and paper-faced products in rooms that stay damp.
The Bottom Line
Cheap does not have to look cheap. Paint wins on price and headroom, a drop ceiling wins on access, and panels win on warmth and character. Pick the one that fits your ceiling height, your pipes, and your dampness, fix leaks first, keep your shutoffs reachable, and the basement stops feeling like a basement.