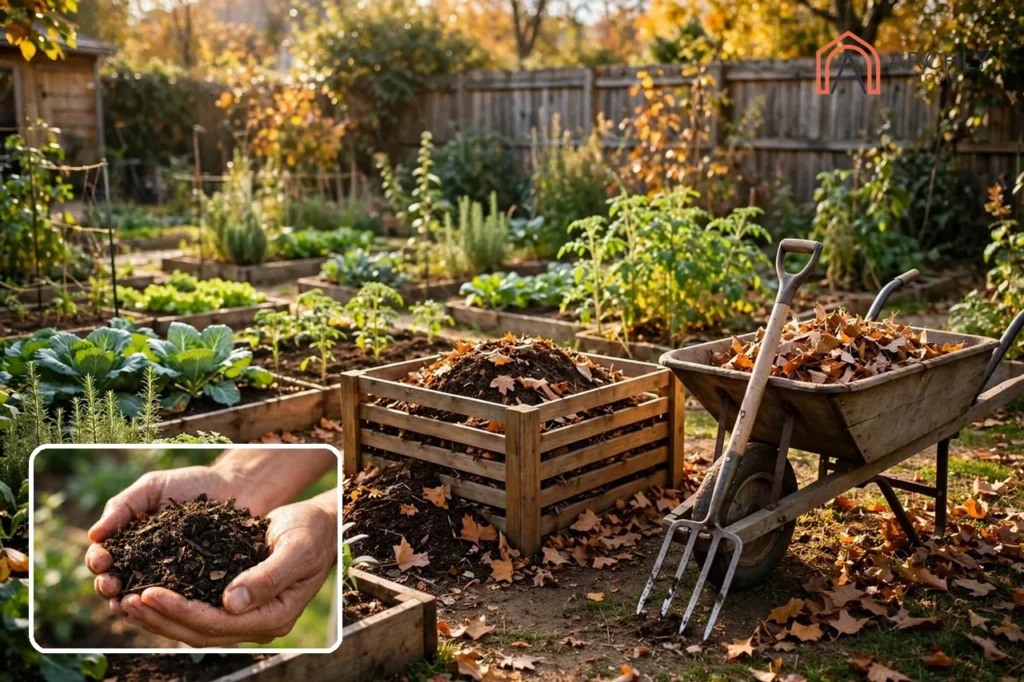
A compost pile turns kitchen scraps and yard waste into dark, crumbly soil food — and starting one is simpler than most guides make it sound. You need a spot, a mix of browns and greens, water, and air. Build it in an afternoon, and a simple cold pile is usually ready in 2 to 5 months. Build a hot pile and turn it often, and you can have finished compost in about a month.
This guide walks through the whole thing: what you need, how to choose between a pile, a bin, and a tumbler, how to start small if you only have a kitchen bucket of scraps, the 8 steps in order, and a week-by-week plan for your first 30 days — the part no other guide covers. If you grow your own food, the finished compost goes straight back into the beds; see our guide to starting a vegetable garden for what to plant in that improved soil.
What You Need To Start A Compost Pile?
You need less than you think. The essentials fit in a short list, and the rest is nice to have rather than necessary.
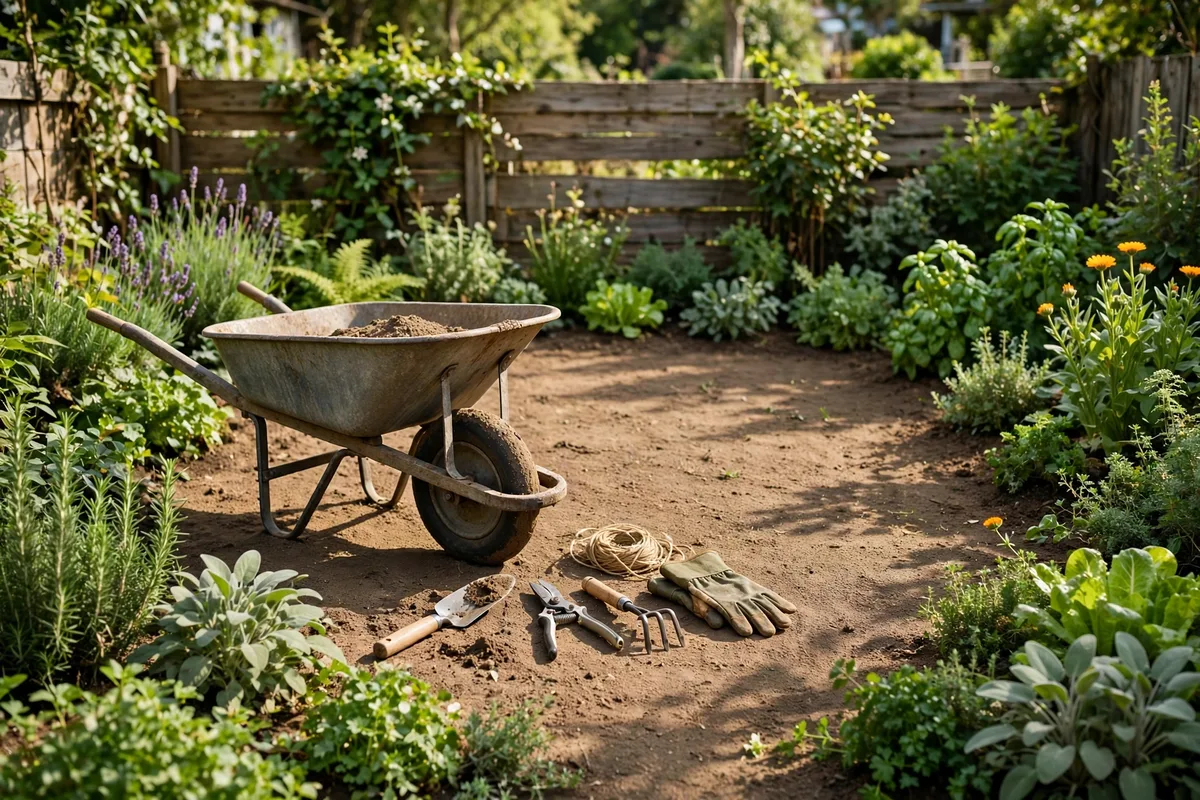
- A spot — about 3 by 3 feet of level ground with good drainage, somewhere you can reach with a wheelbarrow.
- Browns — dry, carbon-rich material: dry leaves, shredded cardboard, straw, shredded newspaper, small twigs.
- Greens — fresh, nitrogen-rich material: kitchen scraps, grass clippings, coffee grounds, fresh plant trimmings.
- Water — a hose or a watering can.
- A pitchfork or garden fork — for turning the pile.
- A cover — a tarp, an old piece of carpet, or a lid if you use a bin.
Nice to have, not essential: a compost thermometer, a bin or tumbler, a shredder for leaves, and a second bin so one pile can cure while you start the next. A free open pile works fine — the container is a convenience, not a requirement.
What Goes In And What Stays Out?
Most kitchen and garden waste belongs in the pile: fruit and vegetable scraps, eggshells, coffee grounds and filters, tea bags without staples, grass clippings, leaves, straw, shredded cardboard, nut shells, and citrus peel. Chop or shred large pieces first — smaller pieces break down faster.
Keep out meat, fish, dairy, fats and oils, diseased plants, weeds gone to seed, treated or painted wood, pet waste, and black walnut leaves, which contain a compound that harms many garden plants. Meat and dairy are the two items that cause most pest and smell problems in a home pile, so they are the ones worth being strict about.
Pile, Bin, Or Tumbler: Which Setup Fits You?
Every guide lists the same three setups, but none of them helps you choose. Here is the decision, based on your yard, your effort, and your pest pressure.
| Setup | Cost | Effort | Speed | Best For |
|---|---|---|---|---|
| Open pile | Free | Low to start; fork-turning later | Slow to medium | Large yards, big volumes of leaves and clippings |
| Stationary bin | Low | Medium; turning with a fork | Medium | Suburban yards that want a tidy, contained pile |
| Tumbler | Highest | Low; spin the drum | Fastest | Small yards, small batches, easy turning |
| Worm bin | Low to medium | Low; feeding, not turning | Steady, small-scale | Apartments, balconies, kitchen scraps only |
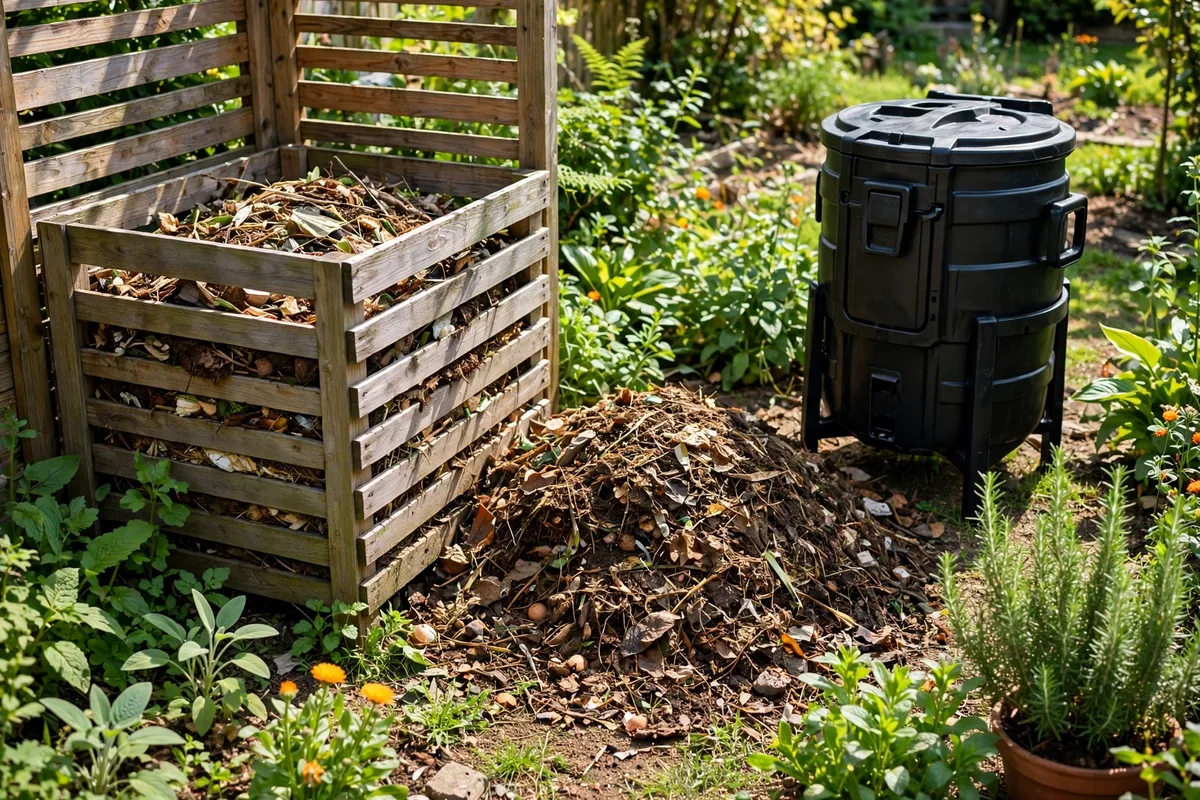
Choose an open pile if you have space and a steady supply of leaves and clippings. It costs nothing, holds the most material, and is the easiest way to build the 3-by-3-foot mass that heats up well. Its downside is looks and access: it is open to rain, rats, and curious dogs.
Choose a stationary bin if you want the pile contained and tidy — a simple wire ring, a pallet bin, or a bought plastic bin. It holds heat and moisture better than an open pile, keeps the heap neat for neighbours, and still takes a full wheelbarrow of material at a time.
Choose a tumbler if turning with a fork is hard for you, or your yard is small. Tumbling mixes and aerates in seconds, and the enclosed drum keeps pests out. The trade-off is size: tumblers hold small batches, so they suit a household’s kitchen scraps better than a whole autumn of leaves.
Choose a worm bin if you have no yard at all. Worms eat kitchen scraps indoors or on a balcony and produce rich castings. It is a different system from a pile, and it will not take your leaves and grass clippings.
Pest pressure decides a lot. If rats are a known problem in your street, pick a bin with a lid or a tumbler, bury every scrap under browns, and never add meat or dairy. If your yard is large and pests are rare, an open pile is fine.
Check Local Rules And Mind Your Neighbours
Before you build, check your local and HOA rules — one thorough guide lists this as a step in its own right, and it is worth doing first rather than rebuilding later. Some neighbourhoods limit pile size, require a bin, or set a minimum distance from the property line. A quick check now saves an awkward conversation later.
Neighbour etiquette is simple: put the pile where it will not bother anyone — away from a neighbour’s patio or bedroom window, not hard against a shared fence — keep it tidy, bury fresh scraps so they do not smell or attract flies, and keep it damp rather than soggy. A well-run pile has no smell at all, and that is the best neighbour policy there is.
How To Start Small With Almost Nothing?
Every guide assumes you build a full 3-by-3-by-3-foot pile in one afternoon. Most beginners do not have that much material on day one — they have a kitchen bucket of scraps and a few leaves. That is enough to start.
Begin with what you have: a bin, a bag, or a small wire ring. Add your kitchen scraps as they come, burying each addition under a handful of browns — shredded cardboard works well when leaves are scarce. Keep the little pile damp and covered. As leaves, clippings, and scraps accumulate, the pile grows, and once it reaches a couple of feet across it will start to heat and work faster.
What changes when you start small: a small pile heats less and breaks down more slowly, so expect the cold-pile timeline of several months rather than weeks, and turn it less often — once a month is enough until it grows. Nothing is wasted and nothing is wrong; you are simply composting cold and gradually, the way most gardeners actually begin. If you later want a faster system, add a second bin so one pile can finish and cure while you keep filling the other — the simple three-bin idea that one guide mentions in passing, and that works well for gradual builders.
How To Start A Compost Pile In 8 Simple Steps?
Step 1: Pick The Right Spot
Choose level ground with good drainage, in a place you can reach with a wheelbarrow all year. Partial shade is ideal — full sun dries the pile out, and deep shade keeps it cold. Keep it close enough to the garden that carrying finished compost is easy, but not hard against a fence or a neighbour’s patio, and check your local and HOA rules before you build. A spot near a water source saves a lot of carrying later.
Step 2: Choose Your Setup
Decide between an open pile, a stationary bin, or a tumbler using the guide above. If you are unsure, start with the simplest option: an open pile, or a wire ring made from a length of fencing. You can always add a bin later, and starting simple is better than spending a month choosing equipment while your scraps go in the bin.
Step 3: Build A Coarse Base
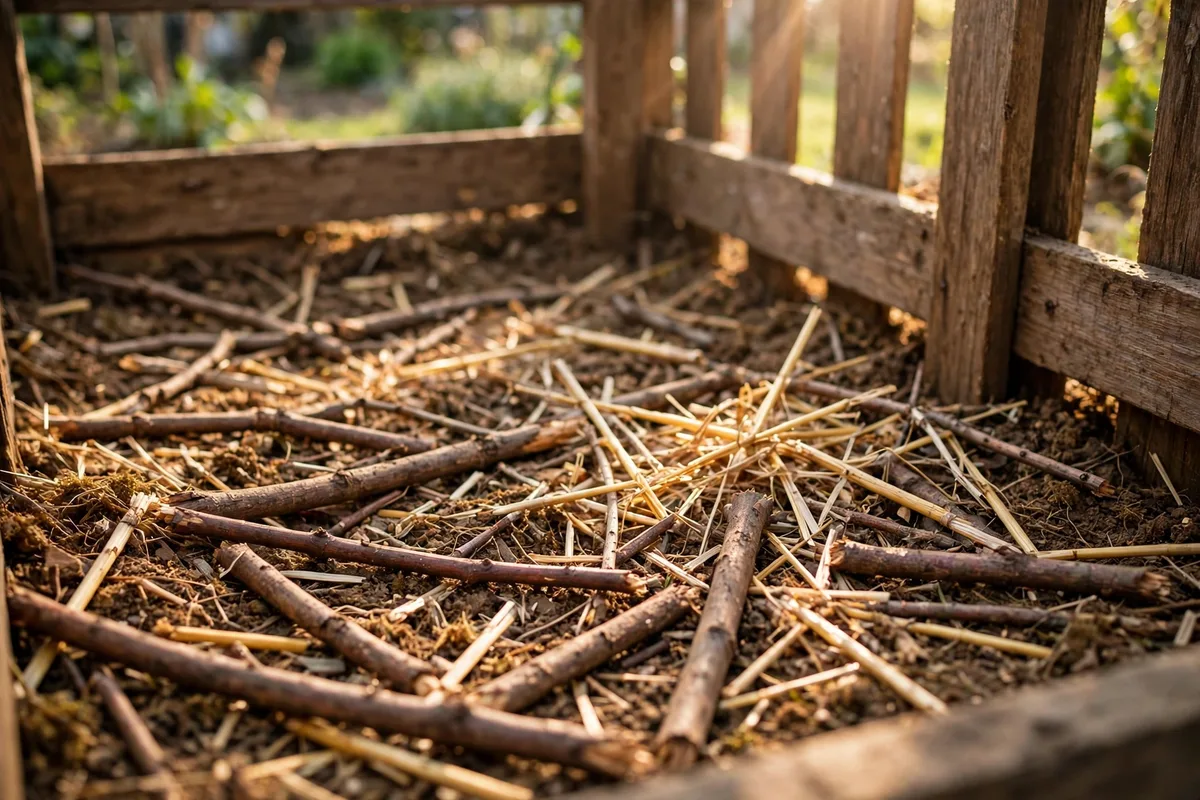
Lay down a loose layer of coarse material — sticks, twigs, or straw — about 4 to 6 inches deep. This base is the pile’s lungs: it lets air flow up from underneath and stops the bottom layer from sitting in water and going slimy. It is the step beginners skip most often, and the one that prevents the most smell problems later.
Step 4: Layer Browns And Greens
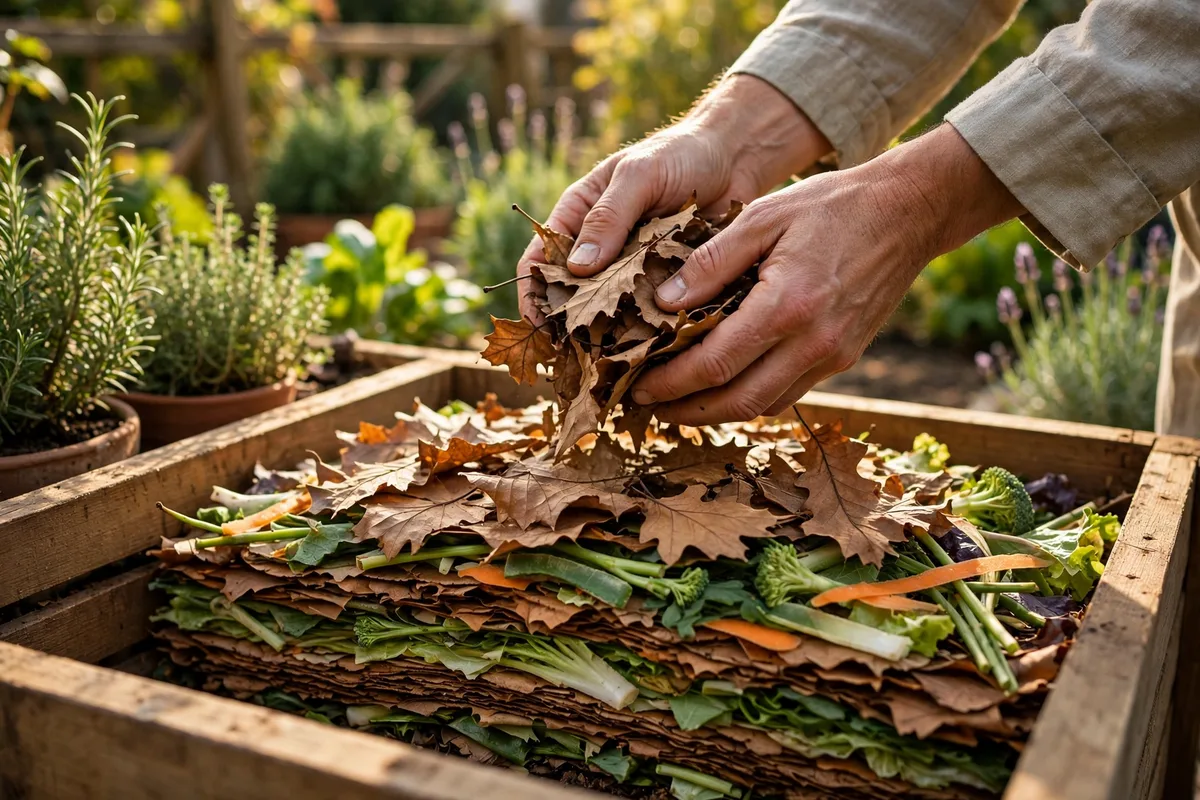
Add material in alternating layers: a layer of browns, then a layer of greens, then browns again. Aim for roughly 2 to 3 parts browns to 1 part greens by volume — a practical rule of thumb that keeps the pile from going slimy or stalling. The precise science is a carbon-to-nitrogen ratio of about 25 to 30 parts carbon to 1 part nitrogen by dry weight, but in practice the volume rule above gets you there. Shred or chop leaves and large pieces first, and bury kitchen scraps under a layer of browns every time you add them — this one habit prevents most flies and smells.
Step 5: Add Water Until Damp
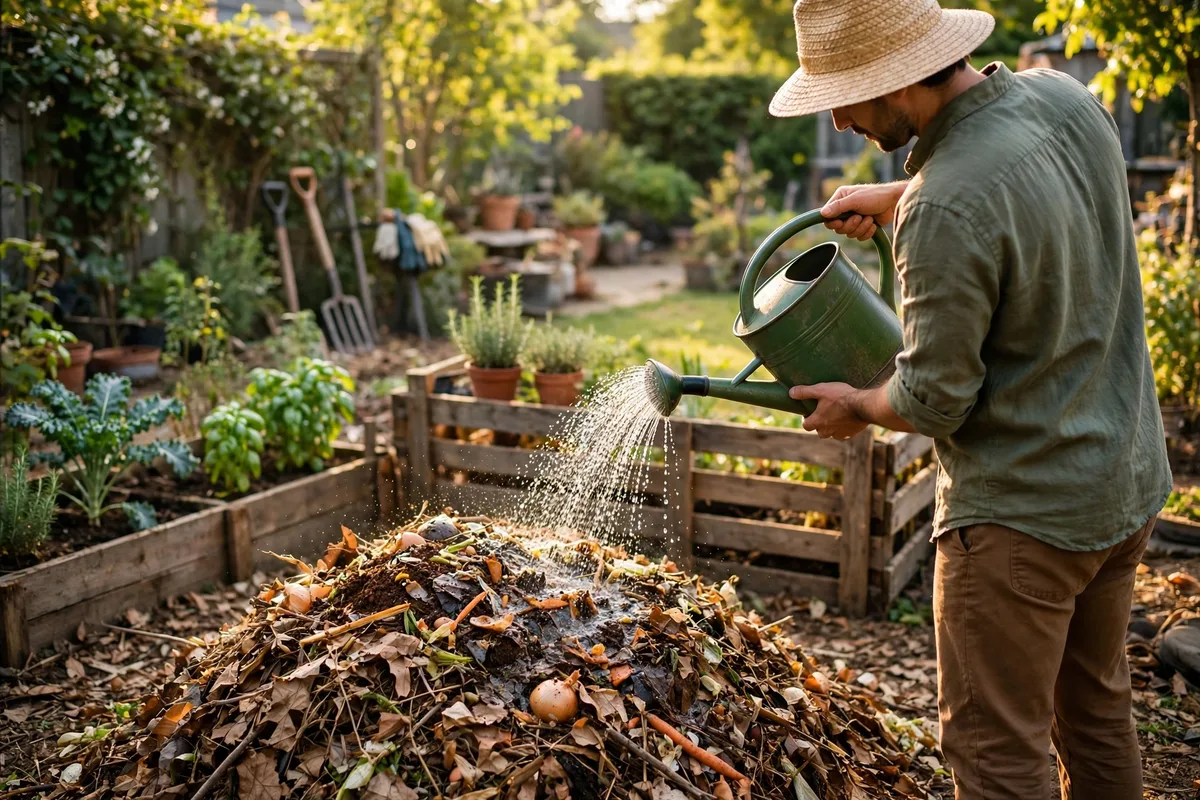
Water each layer as you build, until the pile is damp all the way through — moist like a wrung-out sponge, not dripping. A dry pile does nothing; microbes need water to work. In dry weather, check the centre with your hand every week or so, and water it again if it feels dry. In wet weather, the cover in the next step does the opposite job and keeps rain from soaking the pile.
Step 6: Cover The Pile
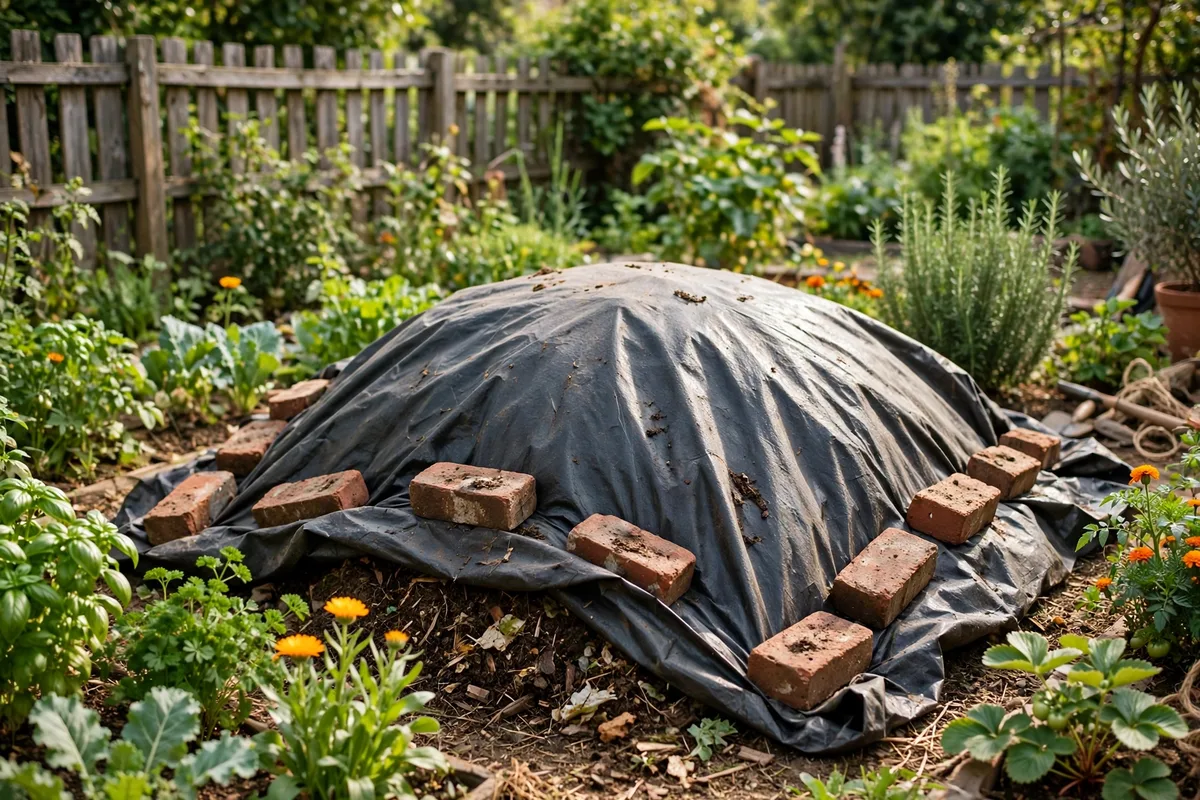
Cover the pile with a tarp, an old piece of carpet, or a lid. The cover holds in heat and moisture, keeps heavy rain from waterlogging the heap, and makes the whole thing look tidy. Weigh the cover down so it does not blow away, and lift it whenever you add material or check the pile. If you use a tumbler, the lid is the cover — just close it.
Step 7: Turn The Pile Every Week Or Two
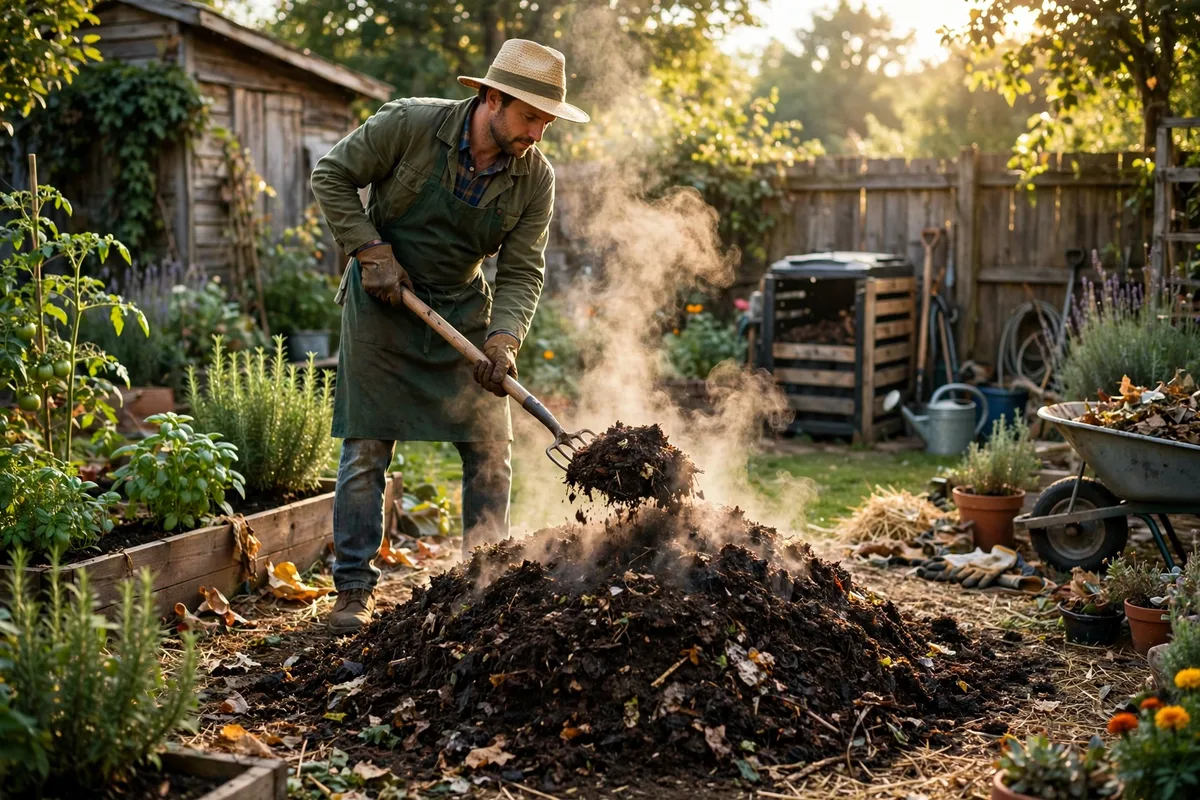
Turning mixes the pile, adds air, and moves the cooler outside material into the hot centre. For a simple cold pile, turning every 1 to 2 weeks is enough. Use a pitchfork to move the outside in and the inside out, and check the moisture as you go — add water if it is dry, add browns if it is slimy. If you are chasing speed with a hot pile, turn more often: daily turning with the right mix is the core of the fast Berkeley method, which claims finished compost in 18 days — though even its own advocates allow about 30 days in practice.
Step 8: Let It Cure, Then Use It
Finished compost is dark, crumbly, and smells like fresh earth — and you can no longer recognise what went into it. When the pile stops heating after turning and looks like soil, let it sit and cure for a few more weeks without adding anything new. Curing finishes the breakdown and makes the compost safe and gentle for plants. A simple check: seal a small sample in a jar for a day — if it smells sour or sharp when you open it, it needs more curing; if it smells earthy, it is ready.
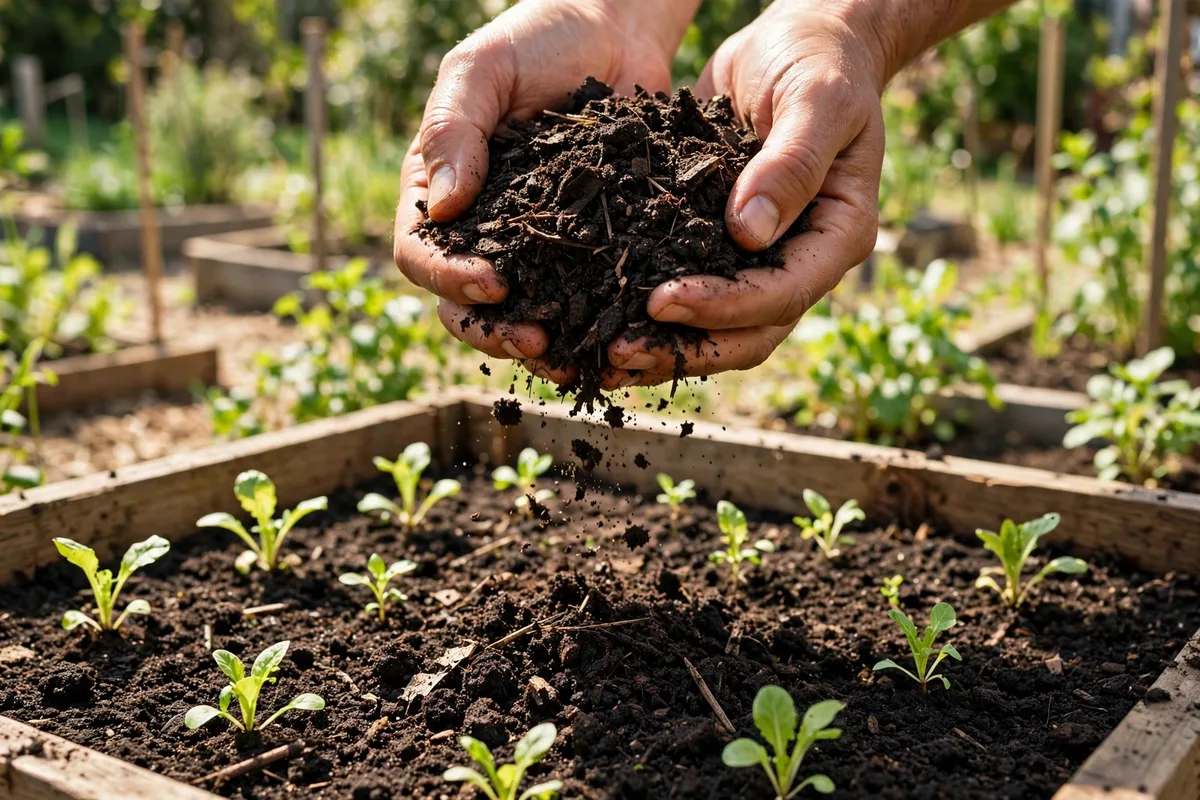
Use the finished compost by mixing it into garden beds before planting, spreading it around established plants, or blending it into potting mix for containers. Our guide to filling a garden bed shows how compost layers into a raised bed, and our tomatoes in containers guide is a good first use for a batch of home compost — containers reward good compost faster than anything else in the garden.
Your First 30 Days: A Week-By-Week Plan
Every guide gives the same generic steps and a “2 to 5 months” finish line, but none says what to do in the weeks after you build the pile. Here is the plan.
Days 1–7: Build and settle. Build the pile using the 8 steps above. Water it well, cover it, and leave it alone for the first few days. Check the centre around day 3 to 5 by pushing your hand into the middle — it should feel warm. Warmth means the microbes are working. Keep adding kitchen scraps as they come, burying each addition under browns.
Days 8–14: First turn. Turn the pile for the first time, moving the outside material into the centre. Check the moisture: it should feel like a wrung-out sponge. If it is dry, water it. If it smells sour or looks slimy, mix in a generous layer of dry browns and turn again. A hot pile will have shrunk noticeably by now.
Days 15–21: Second turn. Turn again and check the heat. A working pile stays warm in the middle after turning. If it has gone cold, it usually needs more greens, more water, or a bigger mass — add a bucket of fresh grass clippings or kitchen scraps, water it, and give it a few more days. If it is still hot, you are on the fast track.
Days 22–30: Decide your pace. By now you will know which pile you have. If it heats up after every turn and shrinks steadily, keep turning weekly and expect finished compost in another month or two. If it never really heated, do not worry — you have a cold pile, and it will still finish in 2 to 5 months with a turn every few weeks and steady additions. Either way, stop adding fresh material to this pile once it is about two-thirds full, and start a second small heap for new scraps so the first pile can finish.
Troubleshooting: Smell, Pests, And A Slow Pile
Most compost problems have one of three causes: too wet, too many greens, or too little air. The fixes are simple.
| Problem | Likely Cause | Fix |
|---|---|---|
| Bad smell, like rotten eggs | Too wet, too many greens, not enough air | Add dry browns, turn the pile, leave the cover off until it dries a little |
| Fruit flies around the pile | Scraps sitting on the surface | Bury every addition under browns; keep the pile covered |
| Rats or mice | Meat, dairy, or exposed food | Remove the offending material, bury all scraps, use a lidded bin or tumbler |
| Pile never heats up | Too small, too dry, or not enough greens | Add greens and water, build the pile bigger, turn it |
| Pile is dry and nothing changes | Not enough water | Water thoroughly while turning, then cover it |
| Maggots or ants | Food scraps exposed, pile too dry | Bury scraps, water the pile, turn it |
| White mould | Dry pockets of material | Water and turn to mix the dry patches in |
A note on winter: cold weather slows everything down. A pile started in autumn will sit quietly through winter and wake up in spring — that is normal, not failure. Autumn leaves plus kitchen scraps make a good winter pile; just expect it to finish in spring rather than in a few weeks. For the science behind what makes a pile heat up and break down, Cornell’s composting pages are a solid reference: Cornell Composting.
Start With What You Have Today
You do not need a perfect setup, a full pile, or a single piece of bought equipment to start composting. A spot in the garden, a layer of sticks, your kitchen scraps, and a handful of dry leaves are a compost pile — everything else just makes it faster or tidier. Build it this week, check it in a few days, turn it next week, and by spring you will be digging dark, earthy compost into your beds instead of throwing your scraps away. The pile does the work; your job is just to give it air, water, and a little patience.
Frequently Asked Questions
How Long Does It Take To Make Compost?
It depends on how you build it. A simple cold pile that you turn occasionally takes 2 to 5 months. A hot pile that you build all at once, keep damp, and turn every week or two can finish in 1 to 2 months. The fast Berkeley method claims 18 days with daily turning, though about 30 days is more realistic. Whatever your method, the pile is done when it looks and smells like soil.
What Is The Best Ratio Of Browns To Greens?
By volume, roughly 2 to 3 parts browns to 1 part greens. By dry weight, that works out to about 25 to 30 parts carbon to 1 part nitrogen. If your pile smells bad or goes slimy, you have too many greens — add browns. If it never heats up, you probably need more greens or more water.
Can I Compost In Winter?
Yes. A pile started in autumn will slow down or sit quietly through winter and wake up again in spring. It will not finish in winter in cold climates, but nothing is lost — the material waits and breaks down when the temperature rises. Keep adding scraps through winter if the pile is accessible, and expect finished compost in spring.
Do I Need To Turn My Compost Pile?
Turning is not strictly required, but it makes a big difference. A turned pile gets more air, heats up faster, and finishes in weeks or months instead of a year. An unturned cold pile still works — it just takes longer, usually 6 months to a year. Turn every 1 to 2 weeks for the best balance of speed and effort.
Why Does My Compost Smell Bad?
A healthy compost pile smells like fresh earth. A bad smell usually means the pile is too wet, has too many greens, or lacks air — most often all three at once. Fix it by mixing in dry browns, turning the pile to add air, and leaving the cover off until it dries out a little. And never add meat or dairy, which cause most serious smell problems.