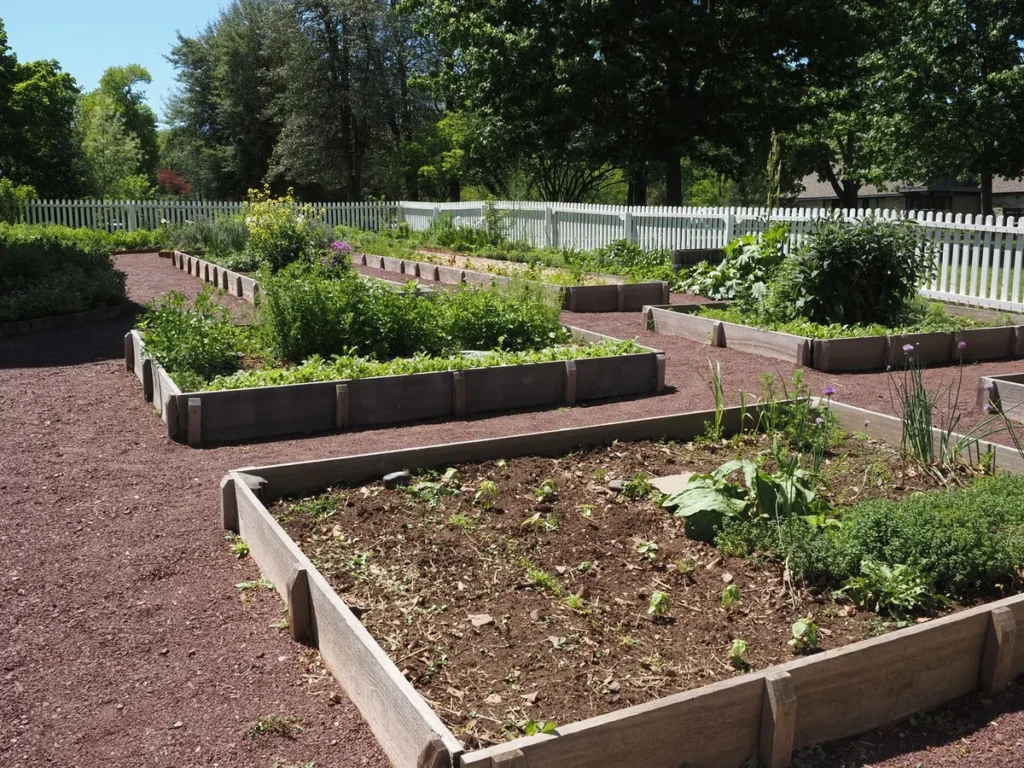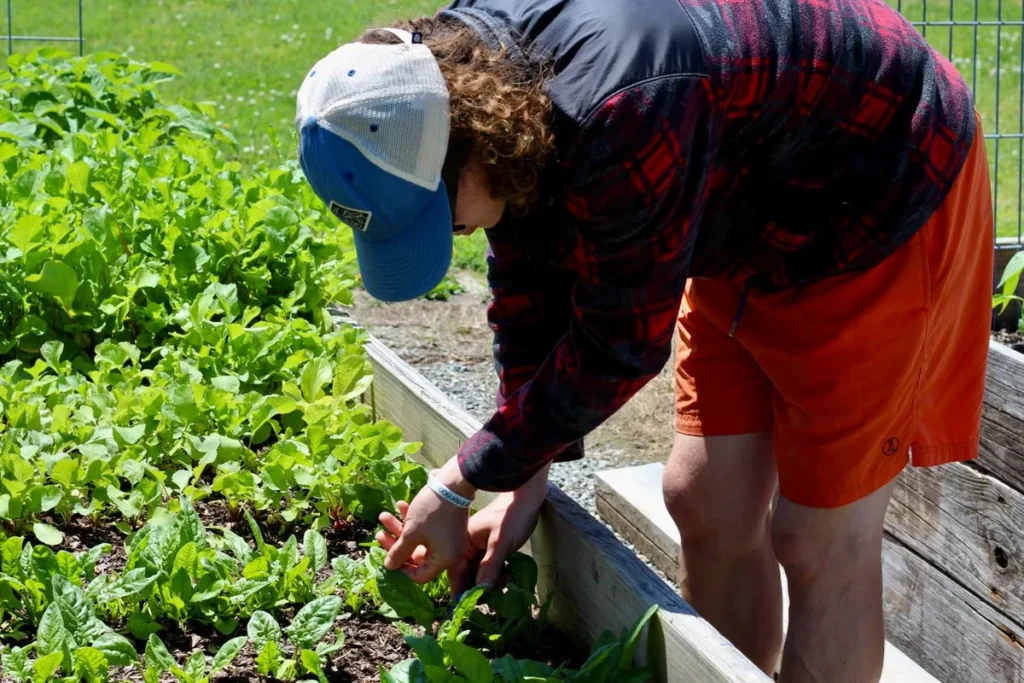
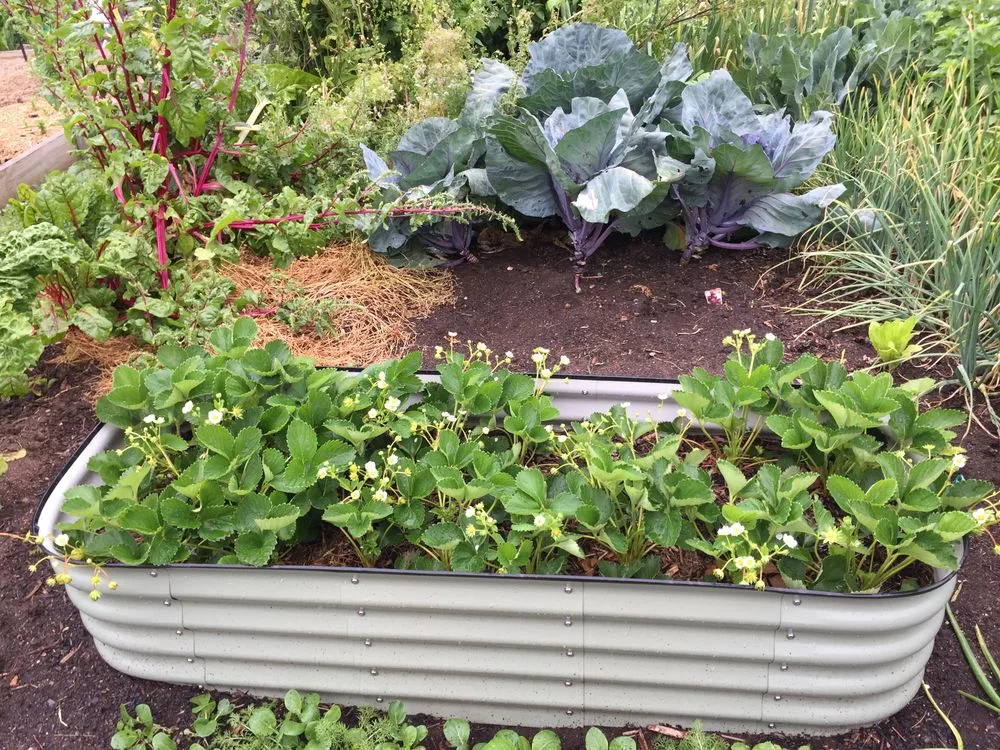
The first raised bed I ever built leaned. Not much — just enough that one corner sat proud of the soil and the whole thing looked like it was shrugging. The tomatoes didn’t care. They grew better than anything I’d ever planted in the ground, mostly because the soil was loose, deep, and drained the way vegetables like. That leaning bed taught me how to construct a raised garden bed properly: the plants are forgiving. You don’t need carpentry skills — just a sunny spot, a simple wooden frame, and a decent soil mix.
This guide walks through how to construct a raised garden bed from scratch: the spot, the size, the frame, and a soil mix that won’t turn into a brick by July. If you can measure a board and drive a screw, you can finish in an afternoon.
The quick answer: how to construct a raised garden bed in 6 steps
Short on time? Here’s how to construct a raised garden bed at a glance:
- Pick a sunny, level spot that gets 6–8 hours of direct sun.
- Choose your size — 4 × 8 feet is the standard; never go wider than 4 feet.
- Build a simple frame from rot-resistant lumber and corner posts.
- Prepare the ground — level it, and add hardware cloth if burrowing pests are a problem.
- Fill with the right soil mix — about 60% topsoil, 30% compost, 10% aeration material; never pure garden soil.
- Plant, water deeply, and mulch.
What you need before you start
Materials
- Lumber for the sides — two 8-foot boards and two 4-foot boards per bed (2× lumber is most durable). See Step 3 before you buy.
- Corner posts — 4×4 lumber cut into four pieces slightly taller than the bed, or metal corner brackets.
- Exterior wood screws — 3-inch deck screws, roughly 16–24 per bed.
- Soil — topsoil, compost, and an aeration material (perlite, pumice, or coarse vermiculite). A 4 × 8 bed 12 inches deep needs ~32 cubic feet — bulk beats bags on price.
- Hardware cloth (½-inch galvanized mesh) — optional; worth it where gophers, moles, or voles dig.
- Landscape fabric — optional; read the pros and cons in Step 4 first.
- Mulch — straw, shredded bark, or wood chips for after planting.
Tools
Tape measure and pencil · a saw (handsaw works; circular or miter saw is faster) · drill/driver · carpenter’s square (keeps corners honest — learn from my leaning bed) · level · staple gun (for hardware cloth or fabric) · shovel and wheelbarrow. With those in hand, you know how to construct a raised garden bed from start to finish.
Step 1: Choose the spot
Vegetables are sun-hungry. Aim for at least 6–8 hours of direct sunlight a day — more is better for tomatoes, peppers, and squash. Watch your yard for a day first: that corner bright at 9 a.m. might sit in a fence’s shadow by mid-afternoon, and leafy greens tolerate shade far better than fruiting plants do.
Three other things matter:
- Level ground. A bed on a slope leans and drains unevenly; a slight slope can be fixed in Step 4, but start flat if you can.
- Water access. Raised beds need watering more often than in-ground gardens. Keep the bed within hose reach so watering stays a two-minute job, not a chore you skip.
- Convenience. The bed you walk past daily gets weeded, watered, and harvested. Tucked behind the shed, it becomes a salad bar for slugs.
If you might add a second bed later (most people do), leave 2–3 feet of path between them for a wheelbarrow.
Step 2: Pick your size (this is where beginners go wrong)
The standard raised bed is 4 feet wide by 8 feet long, and that width is no accident. Four feet is roughly what an adult can reach across from both sides — plant, weed, and harvest the middle row without stepping in. Stepping in compacts the soil, and compaction is exactly what a raised bed is meant to free you from.
Never build wider than 4 feet unless the bed sits against a wall or fence — then 2 feet is the practical one-sided reach. Length is flexible; a 4 × 4 or 4 × 6 suits a small yard just as well.
Height matters almost as much:
| Bed height | Best for |
|---|---|
| 6–8 inches | Herbs and shallow salad greens over already-decent soil |
| 10–12 inches | Most vegetables — peppers, beans, cucumbers, squash; the all-round choice |
| 18–24 inches | Deep-root crops (carrots, parsnips), no-bend gardening, beds over concrete or compacted ground |
Most beginners should build 10–12 inches tall: deep enough for nearly everything, without a tall bed’s soil bill. Go taller if bending hurts your back or knees, or the ground underneath is hopeless.
Step 3: Build the frame
Choosing lumber that lasts
- Cedar and redwood are the classic picks: naturally rot-resistant, cedar typically lasting 10–15 years untreated — and the priciest option.
- Modern pressure-treated lumber is the budget-friendly workhorse. Pre-2003 treated wood used arsenic-based preservatives and shouldn’t go near food gardens, but today’s copper-based treatments are considered acceptable for raised vegetable beds by most university extension services. University of Minnesota Extension
- Avoid railroad ties and reclaimed mystery wood — creosote, lead paint, and outdated preservatives don’t belong around food.
Untreated pine is cheapest and fine for a trial bed — expect only a few seasons from it.
Assembling the box
- Cut your boards to length if the lumber yard didn’t: two at 8 feet, two at 4 feet.
- Cut four corner posts from 4×4 lumber, about 2 inches taller than the bed.
- Pre-drill the ends of the long boards; skipping this is how boards split.
- Screw the frame together. Set a post flush inside each corner and drive two or three screws through the side boards into it, checking with the square as you go.
- Stack a second layer for a taller bed, screwing the upper frame to the same posts.
Metal corner brackets are a good shortcut — true 90-degree corners, no posts needed.
Step 4: Prepare the ground
Set the frame in place, trace around it with a shovel, move it aside, and strip the grass and weeds inside the outline — a flat shovel skimmed under the roots makes quick work of sod. Level by digging down high spots rather than filling low ones; ten minutes here saves you the leaning-bed look.
Two optional layers go down before the frame returns:
- Hardware cloth on the bottom. Where gophers, moles, or voles tunnel, staple ½-inch galvanized hardware cloth across the frame’s bottom — cheap insurance you can only add before filling, which stops burrowers without blocking worms or drainage.
- Landscape fabric — the honest version. Fabric suppresses weeds from below, but it can slow earthworms, roots grow into it, and cheap fabric shreds within a few seasons. Over healthy lawn, plain cardboard wetted down usually does better — it smothers grass, then rots and feeds the soil. Over gravel or suspect ground, fabric earns its keep.
Set the frame back and check level once more.

Step 5: Add the soil (the step that decides everything)
Ask experienced gardeners what matters most and most will point at the soil — the frame is just a box; the mix is the garden.
The classic raised garden bed soil mix is roughly:
- 60% topsoil — the body of the mix; screened bulk topsoil is cheapest.
- 30% compost — the engine: feeds plants, holds moisture, keeps the mix alive.
- 10% aeration material — perlite, pumice, or coarse vermiculite, keeping air pockets so roots breathe and water drains.
Never fill a bed with pure garden soil from your yard — in a box it compacts, drains poorly, and brings weed seeds along. Pure potting mix is the opposite mistake: it dries out fast and costs a fortune at this scale.
Fill to within an inch or two of the top, water thoroughly, and let it settle a day or two. It will drop an inch or more, so top up before planting. Add fresh compost each spring — a slowly sinking bed is normal, not a failure.
On cost: at 32 cubic feet, bulk delivery beats bagged soil by a wide margin. Total builds typically land from a modest sum to a few hundred dollars — cedar at the top, treated lumber at the bottom.
Step 6: Plant and water
Planting into loose, fresh mix is the reward for all that hauling. Follow the spacing on your seed packets or tags — raised beds forgive slightly tighter spacing because the soil is richer, but crowded plants still compete.
Watering needs one adjustment: raised beds drain freely, which roots love, but they also dry out faster than the ground does in hot or windy weather.
- Water deeply and less often rather than a daily sprinkle — deep watering pushes roots down; sprinkling keeps them shallow.
- Soaker hoses or drip lines are the most efficient option: water reaches roots, foliage stays dry (discouraging fungal disease), and little evaporates.
- Hand watering works fine for a bed or two; water at the base of plants, in the morning.
- Mulch is the cheat code. Two to three inches of straw or shredded bark holds moisture, suppresses weeds, and stops soil splashing onto leaves.
By the third week you’ll notice it: almost no weeding, no mud, and soil you can push a hand into to the wrist.
Common beginner mistakes to avoid
- Building too wide. Five or six feet sounds generous until you’re standing on the soil to reach the middle — compacting the bed you built to avoid compaction.
- Filling with plain yard soil. It packs down and drains badly; the 60/30/10 mix exists because it works.
- Skimping on depth over bad ground. Six inches over concrete or rock-hard subsoil starves roots. Over hard surfaces, go 18–24 inches.
- Ignoring the square. Crooked corners only get more obvious once soil is in — thirty seconds with a carpenter’s square fixes it.
- Planting before the soil settles. Fill, water, wait a day, top up — then plant, or seedlings end up in craters after the first rain.
Frequently asked questions
How deep should a raised garden bed be?
For most vegetables, 10–12 inches is the sweet spot. Herbs and greens manage in 6–8 inches; deep-root crops like carrots and parsnips — or gardeners avoiding bending — do better at 18–24 inches. On good soil, roots also grow down past the frame, so depth matters a little less.
Can you put a raised bed on grass?
Yes — it’s one of the most common setups. Strip the sod if you can, or lay plain cardboard over the grass inside the frame, wet it thoroughly, and fill on top; the cardboard smothers the grass and decomposes within a season. Skip it and grass will likely creep up through the bed by midsummer.
Can I put a raised garden bed on concrete?
You can, with two adjustments: build taller — 18–24 inches — so roots have enough soil volume, and make sure water can escape at the base rather than pooling. Landscape fabric under the soil keeps mix from washing out across the patio.
How long does a cedar raised bed last?
Typically 10–15 years before the boards soften, though constant moisture and freeze-thaw cycles shorten that. Untreated pine usually lasts only a few seasons.
Do raised beds really need hardware cloth on the bottom?
Only where burrowing pests are an active problem. If gophers, moles, or voles already tunnel through your lawn, the mesh is well worth its small cost — and it can only go in before the soil does. Never seen tunneling? Skip it.
The bottom line
Learning how to construct a raised garden bed is a one-afternoon project with a decade of return: a sunny, level spot; a 4-foot-wide frame you can reach across; the 60/30/10 mix instead of yard dirt; deep watering. The frame can lean a little (mine did) and the garden will still reward you — because what you’re really building isn’t the box. It’s the soil inside it.
Ready to keep going? Browse our other gardening guides as the collection grows — layout plans and seasonal checklists are on the way.