
Intro
A good pantry is not more shelves. It is zones built around how you actually cook, shelves shallow enough that nothing hides at the back, and daily items sitting between your eyes and your waist. Get those three things right and even a single tall cabinet can work harder than a big walk-in that was never planned. These 25 ideas cover the whole job, from planning the space to keeping it organized.
Plan Before You Buy Anything
Every pantry project that goes wrong starts the same way: containers bought before anything was measured, or shelves built before anyone asked what actually lives in them. Three decisions come before any shopping — what you own, how you cook, and what format your space allows.
1. Start With A Pantry Audit
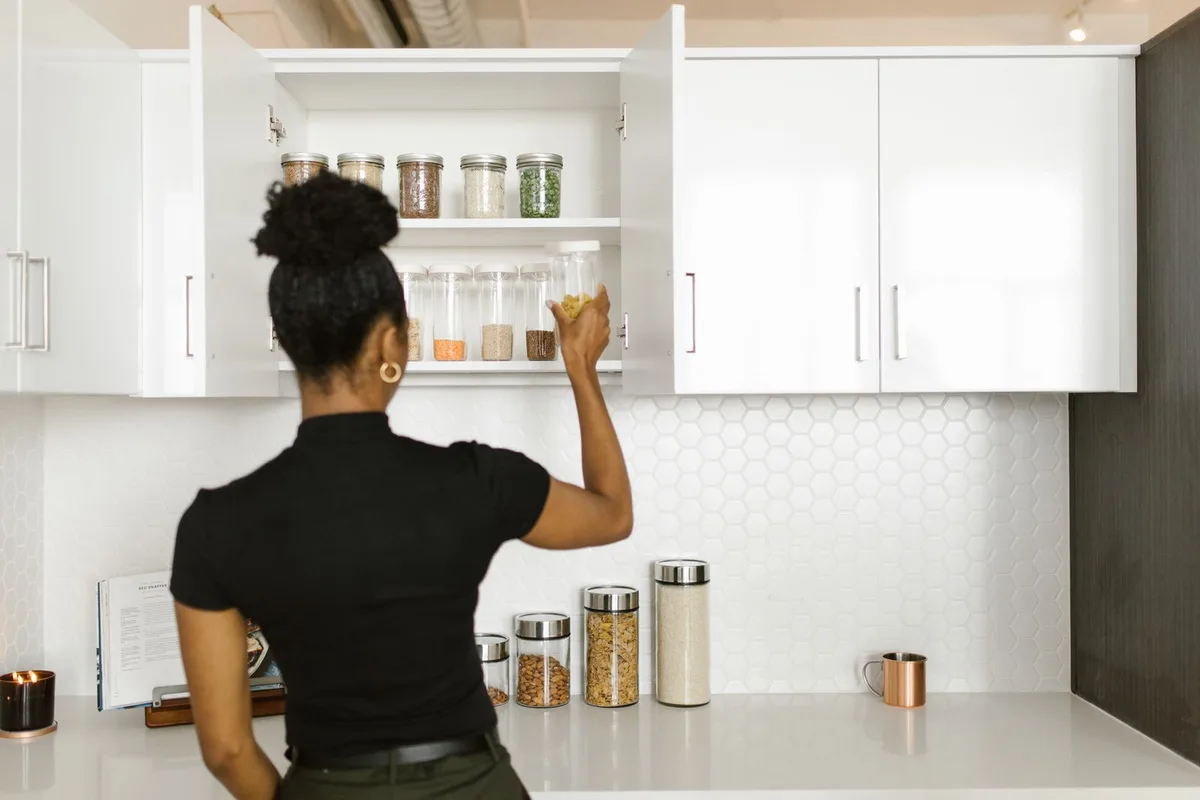
Take everything out — every shelf, drawer, and basket — and sort it into four piles: everyday, weekly, occasional, and expired. The expired pile goes straight in the bin, and the duplicates you forgot you owned are the reason this step exists. Write down what is in the everyday pile before you buy a single bin: that list is your pantry’s real inventory.
2. Zone By How You Cook
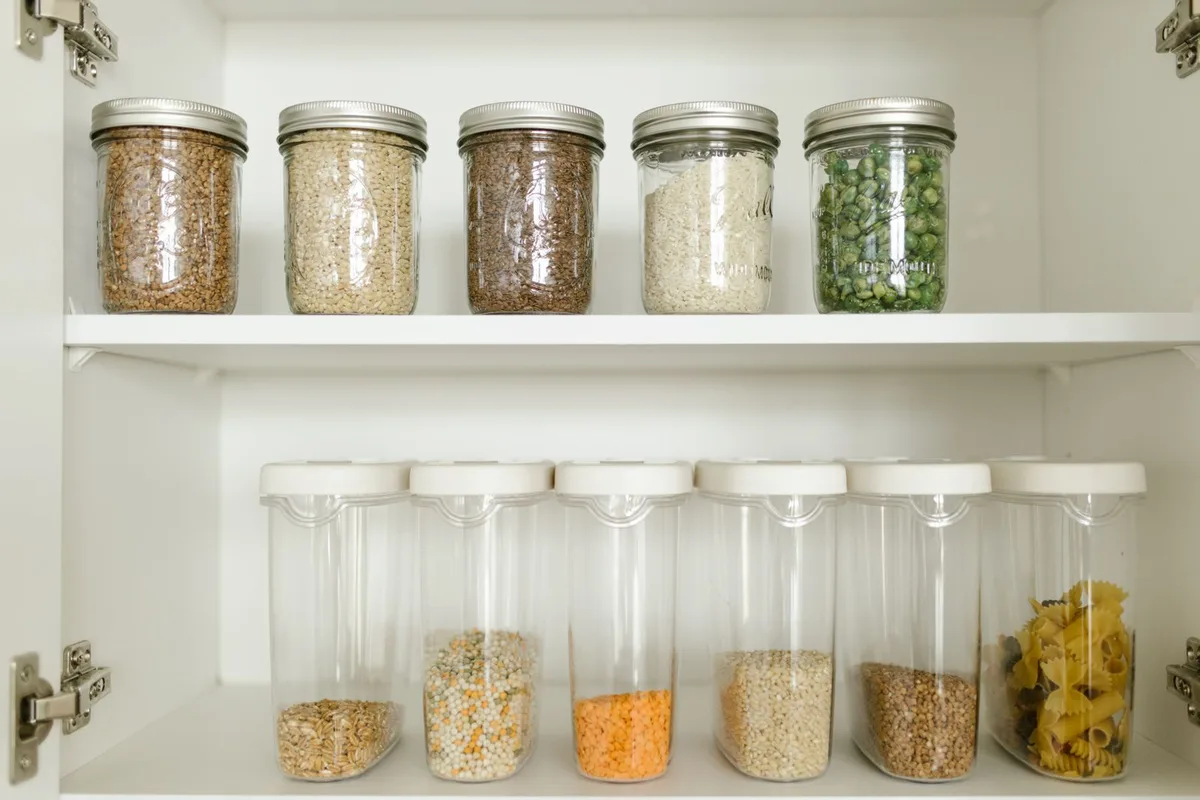
Group food by the meal it belongs to, not by the type of food it is: breakfast things together, baking things together, dinner bases together, and snacks in their own spot, low enough for kids to reach. A “weeknight pasta” zone beats a shelf of alphabetized cans, because you cook meals, not categories. The same zone thinking shapes the whole kitchen — our guide to kitchen ideas walks through layouts, storage, and lighting for the room around the pantry.
3. Measure First

Measure the space before you buy anything for it: shelf depth and height, the door opening, and the height of the tallest thing you store. Set shelf spacing by the tallest item on that shelf, not by an even grid, and leave about two inches of clearance above it. Fit adjustable shelving so a shelf can move when your shopping changes — buying containers first and measuring second is the most common pantry mistake.
4. Pick The Right Pantry Format For Your Space
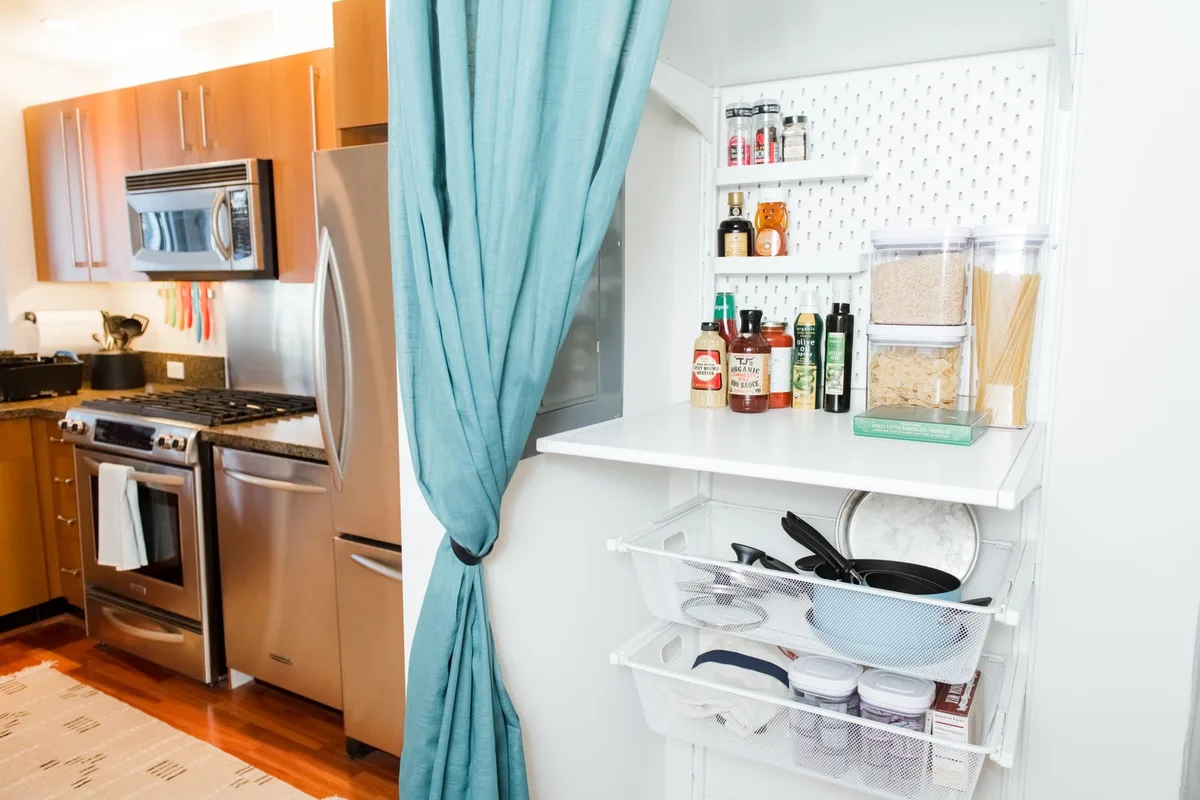
There is no single correct pantry — there is the format that fits your room. A walk-in works in as little as a meter of depth with shallow shelves on three sides; a reach-in is a shallow closet, usually around five feet wide and two feet deep. A tall cabinet, a slim pull-out larder, or a pantry wall of shallow open shelving can do the same job, and a freestanding unit or rolling cart covers kitchens with no pantry at all.
Make Every Shelf Visible
A pantry fails the moment food disappears behind food. These five ideas are all about the same thing: seeing everything you own, the first time you open the door.
5. Go Shallow — 10 To 14 Inches For Cans And Jars

Here is where the advice genuinely disagrees, so here is the honest answer. Some guides recommend shelves 16 to 20 inches deep; others say 10 to 14 inches for dry goods. Both are right — for different things. A can needs about four inches of depth and a cereal box about three, so a 16-to-24-inch builder shelf lets a whole second row hide behind the first, and that hidden row is where food expires. The rule that settles it: shallow for cans and jars, deeper only where pull-outs exist. Keep everyday shelves 10 to 14 inches deep (25 to 35 cm), and save 16-to-20-inch depths for appliance shelves fitted with slide-outs. This Old House’s pantry guide agrees — professional organizers favor shelves no deeper than 14 inches, with eye-level shelves 12 to 14 inches deep and spaced 14 to 16 inches apart, and bottom shelves 16 to 18 inches deep and spaced 18 to 24 inches apart for bulky items.
| What Lives There | Shelf Depth | Spacing Between Shelves |
|---|---|---|
| Cans, jars, cereal boxes, canisters | 12 to 14 inches | 14 to 16 inches |
| Spices and small condiments | As little as 6 inches | Tight, one row only |
| Bulky items and small appliances | 16 to 18 inches | 18 to 24 inches |
6. Add Pull-Out Shelves So Deep Cabinets Stop Hiding Food
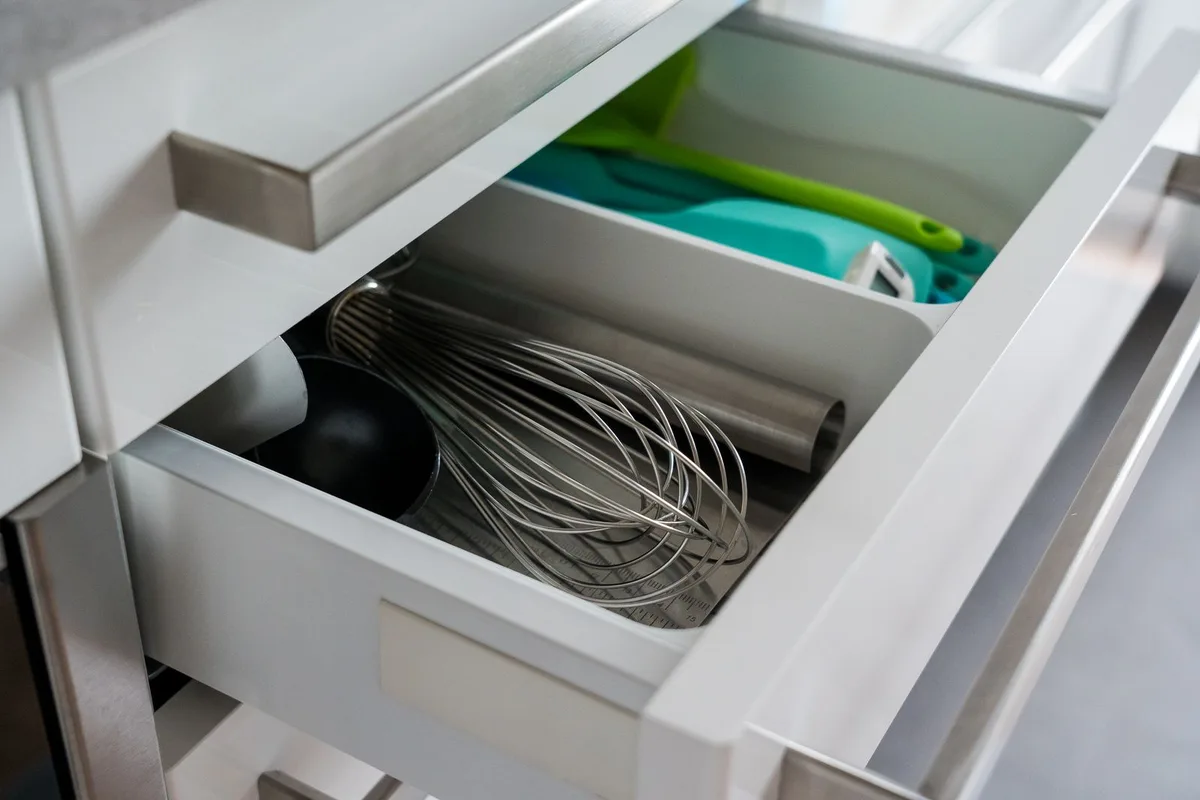
If your cabinets are already deep, do not rebuild them — fit roll-out shelves instead. A full-extension pull-out brings the back row to you, turning a 24-inch-deep cabinet from a black hole into usable storage. Use heavy-duty slides rated for the weight — a 20-pound bag of flour is heavier than most hardware expects — because one well-built pull-out beats three fixed shelves you cannot reach into.
7. Use Drawers Below Knee Level
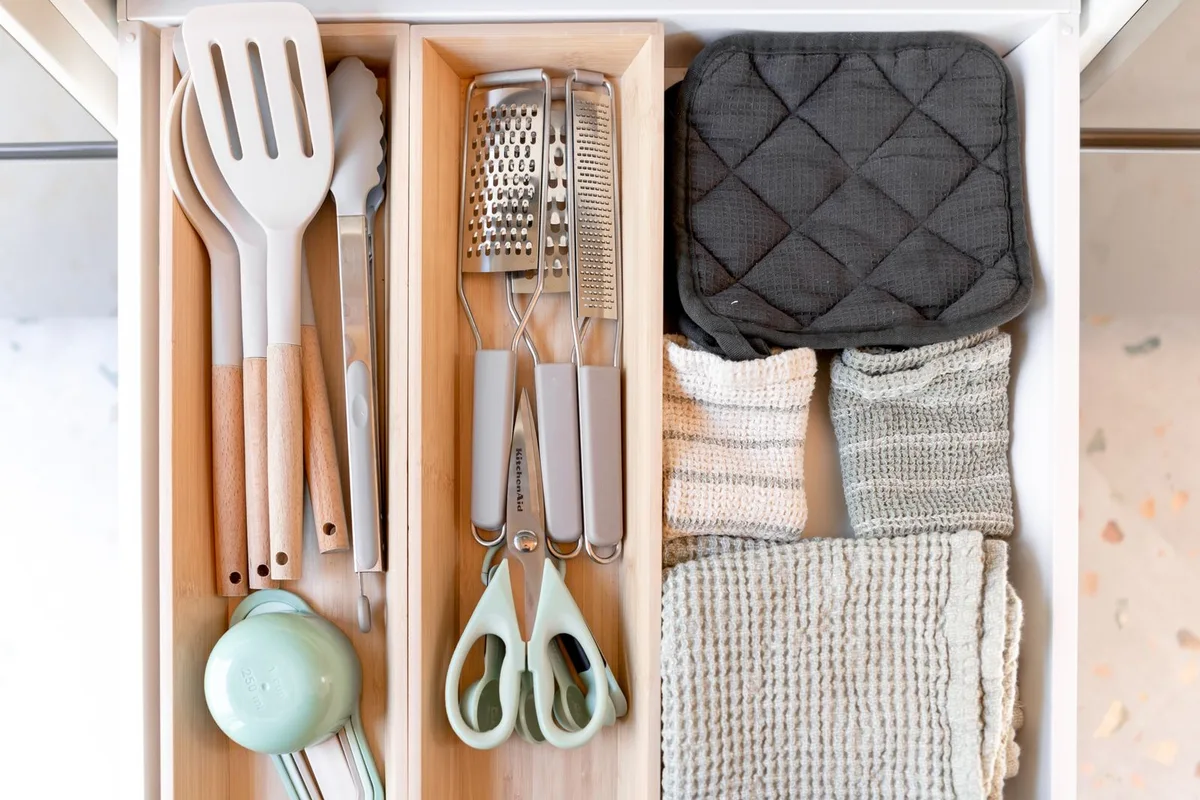
Below the knee, drawers beat shelves every time: you look down into a drawer and see everything at once, while a low shelf shows you the front row and a guess. Fit deep drawers under the counter line for heavy items — bulk bags, pots, root vegetables — and keep them ventilated where they hold potatoes and onions, which want cool, dark air, not sealed bins. A drawer unit that slides into an existing cabinet opening gives you most of the benefit without a remodel.
8. Add A Lazy Susan For Oils, Sauces, And Dead Corners
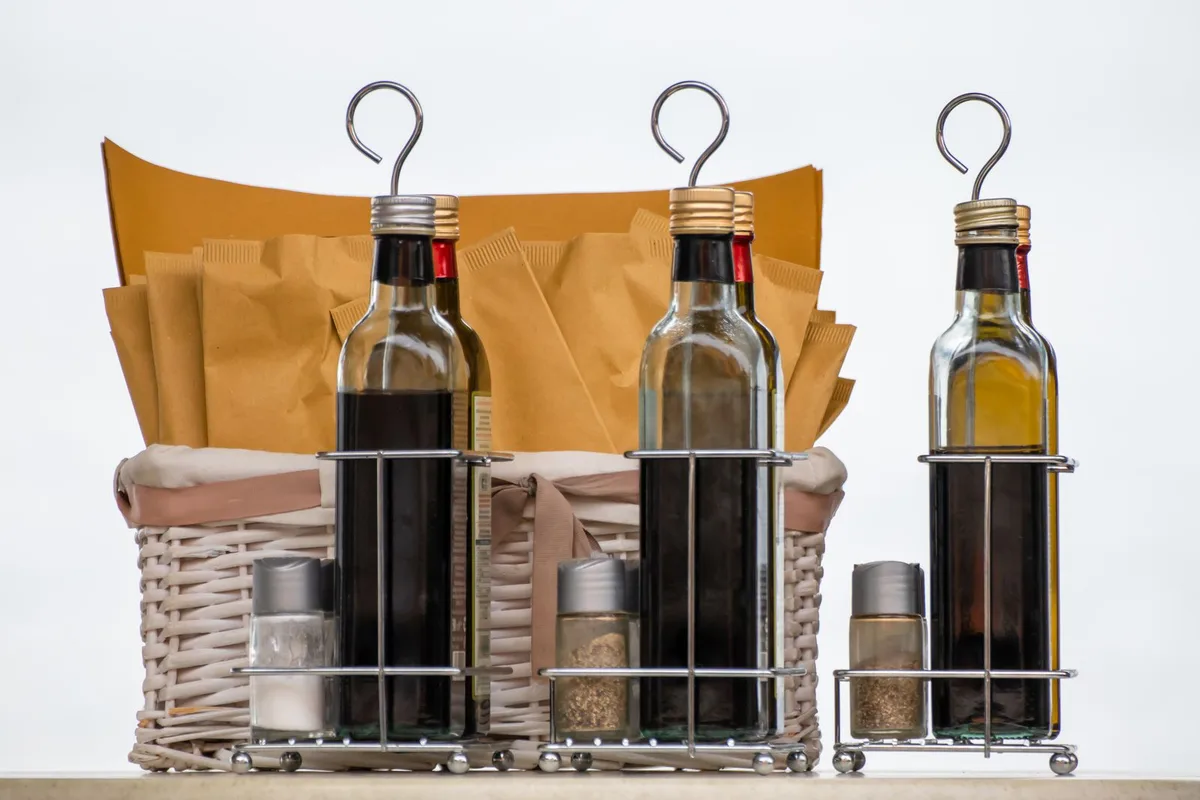
Corners are where pantries go to die, and a turntable is the cheapest way to bring them back. A two-tier Lazy Susan keeps oils, sauces, and vinegars one spin away instead of three jars deep, and a small single-tier turntable rescues the deep corner of any cabinet. In a true corner cabinet, swing-out shelves pivot out of the corner entirely — they cost more and solve the problem completely.
9. Put A Rack On The Back Of The Door
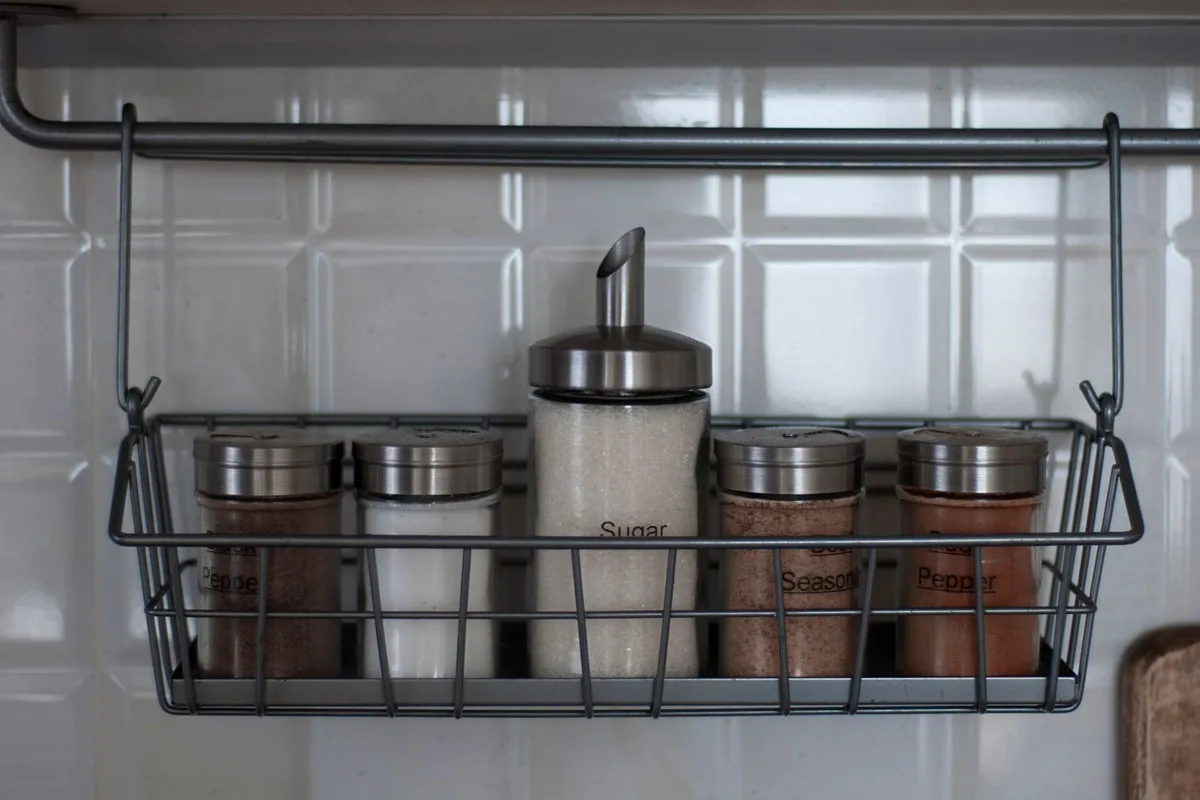
The back of the pantry door is free storage, and it is the best spice storage most kitchens have. A full-height door rack holds spice jars, small bottles, wraps, and foil where you can read every label at a glance. Measure first: the rack must clear the shelves when the door closes, heavy jars belong low, and shallow wire racks work best because nothing sits two deep.
Containers That Actually Work
Containers are tools, not decoration. These four ideas keep them honest: they should make food easier to find, keep it fresh longer, and stop you buying what you already own.
10. Clear, Airtight, Labeled Containers For Dry Goods
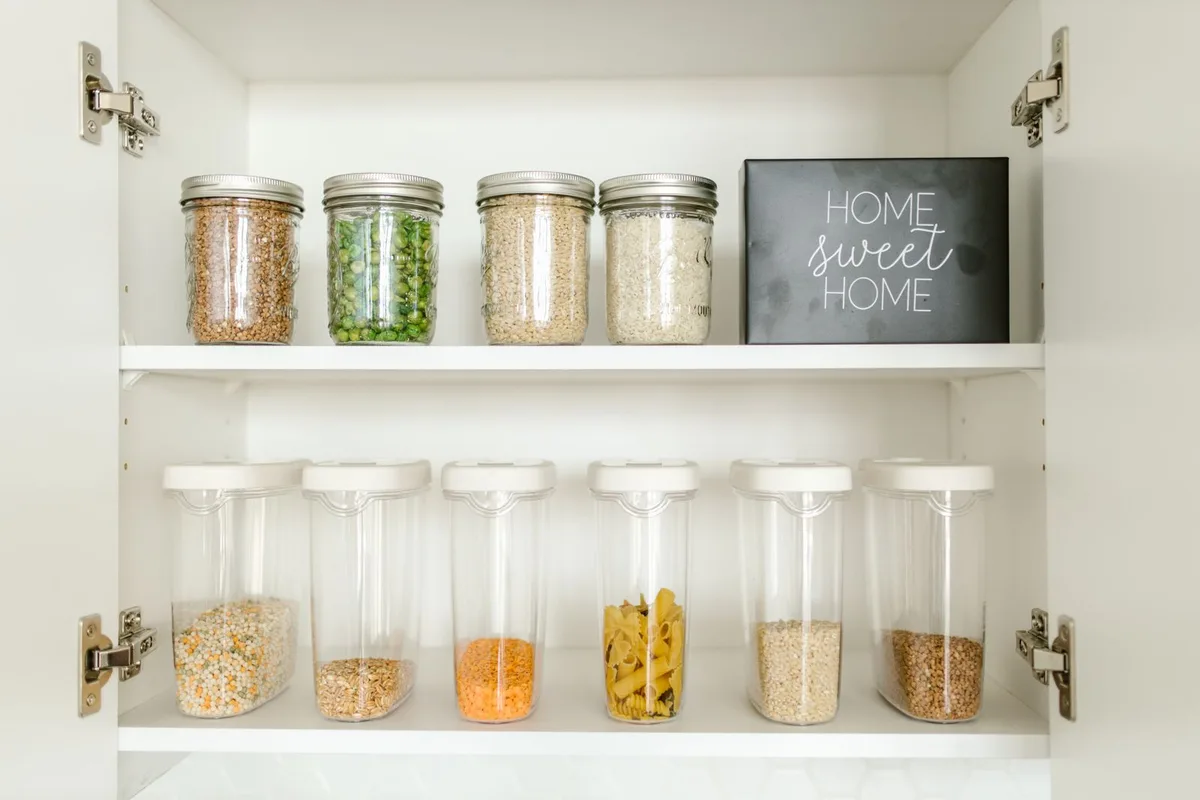
Decant the dry goods you use every week — flour, rice, pasta, oats, sugar — into clear, airtight containers with wide openings, and label each one. Clear matters because you can see what is running low; airtight matters because pantry pests and stale flour do not announce themselves. Pick one container shape and one label style and stick to them — but do not decant everything, since sealed bags of rarely used food are fine as they are.
11. Try The Two-Container System For Flour, Sugar, And Rice

Baking staples work best in pairs: one big bulk container that lives low and out of the way, and one small daily jar at eye level that gets refilled from it. The bulk bag stays sealed and fresh; the daily jar stays light enough to lift and pour without a spill. The same split works for rice, sugar, oats, and coffee — anything you buy in bulk and use a scoop at a time.
12. Baskets And Bins For Snacks, Produce, And Loose Packets
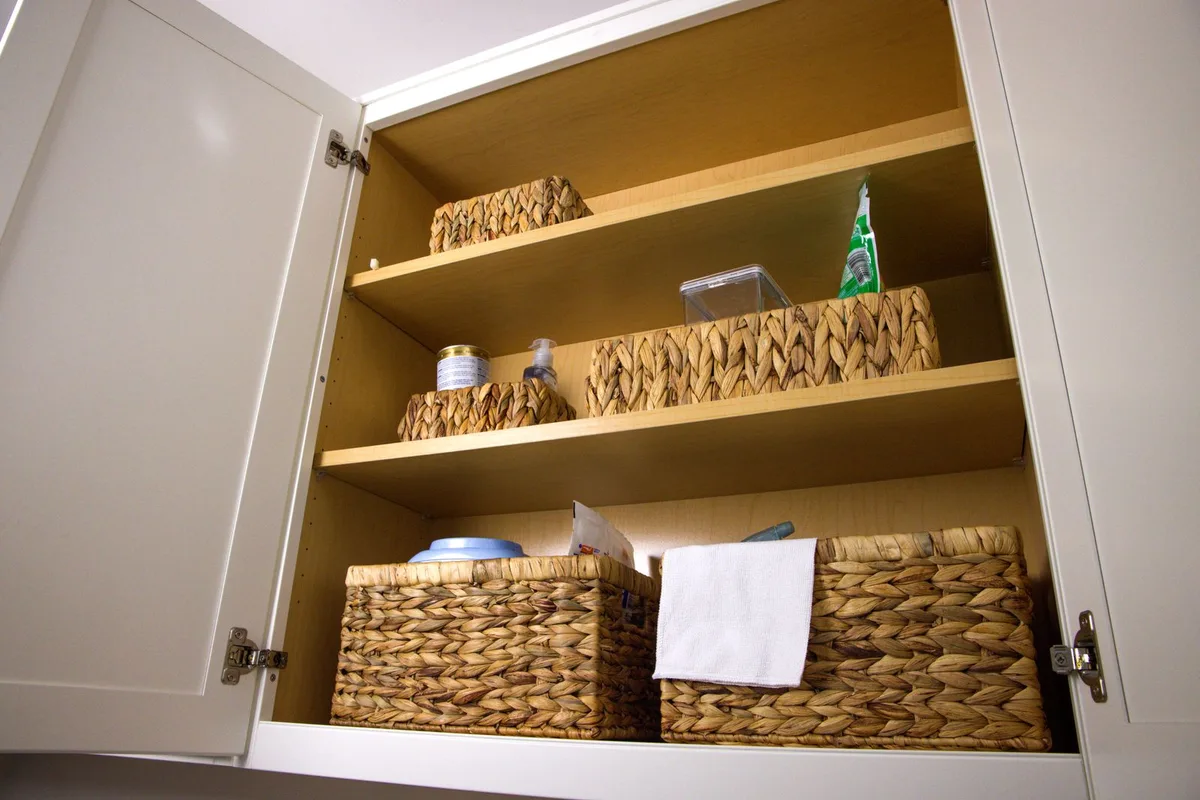
Give each category one basket or bin — snack packets, sachets, loose produce — and label it even if the contents seem obvious, because the label stops the next person putting the wrong thing in it. Ventilated baskets suit potatoes and onions, which need air and darkness, and one basket per child at their own reach height ends the daily snack negotiation. Keep baskets shallow enough to see the bottom and one row deep, so nothing hides underneath.
13. Date Every Can — And Rotate Oldest To The Front

Write the purchase month and year on every can, store new cans behind old ones, and pull from the front — the first-in, first-out rotation that stops a 2024 tin of tomatoes hiding behind a 2026 one. The USDA’s Food Safety and Inspection Service gives unopened high-acid canned foods like tomatoes and fruit a best-quality window of 12 to 18 months, and low-acid foods like meat, soup, and most vegetables two to five years. Once opened, high-acid foods keep five to seven days in the fridge and low-acid foods three to four days; toss any can that is dented, leaking, bulging, or rusted.
Give Appliances A Home
Small appliances are the fastest way to lose a countertop. These three ideas get them off the work surface without burying them somewhere you will never use them.
14. Build An Appliance Garage With An Outlet
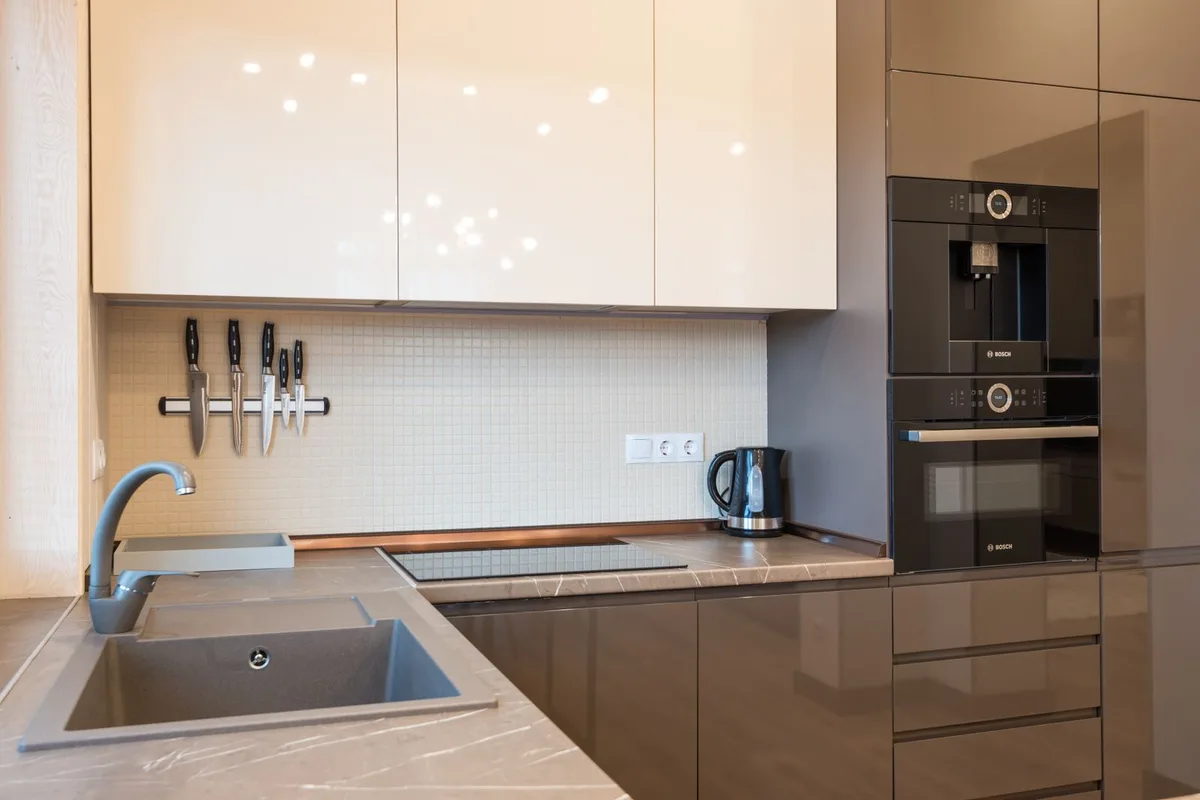
An appliance garage is a cupboard with a door that hides the toaster, blender, or food processor — with an outlet inside, so the appliance stays plugged in and ready. Plan the outlet before the shelves, not after, and give the garage enough depth for the bulkiest item plus its cord. Heavy appliances belong on a lower pull-out shelf, and the garage needs ventilation: appliances that run hot need air around them, and trapped heat shortens their life.
15. Add A Charging Shelf For The Blender, Kettle, And Air Fryer
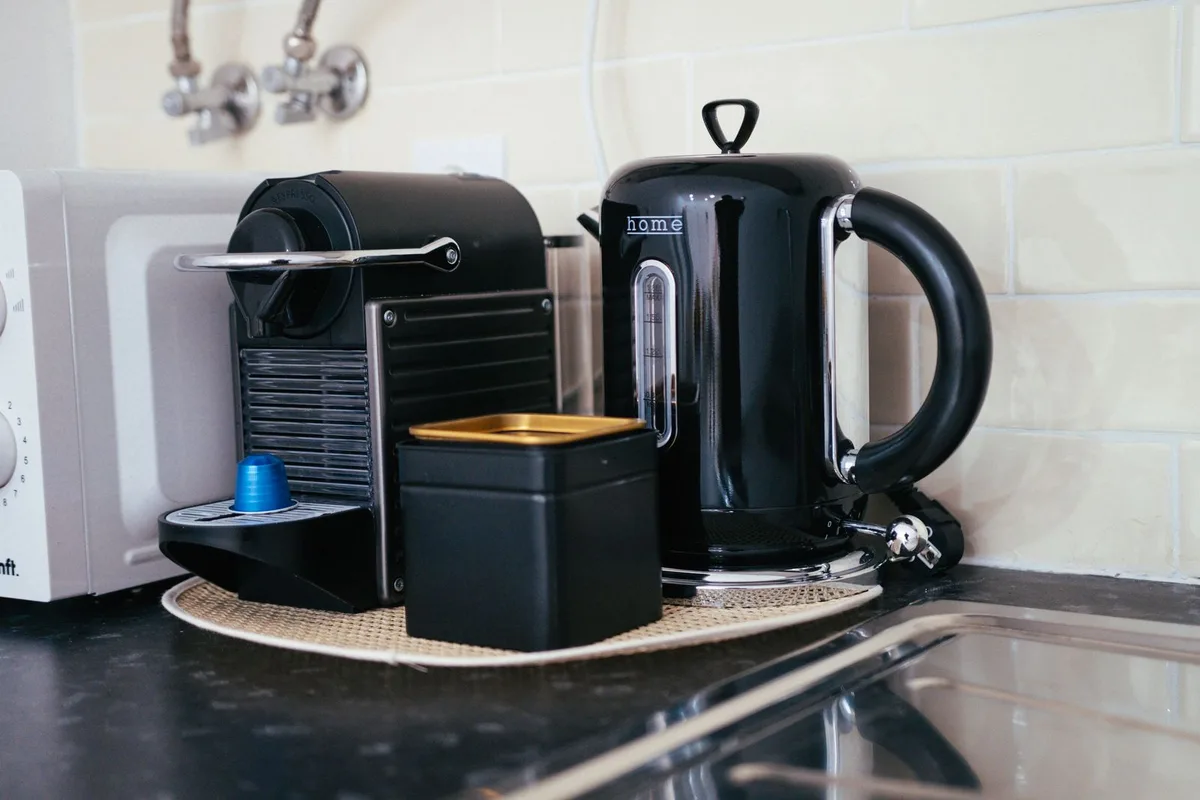
Some appliances live in daily rotation and deserve a shelf of their own, with an outlet right behind it. A charging shelf — one shelf, one outlet strip, everything plugged in — turns the morning into a single motion: kettle on, blender out, air fryer already warm. Keep it at counter height or just above, where cords do not dangle across a walkway, and if the pantry has no outlet, a short extension from the nearest kitchen circuit, fitted by an electrician, is a small job that changes the whole space.
16. Create A Coffee And Beverage Station Inside The Pantry
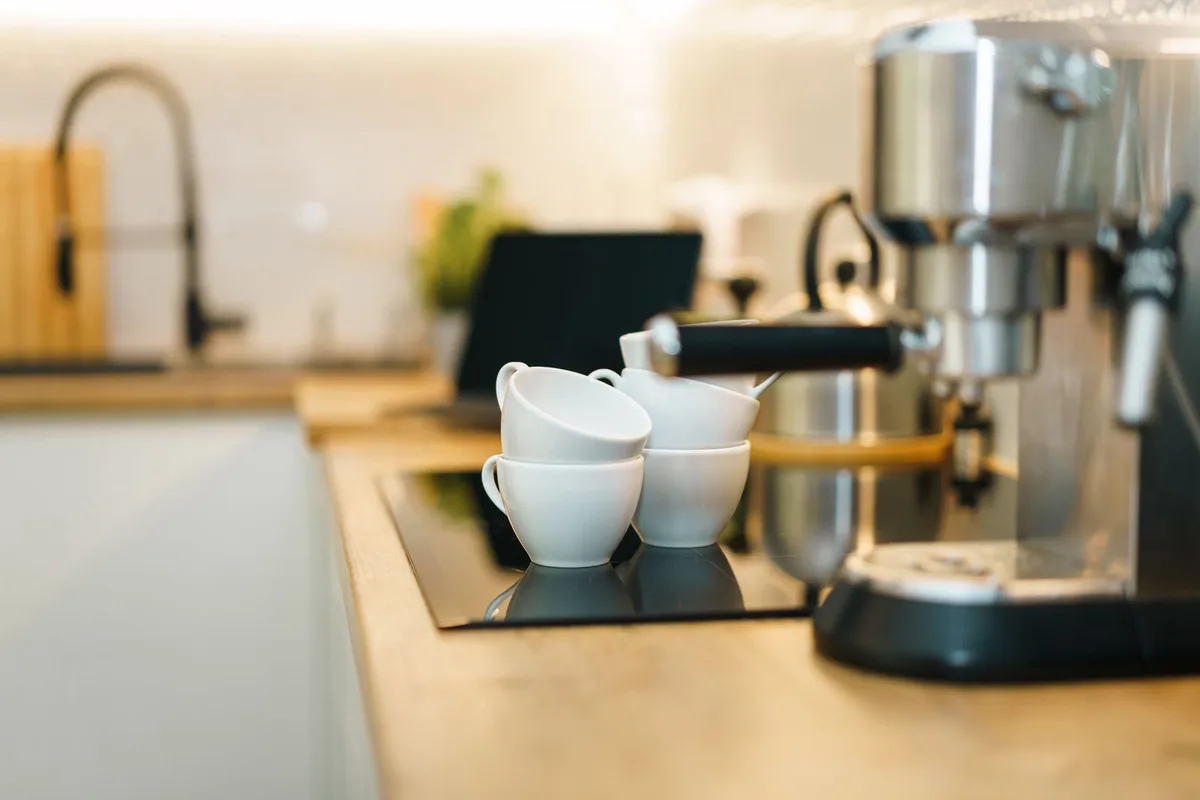
Give the coffee maker, the mugs, the beans, and the sugar one home, and the morning stops scattering across the kitchen. A beverage station needs a dedicated outlet, a spill-proof surface, and enough vertical clearance for the machine plus a mug underneath — measure the machine with the lid open before you set the shelf height. The same station doubles for tea, hot chocolate, and the kids’ juice bottles, and it keeps the main counter clear for actual cooking.
Small Kitchens And No Pantry
No walk-in, no reach-in, no spare closet — these four ideas still give you a pantry, just in a different shape.
17. Fit A Slim Pull-Out Larder — 12 Inches Wide Can Hold A Week Of Dry Goods
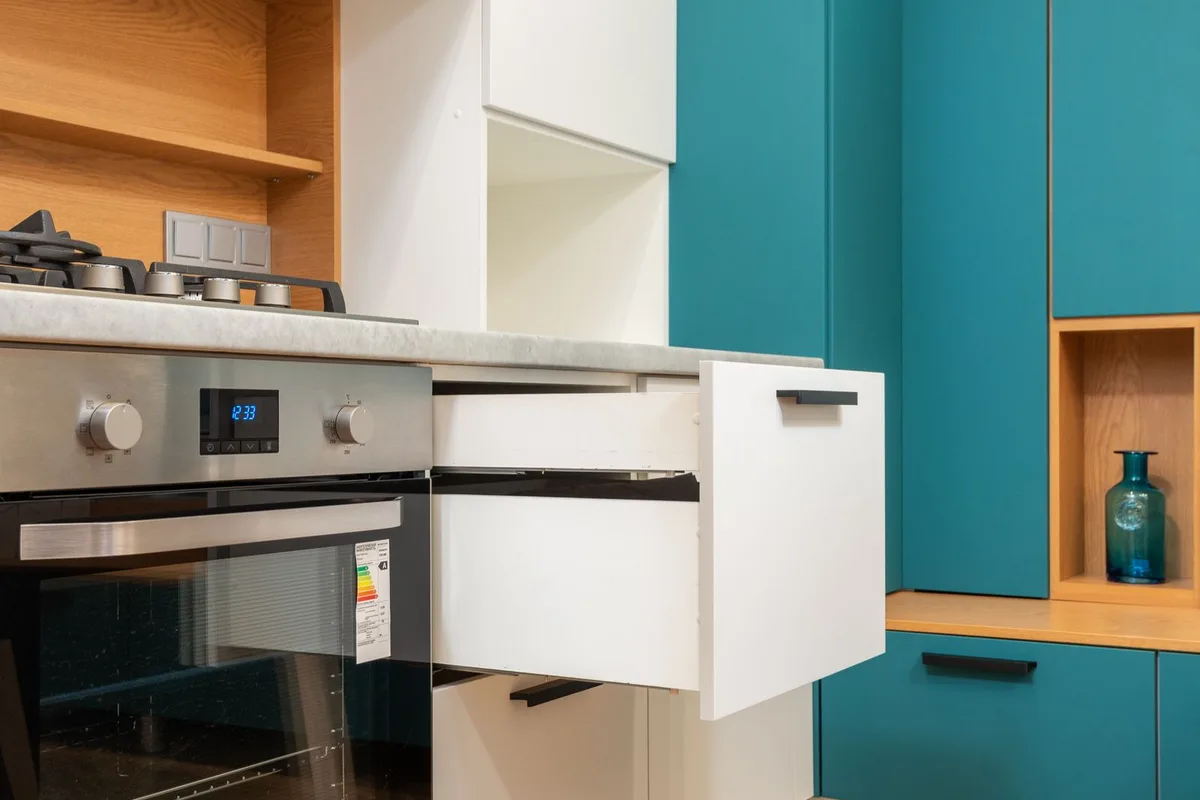
The narrow gap beside the fridge or the oven is not dead space; it is a larder waiting to happen. A pull-out unit about 12 inches (300 mm) wide, fitted with shallow shelves and door racks, can hold a week of dry goods — oils, sauces, tins, pasta, spices — with every label facing you. Full-extension slides are non-negotiable here, and even narrower retrofits exist, down to about three inches wide for spice bottles and slim packets.
18. Turn One Tall Cabinet Into A Pantry
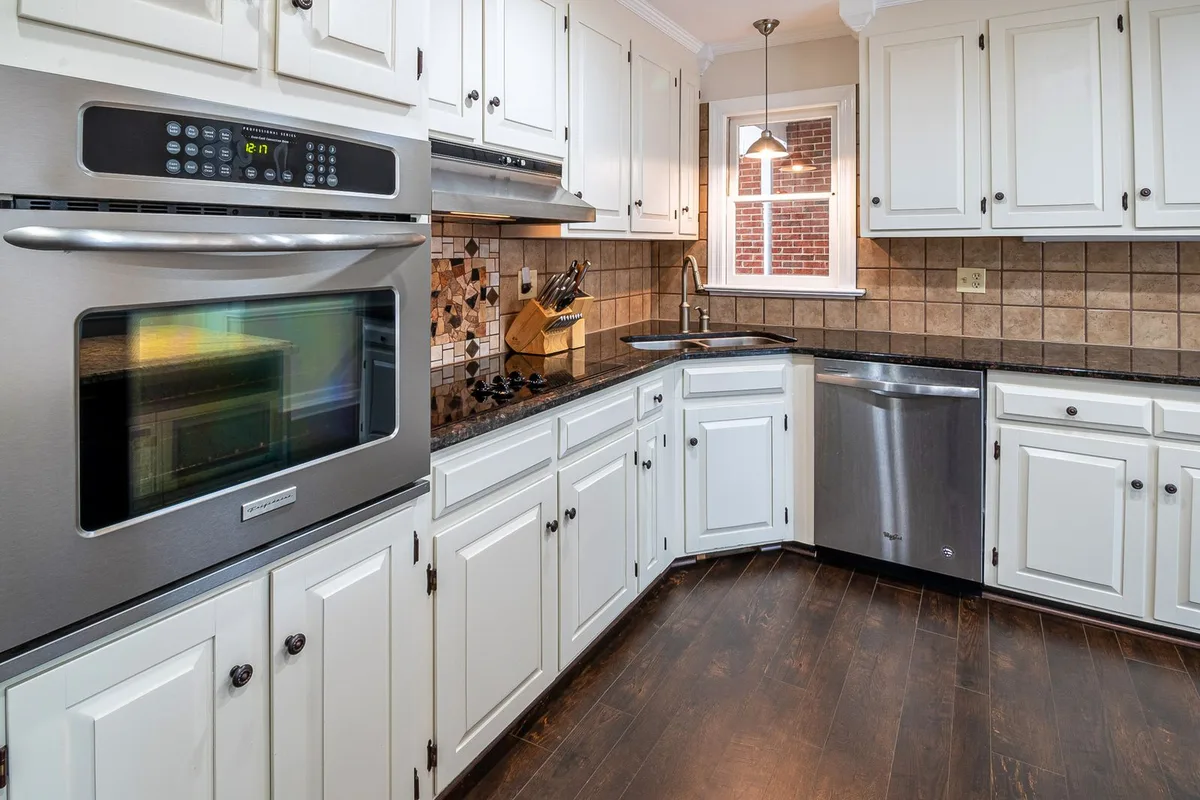
One existing tall cabinet, refitted, is a complete pantry for most households. Add an extra shelf or two, fit a tiered riser so the back row sits higher than the front, and put a rack on the inside of the door for spices and small bottles. Treat it like a small walk-in in miniature — daily items at eye level, heavy items low, rarely used items up top — and keep the shelves adjustable so it can change as your cooking does.
19. Build A Pantry Wall Of Shallow Open Shelving
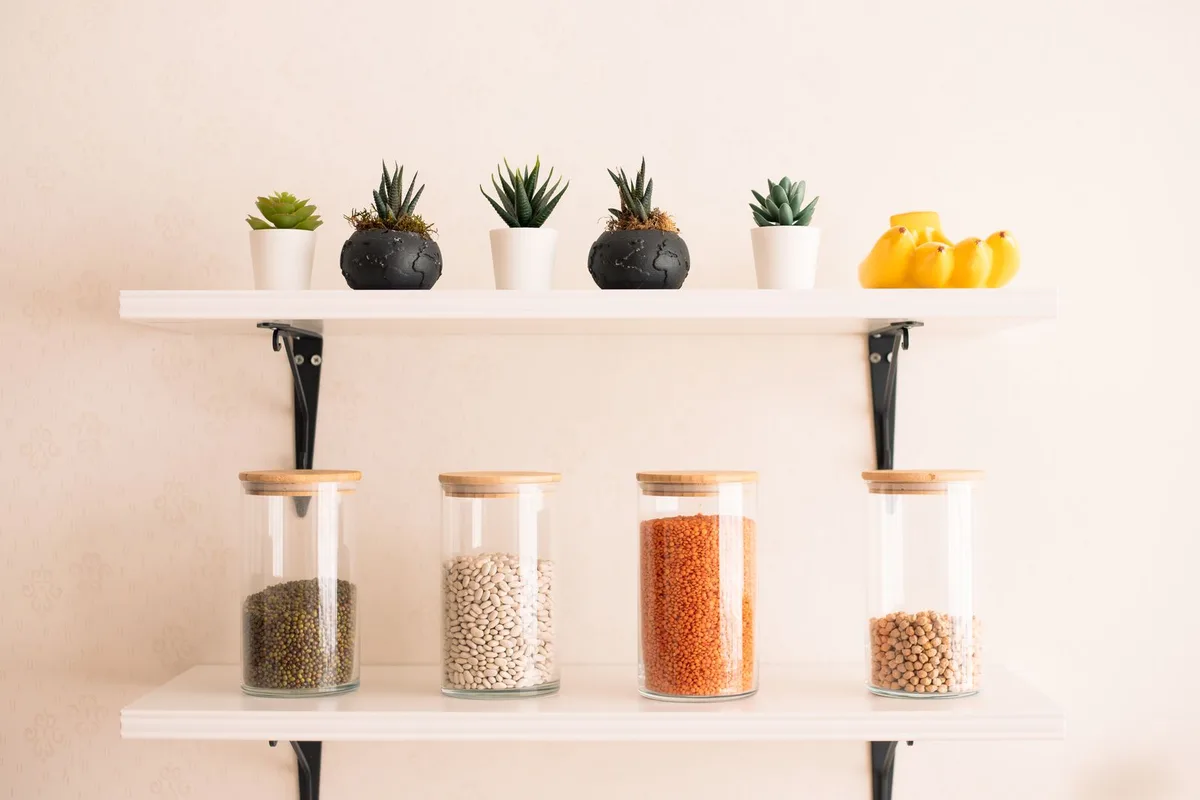
A spare wall — in the kitchen, the hallway, or the dining area — becomes a pantry with shallow open shelves. Keep them 6 to 8 inches deep (150 to 200 mm), exactly one jar deep, so everything stays visible and nothing hides. Open shelving suits the food you use constantly and looks best with matching containers; a pantry wall works in rentals too, with freestanding shelf units instead of wall-mounted boards.
20. Use A Rolling Cart As A Movable Pantry
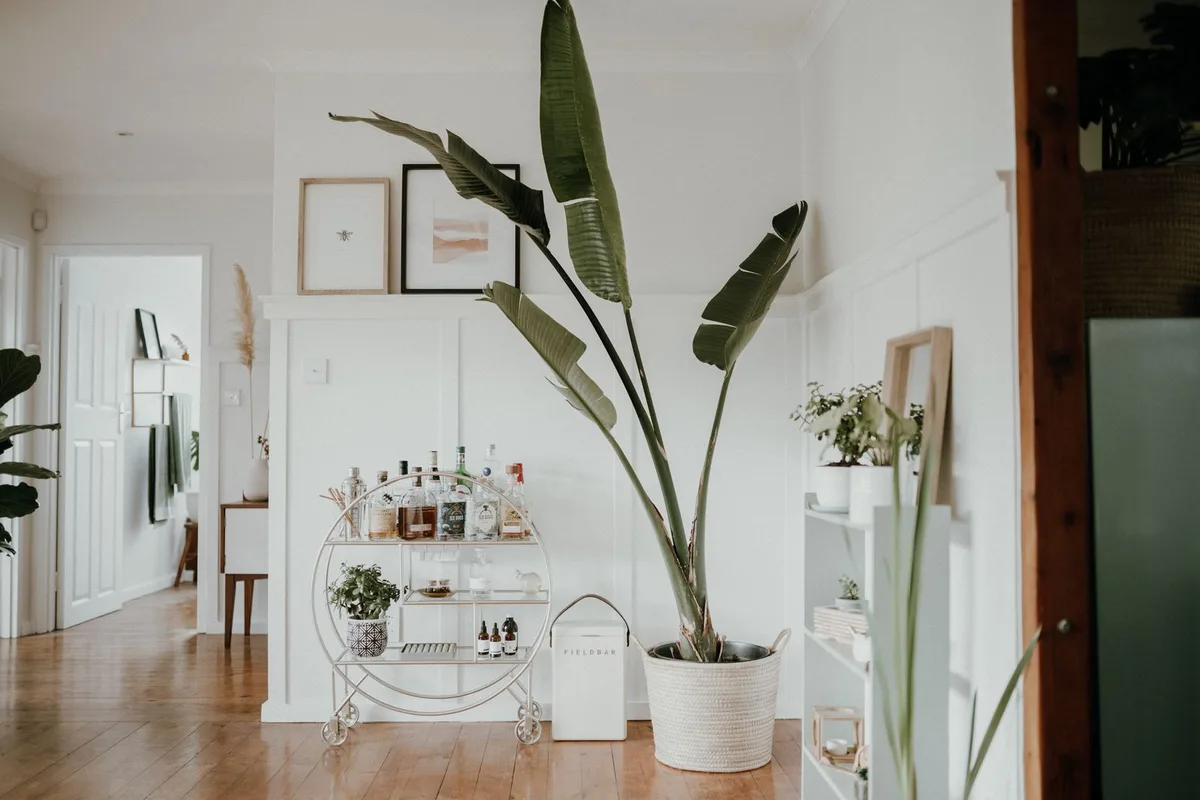
A rolling cart is a pantry that can leave the room. Load it with the week’s dry goods, baking supplies, or the coffee station, roll it to the counter when you cook, and park it in a corner when you are done. It doubles as a temporary island in a small kitchen and needs no fitting at all, which makes it the best first step for renters — just choose one with a solid top, a lower shelf for heavy items, and locking castors.
Make It Look Good, Too
A pantry you enjoy opening is a pantry you will keep organized. These four ideas are the difference between storage and a small room you actually like.
21. Light It Properly — LED Strips And Warm White Bulbs
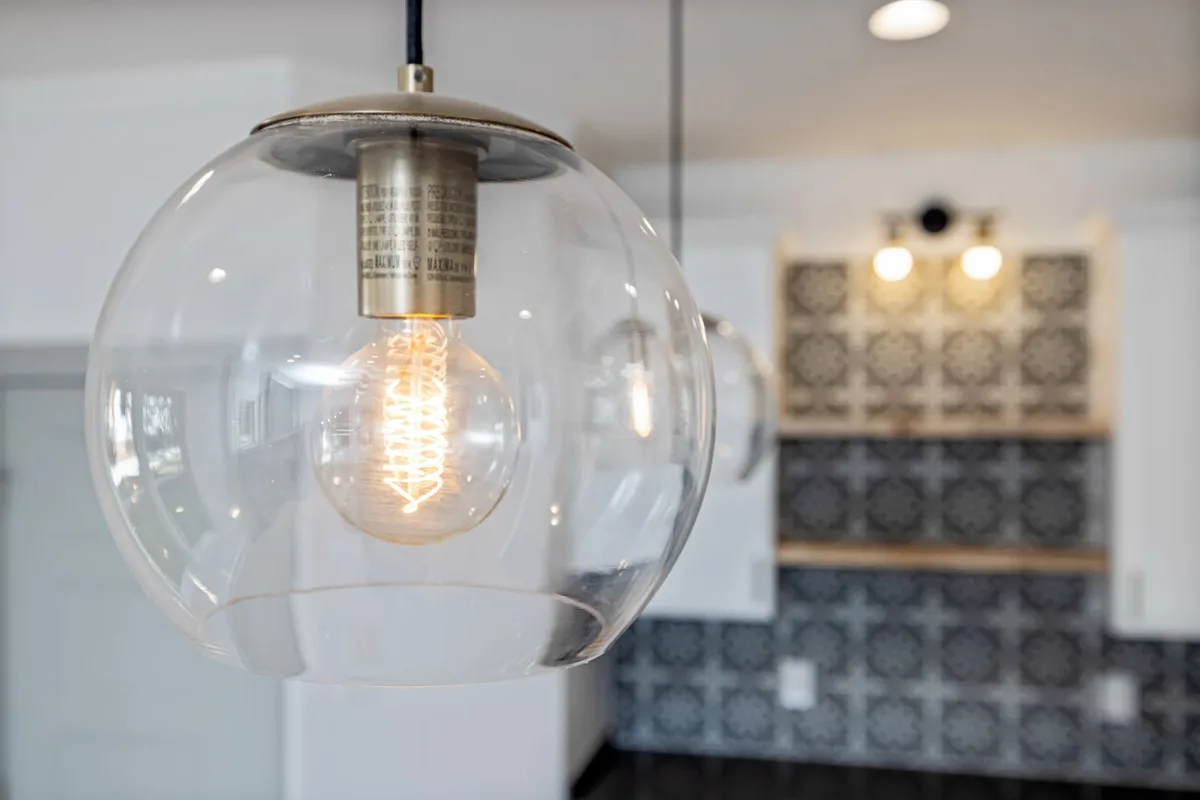
Light is the cheapest upgrade a pantry gets, and the one most often skipped. Fit an LED strip under each shelf or a motion-sensor light inside the door frame, so the light comes on when you open the door and off when you close it — a pantry without light is just a cupboard. Warm white bulbs, around 2700 to 3000K, keep the space feeling like part of the kitchen, and rechargeable puck lights with motion sensors are the renter-friendly version: no wiring, no electrician.
22. Choose The Right Door — Pocket, Barn, Bifold, Or Hidden
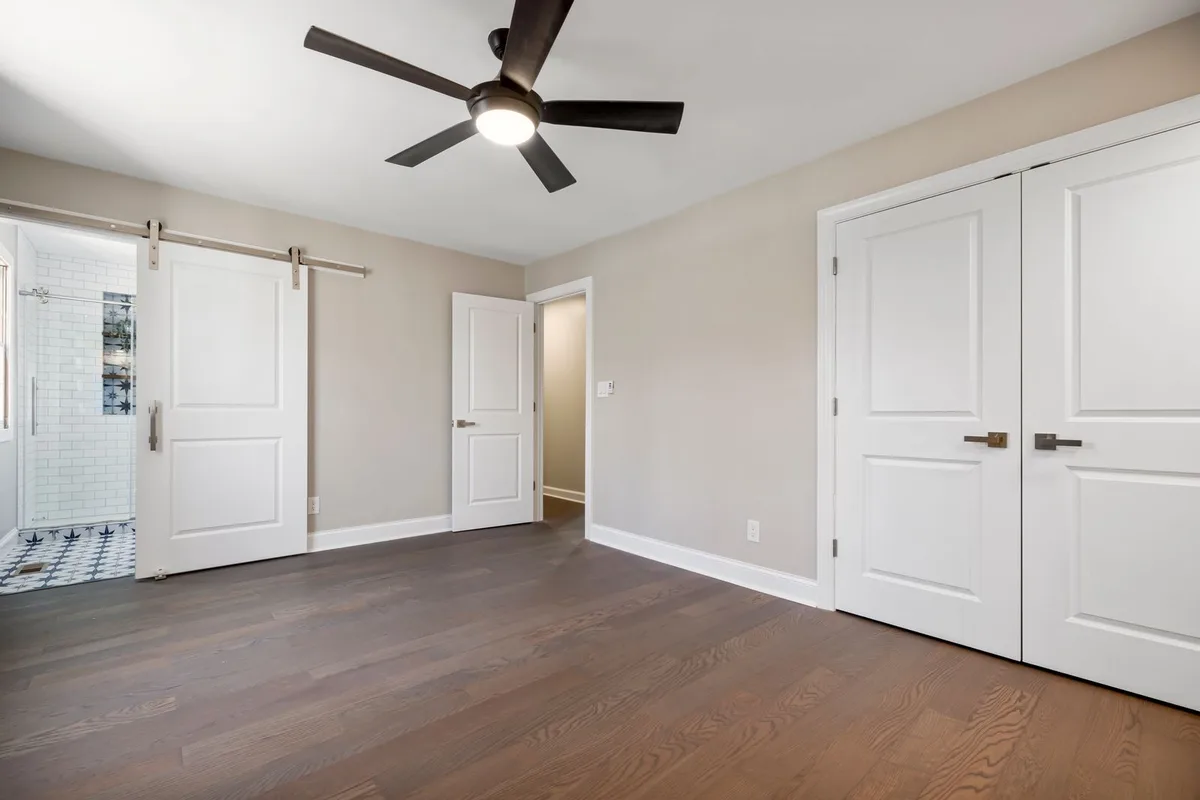
The door decides how the pantry feels every time you use it. A pocket door slides into the wall and takes no floor space; a barn door suits a wide opening but needs good track hardware, because cheap sliding doors wobble and stick; a bifold folds back neatly on a narrow opening, and a hidden door paneled to match the cabinets makes the pantry disappear. Whatever you choose, keep the pantry cool and dry, ideally below 70°F and 45% humidity, and never store food on the shelf above the stove.
23. Style The Shelves — Paint, Wallpaper, Tile, And Matching Finishes
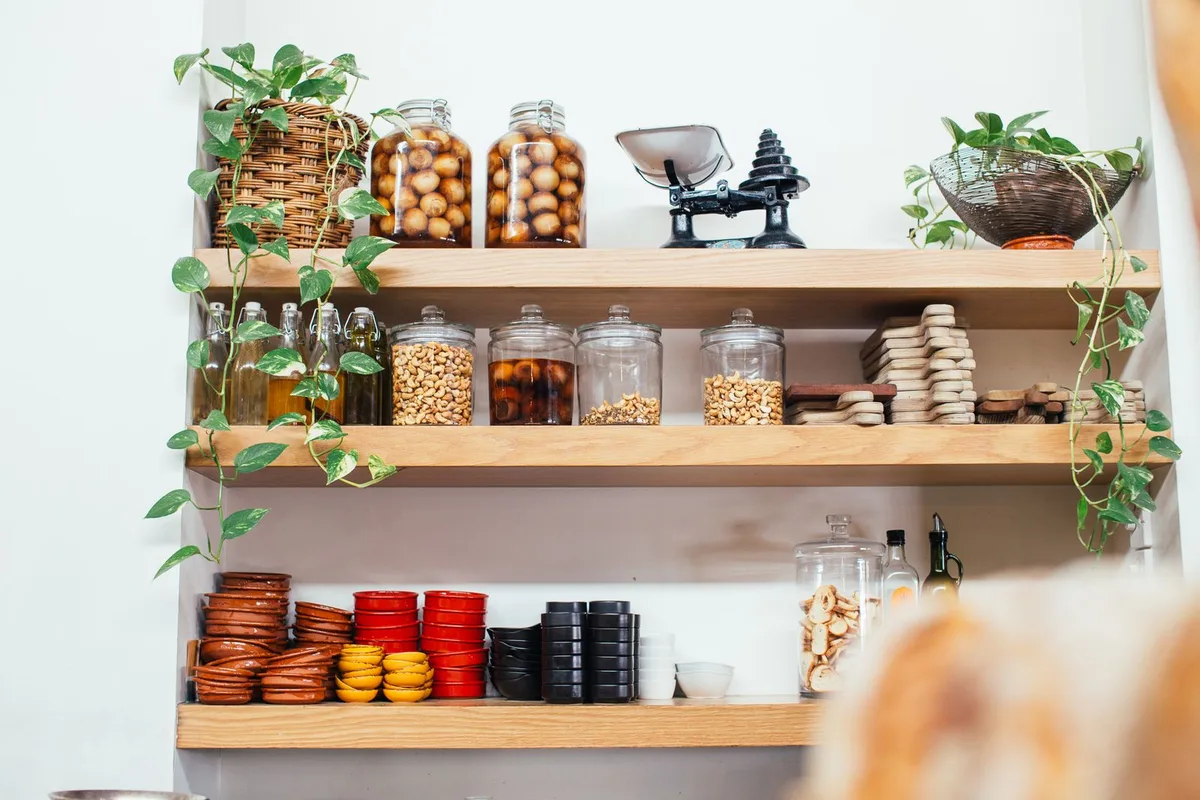
A pantry can carry the kitchen’s style instead of hiding from it. Paint the inside a shade deeper than the kitchen walls, or line the back wall with a washable wallpaper or a run of tile — the back wall is the one surface you see every time the door opens. Match the hardware, shelf brackets, and container lids to the kitchen’s finishes, and keep the styling washable: pantry shelves collect flour dust, and a finish you cannot wipe down looks tired within a month.
24. Add A Counter Inside The Pantry For Prep And Staging
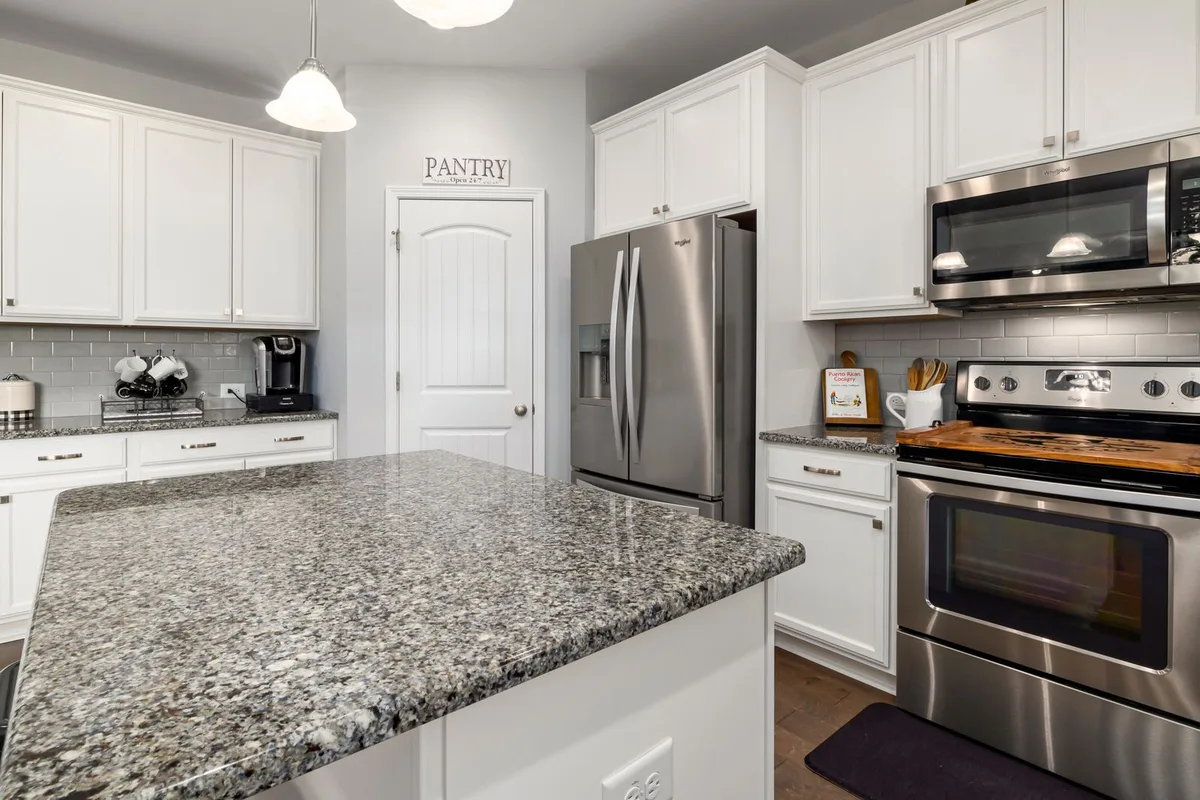
A stretch of counter inside the pantry turns storage into a working room: a landing spot for grocery bags, a staging area for dinner, and a home for the small jobs that currently happen on the main counter. About 24 inches of depth is enough, and a durable surface matters more than a pretty one — quartz or granite for a prep-heavy pantry, laminate as the lower-cost option that still wipes clean. Leave the space below open for a step stool and the space above clear for tall items.
Keep It That Way
25. Run A 15-Minute Weekly Reset — And A One-In, One-Out Rule
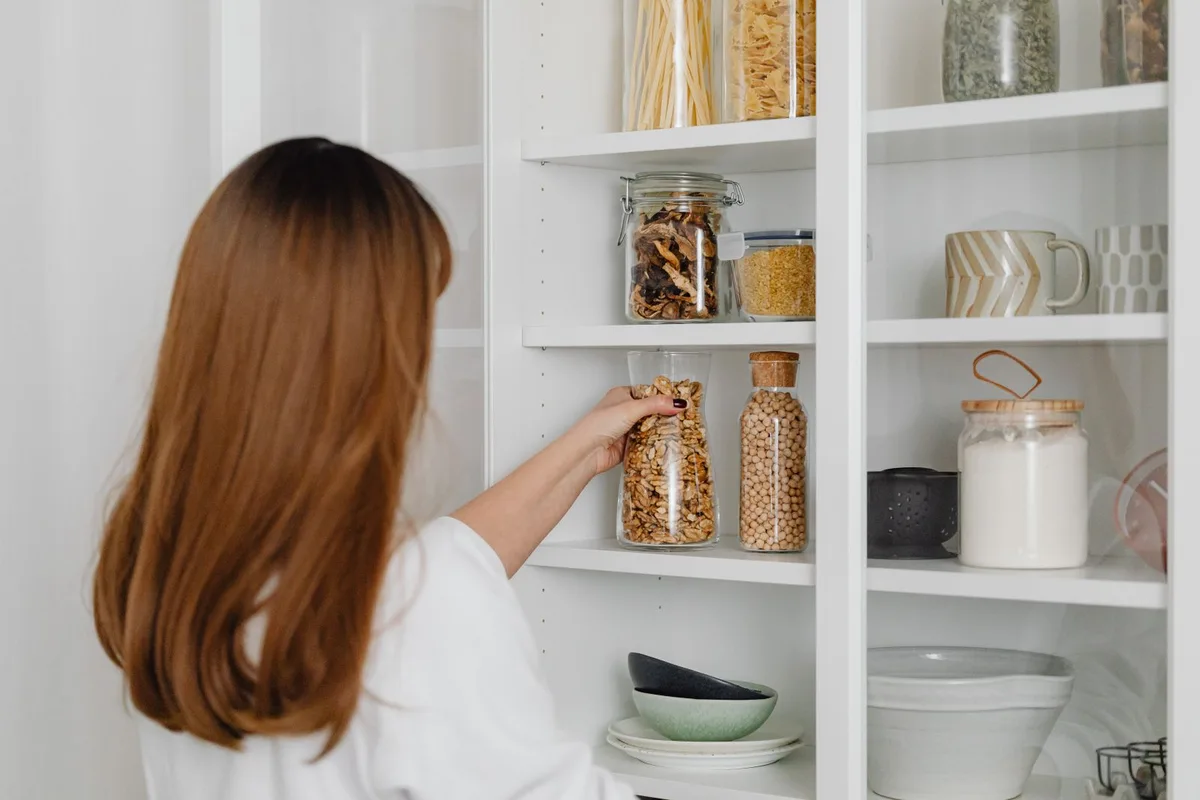
Organization is maintenance, not a one-time project. Once a week, spend fifteen minutes on the pantry: pull forward anything that has drifted back, wipe one shelf, toss anything expired, and put the shopping list on the door for what is running low. Run a one-in, one-out rule on containers and gadgets, so a new jar means an old one leaves — and take a photo of the shelves when they look right, because it becomes the target the weekly reset aims at.
Butler’s Pantry, Explained
A butler’s pantry is not a bigger pantry — it is a second room with a different job. Where a pantry stores food, a butler’s pantry stages it: a prep counter, a sink, space for the coffee machine or the wine fridge, and somewhere to plate dinner before it reaches the table. Plan it like a small kitchen: a 42-inch aisle for one person, 48 inches for two, a counter about 24 inches deep, zones for beverage, food, appliance, and prep, and warm white light at 2700 to 3000K. If a full build is too much now, rough in the second sink and the beverage-fridge circuit during any remodel and add the appliances later — the expensive part is the plumbing and the wiring, not the fridge.
What It Costs
Nobody prices a pantry honestly without ranges, because the range is the point: a weekend of containers and a full custom build are both real pantries. Use these bands as a rough guide, not a quote. The custom figures are the ranges Angi reports for US projects in 2026, and a full kitchen remodel runs $14,600 to $40,600 on the same figures. Start in the budget band even if you plan a custom build: a month of living with zones and containers tells you exactly what the expensive version should include.
| Band | What It Usually Covers | Typical Range |
|---|---|---|
| Budget | Containers, labels, a door rack, LED strips, a turntable, baskets | Under about $200 |
| Mid-range | Pull-out hardware, adjustable shelving, a door swap, a rolling cart | About $200 to $1,000 |
| Custom | Built-in shelving fitted by a professional | $500 to $1,000 for DIY built-ins; $1,100 to $2,900 for a custom design with professional installation (ranges reported by Angi) |
Pantry Mistakes To Avoid
- Buying containers before measuring. Measure the shelf, then buy the container that fits it.
- Decanting everything. Only the dry goods you use weekly earn a container.
- Packing shelves to the edge. A shelf packed tight means nothing comes out without moving three other things.
- Storing food above the stove. Heat and steam age food fast, and spices lose their punch in the hottest spot in the kitchen.
- Sealing potatoes and onions in bins. They need cool, dark, ventilated storage, or they sprout and rot.
- Skipping the light. A dark pantry is a pantry you avoid, and an avoided pantry is a messy one.
- Forgetting the weekly reset. Even the best-planned pantry drifts in two weeks.
Frequently Asked Questions
What Is A Good Size For A Walk-In Pantry?
A typical walk-in pantry runs about five feet by five feet, lined with shelves on two or three sides, while a reach-in averages about five feet wide and two feet deep. Both are typical sizes, not standards — a walk-in can work in as little as a meter of depth if its shelves stay shallow. What matters more than the footprint is the layout: shallow shelves, zones by meal, and daily items at eye level will beat a bigger room that was never planned.
How Deep Should Pantry Shelves Be?
It depends on what the shelf holds. For cans, jars, cereal boxes, and canisters, 10 to 14 inches deep is right — deep enough for one row, too shallow for a hidden second row. Spices and small condiments need as little as six inches. Go deeper, 16 to 20 inches, only where pull-out shelves or drawers bring the back row to you, or for bulky items and small appliances on lower shelves. Professional organizers favor shelves no deeper than 14 inches for everyday storage.
How Do I Organize A Small Pantry?
Start with an audit — empty it, sort by use, and toss what is expired. Then zone what is left by meal, keep the shelves shallow and one row deep, put a rack on the back of the door, and use clear labeled containers for the weekly dry goods. A turntable rescues the corners, a pull-out shelf rescues a deep cabinet, and a 15-minute weekly reset keeps it from drifting back.
What If My Kitchen Has No Pantry At All?
Build one in a different shape. A tall cabinet refitted with extra shelves and a door rack is a complete pantry for most households. A slim pull-out larder fits a narrow gap beside the fridge. A pantry wall of shallow open shelving works on any spare wall, and a rolling cart carries the week’s dry goods wherever you need them. None of these needs a remodel, and any of them can grow into a built-in later.
How Long Do Canned Goods Last In A Pantry?
The USDA’s Food Safety and Inspection Service gives unopened high-acid canned foods — tomatoes, fruit, pickles — a best-quality window of 12 to 18 months, and low-acid foods — meat, soup, beans, most vegetables — two to five years. These are quality windows, not safety deadlines, and they assume a cool, dry shelf and an undamaged can. Once opened, high-acid foods keep five to seven days in the fridge and low-acid foods three to four days. Toss any can that is dented, leaking, bulging, or rusted.