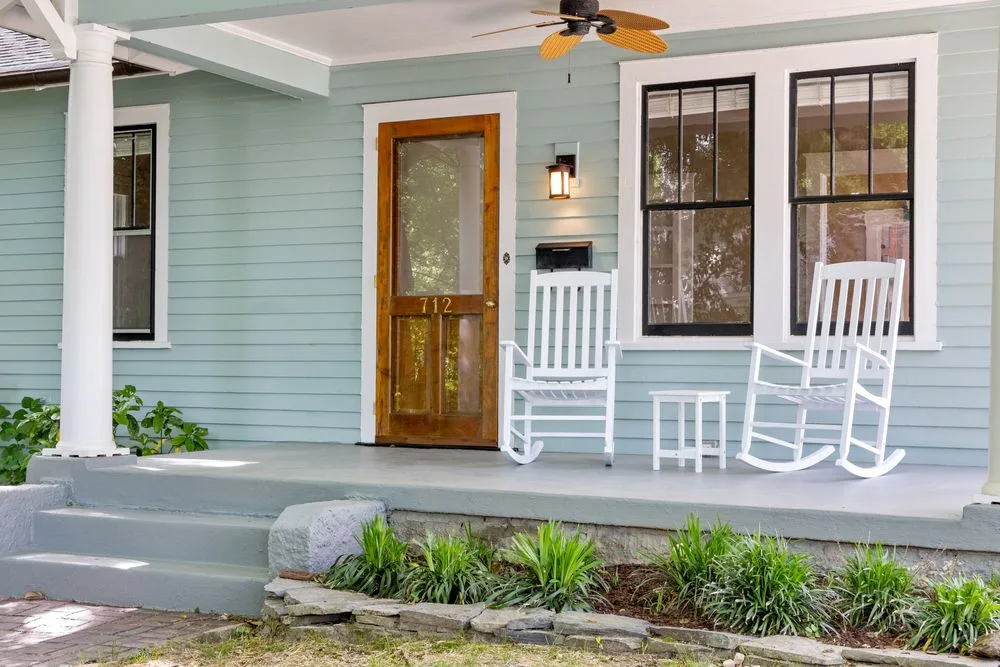

Most backyards fail for the same reason: they have no job. A stretch of lawn, a fence, and a patio set nobody sits on. The fix is not more stuff — it is a plan. Decide what you want to do outside, give each activity its own zone, then build the zones one at a time, starting with the one you will use every day.
This guide does exactly that. First, three planning principles that keep the whole project honest. Then 15 backyard ideas, one by one, each with the sizes, materials, and placements that make it work in a real yard — zones, a patio, seating, dining, a grill station, a fire pit, lighting, shade, planting, a kitchen garden, water, play, a quiet corner, paths, and storage.
Plan The Yard Before You Spend A Dollar
Start with how you will use it, not how it should look. Mornings with coffee, dinners outside, kids playing, quiet reading — pick two or three real uses and rank them. The top-ranked use gets the best spot in the yard, closest to the house. Everything else fits around it. A yard designed around real habits gets used; a yard designed around a photo gets admired once and ignored.
Measure before you buy anything. Walk the yard with a tape and a rough sketch. Note the sunny spots and the shady ones at different times of day, where water sits after rain, and where the wind comes from. A patio in the sunniest corner becomes unusable by noon; a seating area in a wet dip becomes a mosquito trap. For a fuller walkthrough of this planning stage, This Old House’s backyard ideas guide covers the same ground — shape, soil, sun, and grading — with the same advice: understand the yard first, then design.
Build in order: ground, shade, seating, planting, light. Hard surfaces and shade structures come first because everything else sits on or under them. Furniture comes next, then planting, then lighting last, once you know where people actually sit. Skipping the order is how yards end up with a beautiful pergola shading an empty patch of grass.
15 Backyard Ideas That Actually Get Used
1. Divide The Yard Into Zones Before You Buy Anything
A yard that tries to be one big thing ends up being nothing. Split it into two or three zones instead: a hard-surface zone for sitting and eating, a planted zone for greenery and the garden, and an open zone of lawn or play space. Even a small yard takes two zones well — a patio at the back door and a planted edge around it.
Keep the zones honest. A zone earns its place only if someone will use it weekly. A dining zone near the kitchen gets used; a second seating area at the far end of the yard usually does not. Draw the zones on your sketch, then live with the sketch for a week before you spend anything. If your yard is on the small side, our guide to small backyard ideas shows how two tight zones can still feel generous.
Tip: Use low planting, a change of surface, or a step down to mark a zone — not a fence. A 6-inch step or a strip of gravel reads as a boundary without closing the yard in.

2. Lay A Paver Or Stone Patio As The Anchor
Every other idea in this list sits on the patio, so build it first and build it big enough. A patio that fits only a table and four chairs feels cramped the moment a second person stands up. Plan for the furniture plus about 3 feet of walking space around it — a dining set for six needs roughly 12 by 14 feet, while a lounge set with two chairs and a coffee table is comfortable at about 10 by 12 feet.
Choose the surface for how you will use it. Concrete pavers are the most forgiving choice: they drain well, stay cooler than a solid slab in summer, and a single cracked paver can be swapped out without redoing the patio. Natural flagstone looks softer and suits a cottage-style yard, while a poured slab is the cheapest hard surface but shows cracks over time. Lay the patio with a slight slope, about a quarter-inch drop per foot, so rain runs off instead of pooling under the chairs. If you already have a deck instead of a patio, the same anchor idea applies — see our deck decorating ideas for making it the main living zone.
Tip: Set the patio level with the back door or one step down. A patio that sits 18 inches below the door feels disconnected from the house, and nobody carries food down a flight of steps twice a day.

3. Build A Lounge Corner With Weatherproof Seating
A lounge corner is where the yard earns its keep on ordinary evenings — no occasion needed, just somewhere comfortable to sit with a drink. Two deep armchairs and a low coffee table beat a full sofa set in most yards, because chairs can be pulled apart for conversation or turned toward the view. Add an outdoor rug to define the corner and soften the hard surface underfoot.
Buy for weather, not for the showroom. Powder-coated aluminum frames, teak, and resin wicker hold up outdoors; untreated pine and indoor fabrics do not. Cushions should be quick-dry foam with removable, washable covers, and they need a dry place to live — a deck box or a bench with storage inside. Seat height matters too: 16 to 18 inches is the comfortable range for lounge chairs, with a seat depth of about 22 to 24 inches for real lounging.
Tip: Face the lounge toward the best view in the yard — the garden, the trees, the sunset — not toward the house wall. People sit longer when they have something pleasant to look at.

4. Set The Dining Table Close To The Kitchen Door
Outdoor dining works when the walk from the kitchen is short. Put the table within a few steps of the back door, and dinners outside become the default instead of a special event. A table for six needs about 12 by 14 feet of patio once chairs are pulled out; allow 24 inches of table width per person and 36 inches behind each chair so people can stand up without bumping the table behind them.
Pick a table that survives the weather. Teak weathers to a soft silver-grey and needs no treatment; powder-coated aluminum stays light enough to move; stone-topped tables look premium but are heavy and need a level base. A parasol or a shade sail over the table (see idea 8) extends the dining season into the hot afternoons. Keep a small side table or a serving cart nearby so plates and drinks do not crowd the table itself.
Tip: If the yard is narrow, a long rectangular table pushed against a wall or fence seats more people in less space than a round table, and a bench on one side tucks under when it is not in use.

5. Add A Simple Outdoor Kitchen Or Grill Station
An outdoor kitchen does not need to be a built-in showpiece. A good grill, a counter-height worktop, and a small sink or a hose nearby cover most outdoor cooking. Start with a freestanding grill on a heat-proof surface — pavers or concrete, never decking boards directly under a charcoal grill — with about 3 feet of counter on each side for prep and plating.
Keep it close to the dining table and the kitchen door. The cook should be part of the conversation, not exiled to the far corner. If you add a built-in counter, use materials that handle rain and heat: stainless steel, stone, or sealed concrete. A small fridge under the counter is the one luxury that genuinely changes how often the station gets used, because it ends the trips back inside for cold drinks. Gas lines and permanent electrical work belong to a licensed professional — never a DIY job.
Tip: Store the grill tools, charcoal, and cleaning brush in a weatherproof box right at the station. A grill that needs a trip to the garage every time it is used gets used half as often.

6. Circle A Fire Pit With Real Seating
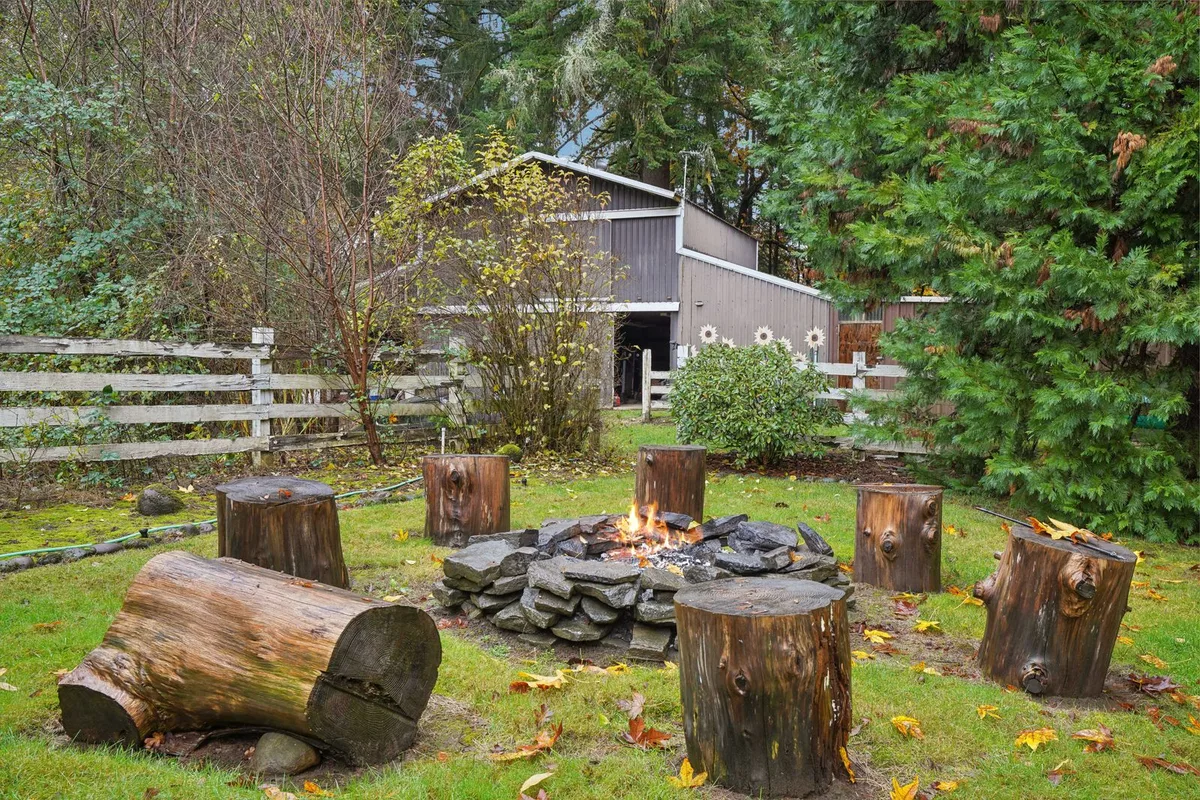
A fire pit is the cheapest way to add a whole extra season to a backyard, because it is the one feature people gather around after dark. The pit itself is the easy part — a steel bowl, a stone ring, or a gas table. The seating is what makes it work: four to six chairs or a low seat wall, set 6 to 7 feet from the edge of a wood fire so embers cannot reach anyone, with about 3 to 4 feet between chairs so people can move.
Give the pit a proper floor. A gravel circle 12 to 14 feet across, pavers, or a concrete pad keeps the area usable after rain and stops the lawn from scorching. Keep the pit at least 10 feet from the house, fences, and any structure — that is the widely used safety baseline — and check local fire rules before you build anything permanent. A gas fire table sits closer to the house and lights with a switch, which suits small yards and burn-ban areas.
Tip: Add a couple of side tables or wide chair arms for drinks, and a storage box for blankets. A fire pit with nowhere to put a mug and nothing warm to wrap in empties out by 9 p.m.
7. Layer Warm Light So Evenings Last Longer
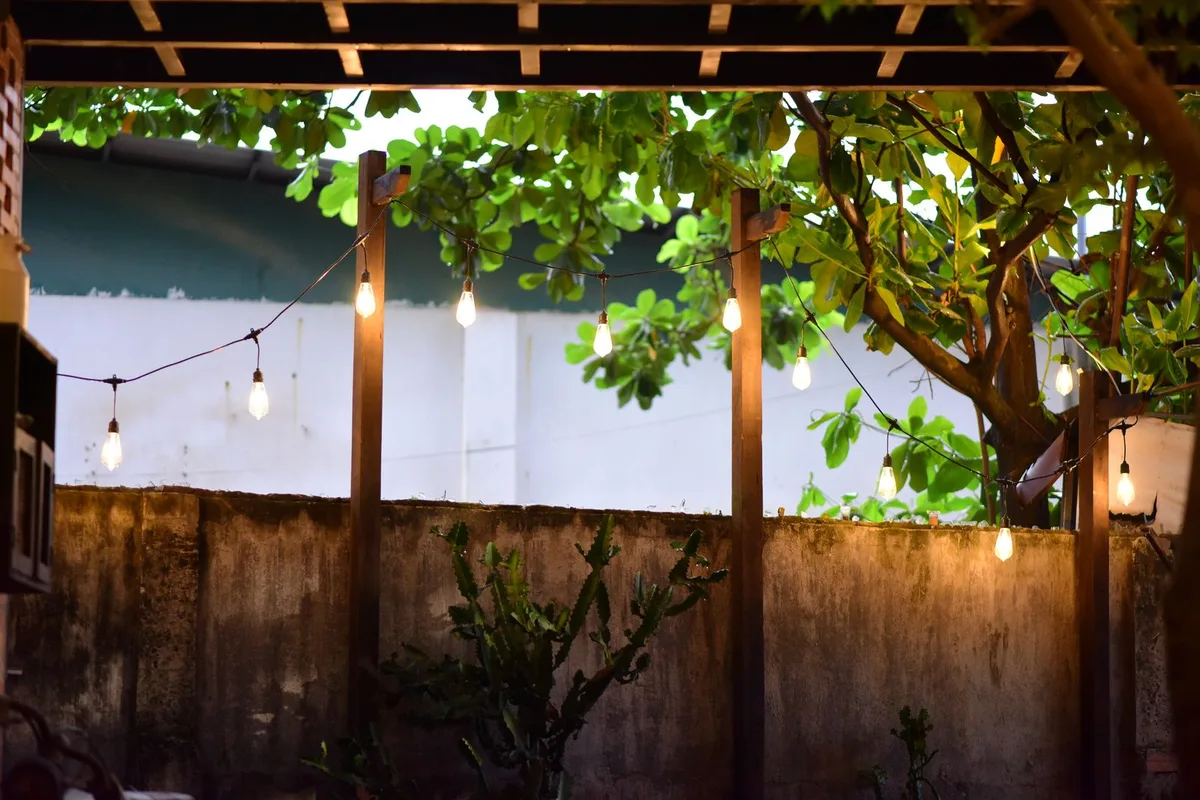
Lighting is what turns a backyard from a daytime space into an evening one, and it needs three layers: task light where people cook and eat, path light where people walk, and accent light that makes the garden glow after dark. One harsh floodlight does none of these jobs — it flattens the yard and kills the mood.
Start with string lights, then add the rest. Warm-white string lights (2700K to 3000K) hung 8 to 10 feet up in a zigzag or perimeter pattern give the whole yard a soft ceiling of light. Add low path lights 12 to 18 inches high and 6 to 8 feet apart along the main walk, and a spotlight or two aimed up into a tree or a feature plant. Low-voltage wired lights stay bright all evening; solar lights are fine for paths but often dim after 3 to 4 hours. For the full layering method, see our guide to backyard lighting ideas.
Tip: Put the lights on a timer or a smart plug set for dusk. A yard that lights itself gets used; a yard that needs someone to remember the switch does not.
8. Put Up A Pergola Or A Shade Sail
Shade is what makes a backyard usable in the middle of the day. Without it, the patio sits empty from late morning to late afternoon through the whole summer. A pergola gives permanent, structured shade and a frame to grow vines on; a shade sail is cheaper, faster to install, and can be taken down in winter. A large cantilever umbrella is the simplest option of all and moves wherever the sun goes.
Size the shade to the furniture, not the yard. A pergola over a dining set should cover the table plus about 2 feet on every side — roughly 12 by 14 feet for a six-seat table. Keep the structure at least 8 feet high so it never feels low, and angle a shade sail so rain runs off one corner instead of pooling in the middle. Climbing plants like jasmine or grapevine on a pergola add scent and dappled shade, but they need a season or two to fill in — plan for the bare frame in year one.
Tip: Check whether a fixed pergola needs a permit in your area before you order materials. Freestanding sails and umbrellas almost never do; a pergola attached to the house sometimes does.

9. Plant A Layered Border Of Shrubs And Perennials
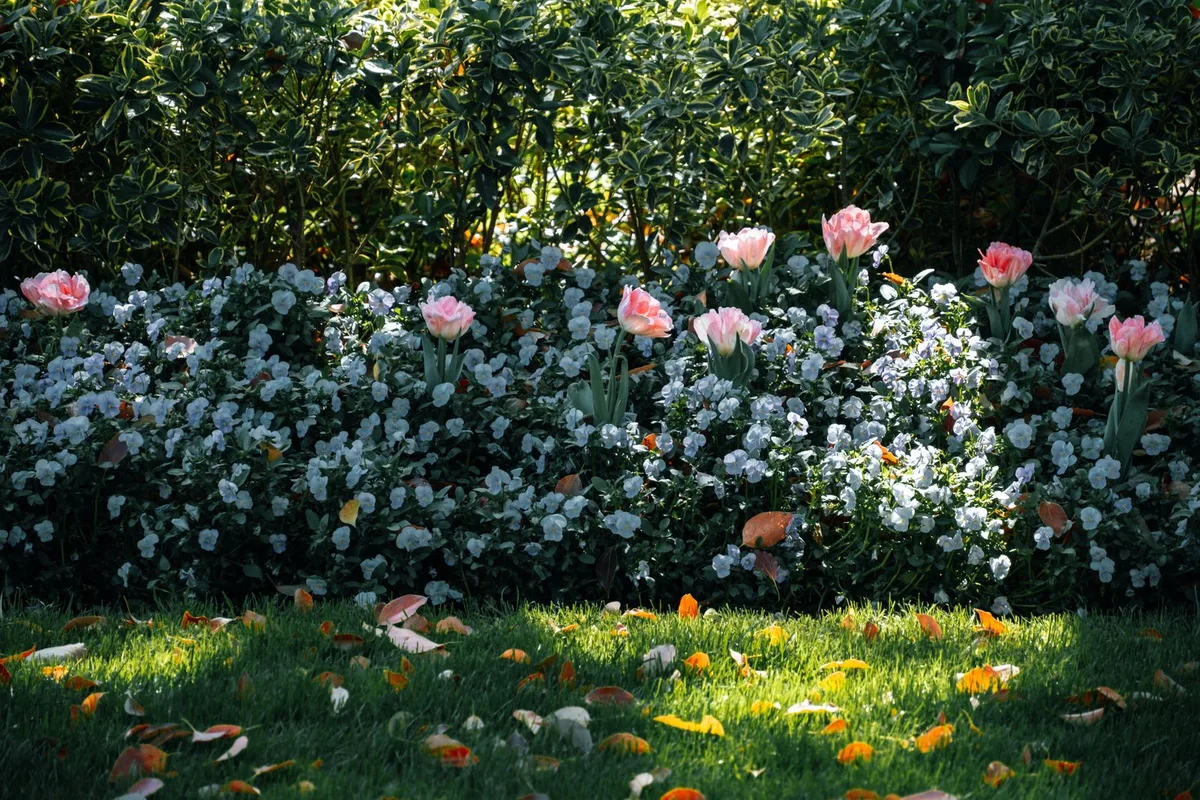
A flat lawn with a fence around it looks unfinished no matter how neat the grass is. A layered border fixes that: tall shrubs or small trees at the back, medium perennials in the middle, and low groundcover or edging plants at the front. Three layers give the yard depth, hide the fence line, and make the whole space feel designed rather than assembled.
Plant for your climate and your patience. Native and drought-tolerant plants need less water and less fuss once established — ask a local nursery which varieties cope with your soil and sun. Mix evergreen shrubs for winter structure with perennials that flower in sequence, so something is always in bloom from spring to fall. Leave breathing room when you plant: a shrub that looks small in its pot may need 4 to 5 feet of spread at maturity, and crowding is the most common beginner mistake.
Tip: Mulch the border 2 to 3 inches deep after planting. It holds moisture, keeps weeds down, and makes the whole bed look finished on day one instead of month six.
10. Grow A Kitchen Garden In Raised Beds
A kitchen garden earns its space because it pays you back every week — herbs and salad greens picked steps from the kitchen taste better than anything from a store, and they cost pennies to grow. Raised beds are the simplest way to start: they warm up faster in spring, drain better than flat ground, and are easy to reach without kneeling on wet soil.
Keep the beds narrow and sunny. A bed 3 to 4 feet wide lets you reach the middle from either side without stepping on the soil; 10 to 12 inches deep is enough for most herbs and vegetables. Put the beds in the sunniest spot you have — at least 6 hours of direct sun for tomatoes, peppers, and herbs — and close to the kitchen door so picking takes seconds, not a trek. Fill them with a mix of good topsoil and compost, not plain garden soil, which compacts in a raised bed.
Tip: Start with the herbs you actually cook with — basil, rosemary, mint, parsley, chives — plus one or two vegetables you eat weekly. A small bed that gets picked clean beats a large one that goes to seed.

11. Add A Small Water Feature For Sound And Calm
Moving water changes how a yard feels more than almost anything else its size. The sound masks traffic noise, the movement draws the eye, and birds arrive within days. You do not need a pond: a wall-mounted spout, a bubbling urn, or a small basin fountain on the patio gives you the sound for a fraction of the cost and work of a dug pond.
Start small and solar if you are unsure. A self-contained fountain needs no plumbing — just a level spot, a power point or a solar panel, and a weekly top-up of water. A small pond needs a liner, a pump, and a plan for keeping the water clear, so it is a bigger commitment; place it where you can see it from the house, not hidden at the back of the yard. Keep any water feature away from the main play area if small children use the yard, and check local rules on pond depth and fencing.
Tip: Set the fountain where its sound reaches the seating area but the pump hum does not. About 6 to 10 feet from the chairs is the sweet spot — close enough to hear the water, far enough to forget the motor.

12. Make A Play Corner The Kids Actually Use
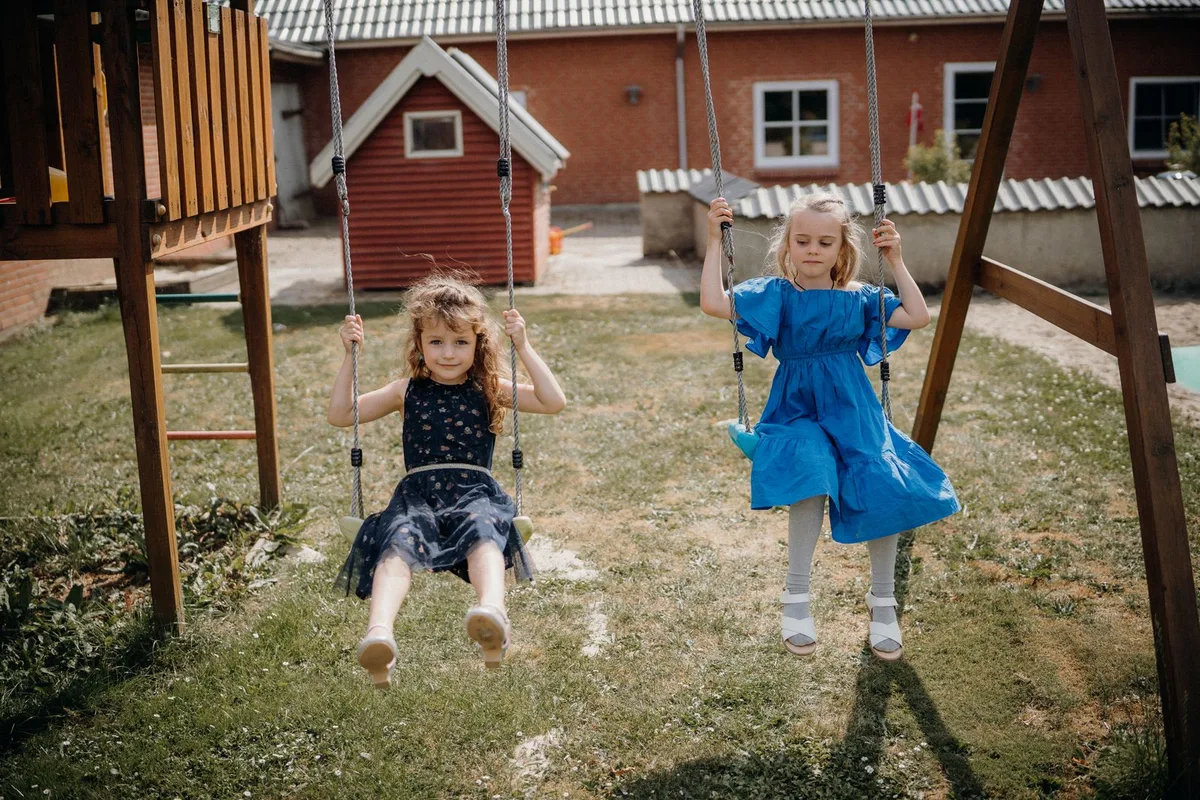
A play corner works when it is visible from the house and simple enough to use without setup. A swing set, a sandbox, or a climbing frame at one end of the lawn, with the rest of the lawn left open for ball games, covers most ages. Keep the play zone where you can see it from the kitchen window — children play longer when an adult is nearby, and you will actually let them out there.
Build for safety and for growth. Put swings and climbing frames on soft ground — bark mulch, sand, or rubber mats — never on concrete or bare paving. Leave a clear fall zone of about 6 feet around the equipment, and check bolts and ropes each spring. Choose equipment that grows with the child: a frame with a toddler swing that can be swapped for a belt swing, or a sandbox with a lid that becomes a digging pit and later a garden bed.
Tip: Give the kids one patch of the yard that is theirs to dig in and make a mess of. A small digging corner or a mud kitchen keeps the rest of the garden intact — and children who can dig will play outside far longer than children who are told not to touch anything.
13. Tuck In A Quiet Corner For Reading
Not every part of the yard has to entertain. One quiet corner — a hammock between two trees, a bench under a shade tree, or a single comfortable chair screened by tall plants — becomes the part of the yard you love most. It costs almost nothing and it is the idea most often missing from backyard lists, because it produces nothing to show off.
Screen it lightly, not heavily. A slatted panel, a tall planter, or a row of ornamental grasses is enough to make the corner feel separate without cutting it off from the rest of the yard. Face the seat toward the garden, not the fence, and keep a small side table or a stump nearby for a book and a drink. A hammock needs two solid anchor points about 12 to 15 feet apart; a freestanding hammock stand works when the trees are not in the right place.
Tip: Put the quiet corner where the evening sun lands, not the midday sun. A chair that catches the last warm hour of the day gets used daily; one that bakes at noon gets used never.

14. Connect The Zones With Paths
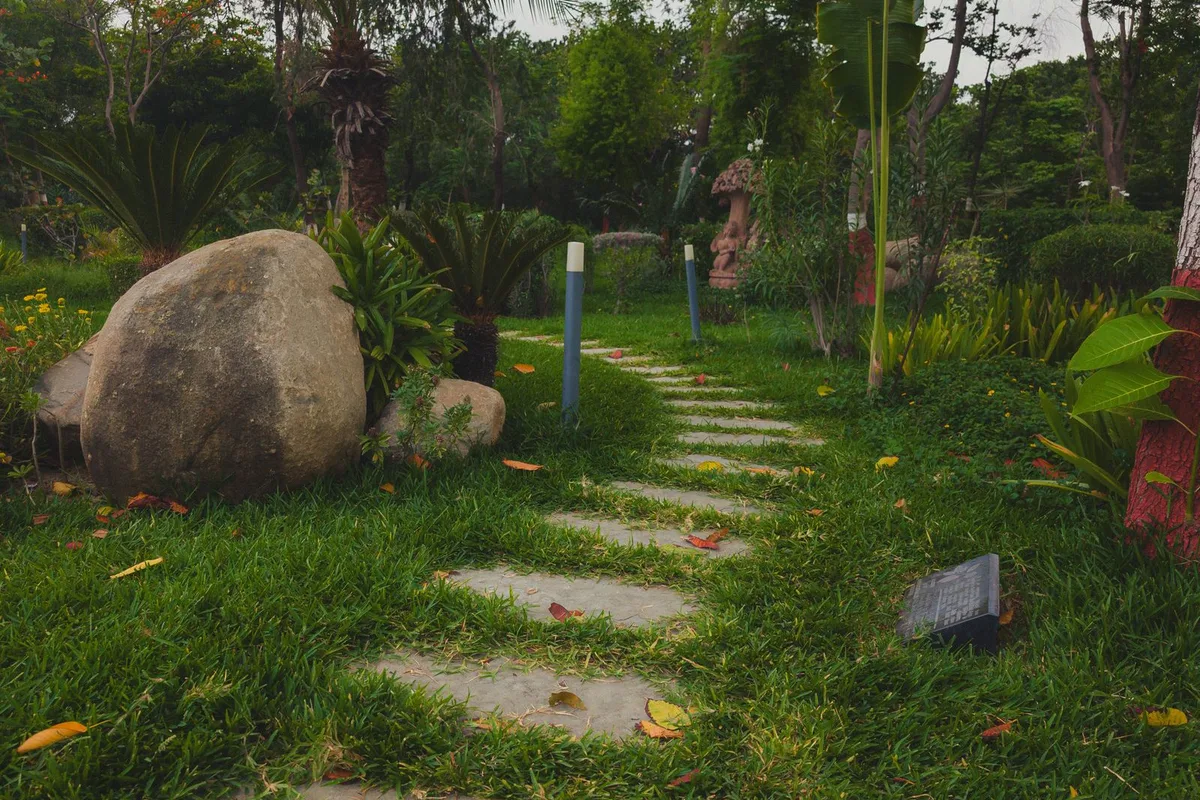
Zones without paths are islands — people cut across the lawn, wear a track through the grass, and the yard slowly turns to mud in the wet months. A path fixes the flow: it tells feet where to go, keeps shoes clean, and makes the yard feel designed even before the planting fills in. The main path runs from the back door to the patio and on to the garden or the play area; secondary paths branch off to the fire pit and the quiet corner.
Make the main path generous. A main walk should be at least 3 feet wide — 4 feet is better when two people walk side by side or someone carries a tray. Stepping stones set 18 to 24 inches apart suit a garden path; solid pavers or gravel with a steel edge suit the main route. Lay the path where people already walk, not where it looks best on paper — the worn track in the grass is the honest route.
Tip: Light the path. A few low lights along the main walk are the single most useful lighting in the yard after the string lights — they stop stubbed toes and they make the whole garden readable after dark.
15. Add Storage That Keeps The Yard Tidy
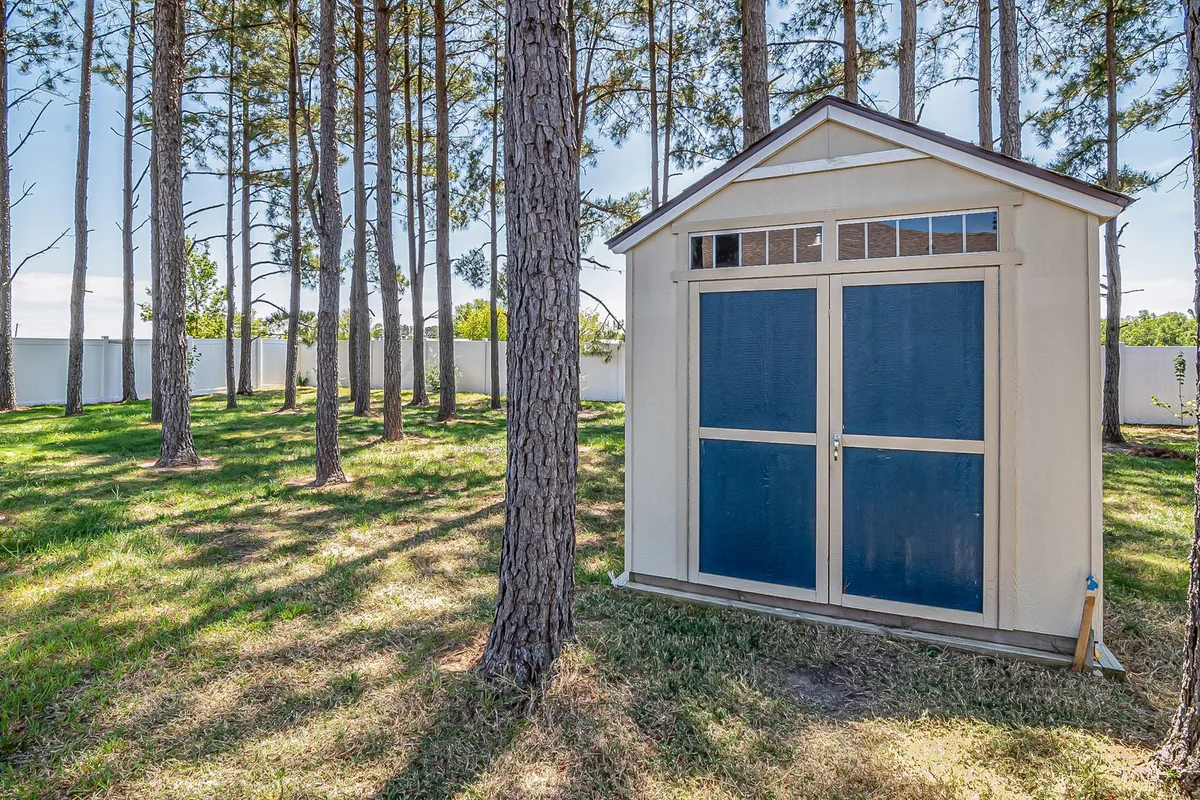
A tidy yard is not about tidiness — it is about use. Cushions left in the rain rot, toys left on the lawn kill the grass underneath, and tools left out rust. Storage that sits right where things are used is the difference between a yard that stays inviting and one that slowly fills with clutter. A deck box by the lounge, a small shed at the back, or a bench with a lift-up seat covers most of it.
Match the storage to the mess. A deck box of about 100 gallons holds cushions and throws for a four-seat lounge set. A garden shed of 6 by 8 feet takes the mower, the tools, and the kids’ outdoor toys with room to spare. A potting bench with shelves under it keeps the garden tools where the garden is. Whatever you choose, it should be weatherproof and easy to open one-handed — storage that needs two hands and a key gets ignored.
Tip: Paint or stain the storage the same color as the house trim or the fence. A deck box that matches the house reads as furniture; a bright plastic box reads as clutter, however tidy the yard is.
What Order To Build In?
Start with the patio and the zones, because everything else depends on them. Then add shade, because shade decides where people sit. Then seating and the fire pit, then the paths that connect them. Planting and the kitchen garden come next, once the heavy work is done and the soil is not being trampled. Lighting goes last, once you know where people actually gather after dark.
Build one zone at a time and use it before you start the next one. A patio used for a month teaches you more about what the yard needs than any plan — where the sun falls, where the wind comes from, where people naturally walk. The yards that get finished are the ones built in stages, not the ones attempted in a single heroic weekend.
What A Backyard Makeover Costs?
Costs vary widely by region and materials, so treat these as approximate US planning ranges, not quotes. A weekend refresh — string lights, a few planters, a second-hand lounge set, mulch — runs a few hundred dollars. A mid-range project — a paver patio, a pergola, decent furniture, layered lighting, and planting — typically runs about 3,000 to 8,000 dollars. A full build — a large patio, a built-in outdoor kitchen, a gas fire feature, a pond, and professional landscaping — runs 15,000 dollars and up.
Spend first on what you touch daily. The patio surface, the seating, and the shade are worth the better materials, because you feel them every time you sit down. Save on the things that are easy to upgrade later — the planters, the cushions, the accessories. And leave a small contingency in the budget for the things every yard project uncovers: a drainage fix, a tree root, a run of bad weather.
Frequently Asked Questions
How Do I Start Designing My Backyard?
Start with how you will use it. List two or three real activities — dining, lounging, kids playing — and give the top one the best spot, closest to the house. Sketch the yard, mark the sunny and shady spots, then divide it into two or three zones. Build the patio and the shade first, then seating, then planting and lighting.
What Is The Cheapest Way To Improve A Backyard?
The cheapest high-impact moves are a deep mulch on the beds, a set of warm string lights, a few large planters instead of many small ones, and rearranging the furniture you already own. Together they cost a few hundred dollars and change how the yard looks and feels in a single weekend.
How Much Space Do I Need For A Backyard Patio?
A dining set for six needs roughly 12 by 14 feet including walking space; a lounge set with two chairs and a coffee table is comfortable at about 10 by 12 feet. Always add about 3 feet of clear space around the furniture so people can move without squeezing past the table.
How Can I Make My Backyard Private?
Layering works better than a single tall fence. Combine a fence or hedge at the boundary with tall planting inside it — ornamental grasses, bamboo in containers, or a small tree — plus a pergola or shade sail over the seating area. The layers block sightlines from different angles without making the yard feel boxed in. If your yard is small, our small backyard ideas guide covers privacy tricks that keep a tight space feeling open.
How Do I Keep My Backyard Low Maintenance?
Choose the low-upkeep version of every idea: pavers or gravel instead of a high-maintenance lawn area, native and drought-tolerant plants, mulch on every bed, weatherproof furniture with washable covers, and low-voltage lighting on a timer. The yard stays good-looking with a weekly tidy and a seasonal prune, instead of a weekend of work.
The Yard You Actually Use
A good backyard is not the one with the most features. It is the one with a clear job for every corner, a comfortable place to sit, shade when the sun is high, light when it sets, and a path that takes you from the door to all of it without thinking. Pick the two or three ideas from this list that match how you actually spend time outside, build the first one this weekend, and let the yard teach you what it needs next.