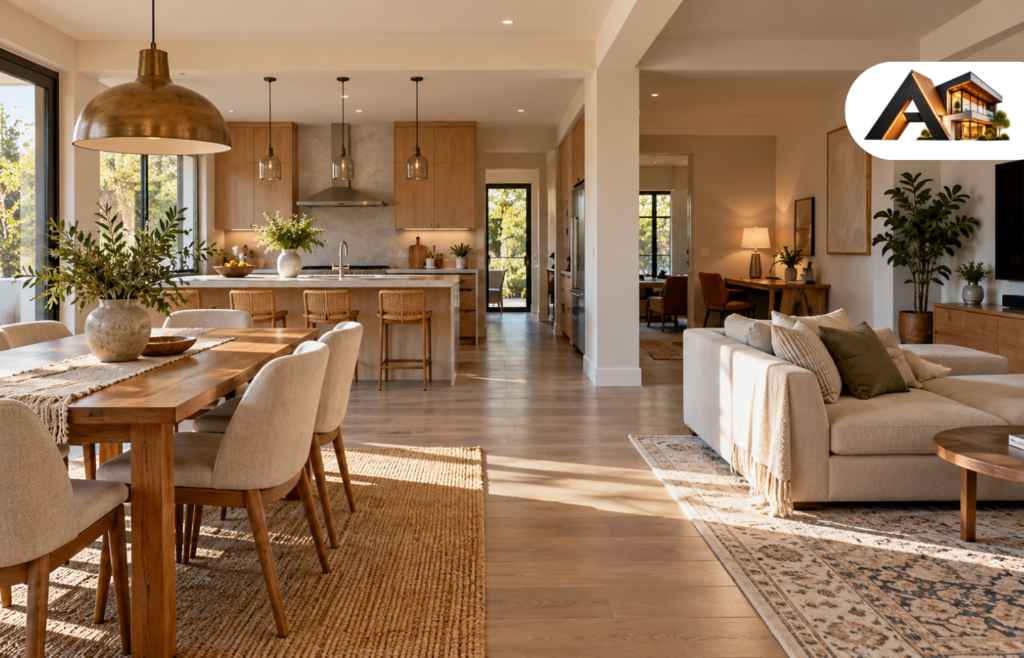

Hanging a mirror takes seven steps: weigh it, pick the height, check the wall, mark the fixing points, drill and fit the anchors, hang it with a helper, and check it with a level. Most mirrors go up in under half an hour with basic tools. The part people get wrong is not the drilling — it is the measuring. A mirror hangs from its D-rings, not from its top edge, so if you measure to the top of the frame, the mirror ends up lower than you planned. Get the height math right, use two fixings instead of one, and match the fixings to the wall behind the paint, and the mirror stays put for years.
Before You Start: Three Checks That Save A Re-Drill
A mirror that falls is not just a broken mirror. It is seven years of bad luck, a smashed frame, and a chunk of wall to repair. Three checks before you touch a drill prevent almost every failure.
Weigh the mirror first. Every fixing decision depends on that number. Stand on a bathroom scale holding the mirror, then weigh yourself without it, and subtract. The weight is usually printed on the box or the retailer’s product page if the mirror is new. Sources disagree on exactly where “heavy” starts — one guide says over 20 pounds, another says over 30, a third says over 35 — so treat anything over about 20 pounds as a job for two fixings into studs or heavy-duty anchors, and anything very heavy as a French cleat job. The cautious threshold costs you nothing and saves the mirror.
Find out what wall you have. Knock on it. A hollow sound means drywall over a timber or metal frame. A dull, solid thud means brick, block or concrete. Plaster over lath, common in older homes, sounds solid but crumbles if you drill it carelessly. The wall type decides the drill bit and the fixing, and using the wrong one is the most common reason mirrors come down.
Check what the mirror will reflect before you commit. Have someone hold it in place while you look from where people will actually stand or sit. A mirror that reflects a window or a light brightens the room. One that reflects a blank wall, a pile of laundry or a television screen doubles the clutter or creates a second glare point in the evening. In a bedroom, a mirror directly facing the bed bothers some people at night. A minute of checking now beats re-drilling later.
Tools And Materials You Will Need
- Tape measure and pencil
- Spirit level or laser level, ideally 24 inches long
- Stud finder, or a small drill bit to probe for studs
- Drill with the right bits: wood bit for studs, masonry bit for brick, tile or glass bit for tile
- Fixings rated for your mirror: picture hooks, drywall anchors, toggle bolts or wood screws
- Painter’s tape, for marking positions without marking the wall
- A helper, for anything over about 20 pounds or any mirror wider than your arms
- Paper or cardboard, for a template if you want to test the position first
Most of this is already in a basic toolbox. The one item worth buying rather than borrowing is the stud finder, because guessing where the studs are is how mirrors end up hanging from drywall alone.
How To Hang A Mirror In 7 Simple Steps?
Step 1: Weigh The Mirror And Check Its Hardware
Stand on the bathroom scale with the mirror, then without it, and write the number down. Then turn the mirror over and look at what is on the back: D-rings, a wire, a cleat, keyhole brackets, or nothing at all. D-rings are the most common fitting on a framed mirror, and they are the best one to hang from because they sit flat against the wall and share the load between two points. A wire is fine for a light mirror, but all the weight sits on one fixing, and the mirror tilts if it gets knocked. If the mirror has no hardware, fit two D-rings the same distance down from the top on each side, usually 2 to 6 inches down and the same distance in from each edge, screwed into the solid frame rather than the backing board.
Common mistake: skipping the weighing step and guessing. A fixing rated for exactly the mirror’s weight is not enough — ratings assume perfect installation and a straight downward pull, so choose fixings rated for at least twice the mirror’s weight.

Step 2: Decide The Height And Mark The Center
On an open wall, hang a mirror so its center sits about 57 to 60 inches from the floor, which is average eye level. In a hallway or entry, 60 to 65 inches to the center often works better, because a mirror’s job is to reflect faces. Above furniture, the furniture sets the height instead: leave 6 to 10 inches between the top of the piece and the bottom of the mirror, so the mirror and the furniture read as one composition. Above a mantel, leave 4 to 8 inches. Above a bathroom vanity, leave 5 to 10 inches above the faucet or backsplash, with the mirror centered over the sink. For a full-length mirror, keep the bottom edge a few inches off the floor and the top above the tallest person’s head.
Mark the center height lightly on the wall with a pencil, and mark the top edge too. Then stand back and check it against the furniture below. The mirror should be about two-thirds to three-quarters of the width of the furniture underneath it, and never wider than the piece below — a 48-inch console takes a mirror about 32 to 36 inches wide.
Common mistake: hanging the mirror too high. A mirror that only shows the top of your head is not doing its job. Check the height with the shortest person who will use it, not the tallest.
Step 3: Work Out Where The Fixings Go
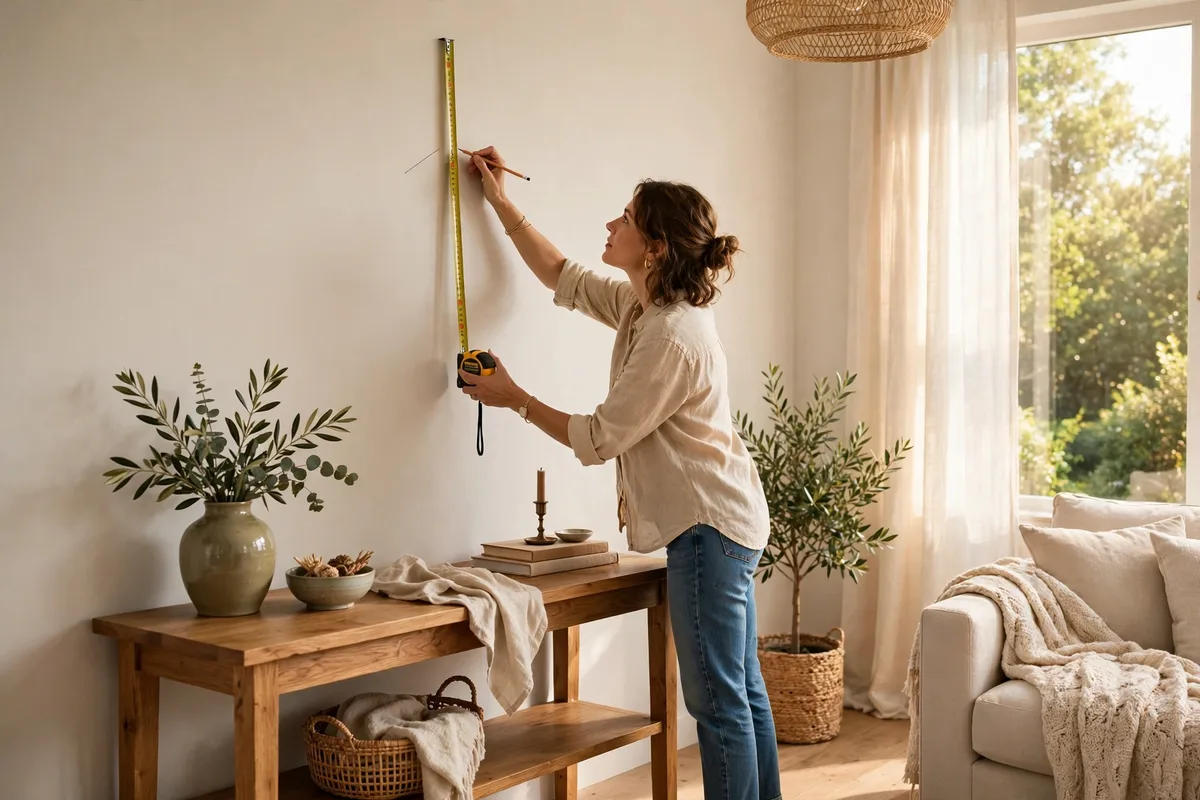
This is the step that separates a level mirror from a crooked one. The mirror hangs from its D-rings, so the nails do not go at the center height or the top height. They go at the nail height, and the formula is simple: nail height = center height + half the mirror’s height − the D-ring drop. The D-ring drop is the distance from the top edge of the mirror down to the inside top of each D-ring, where it will sit on the hook.
A worked example makes it concrete. Take a mirror 30 inches wide and 40 inches tall, with D-rings 6 inches down from the top and 4 inches in from each side, centered at 60 inches from the floor. The nail height is 60 + 20 − 6 = 74 inches from the floor. The D-rings are 30 − 4 − 4 = 22 inches apart, so the nails go 11 inches either side of the center line, both at 74 inches.
Measure the D-ring drop and the gap between the two D-rings on the back of your mirror, do the same sum, and write both numbers down before you touch the wall. If your mirror hangs from a wire instead, measure from the top edge to the highest point of the wire when it is pulled taut, and use that as the drop.
Common mistake: measuring both nails up from the floor. Floors are rarely level, so two marks measured separately from the floor can sit at different heights. Mark one nail position, then use the level to carry the line across to the second one.

Step 4: Find The Studs And Mark The Fixing Points
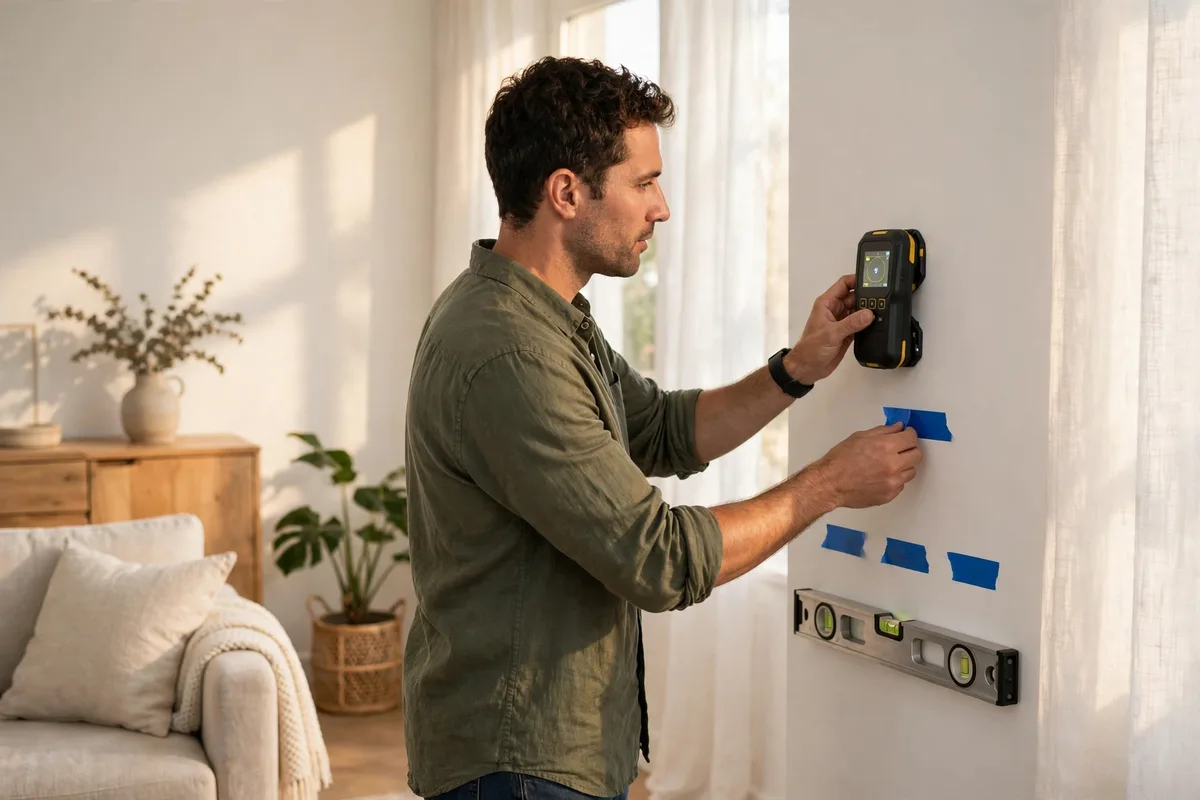
Run the stud finder across the wall at the nail height and mark every stud it finds. Studs usually sit 16 inches apart in American homes, running from floor to ceiling. If a fixing point lines up with a stud, screw straight into it — that is the strongest fixing on a framed wall, and it needs no anchor at all. If the studs do not line up with your D-rings, screw a timber batten or a French cleat across two studs and hang the mirror from that instead.
Where there is no stud, the fixing has to grip the wall itself. On drywall, that means toggle bolts or heavy-duty drywall anchors rated well above the mirror’s weight. Standard screws into drywall alone will not hold a mirror safely, no matter how small it looks. Mark both fixing points on painter’s tape stuck to the wall, then lay the level across the two marks. If one mark is off, the mirror hangs crooked however carefully you measured. Adjust the tape, not the mirror.
Before you drill, check for cables. A stud finder that also detects electricity is the reliable way to do this. Never drill into a spot where a cable might run behind the wall, and never assume the last person who wired the room followed the rules.
Common mistake: trusting one nail in drywall. It is the most common reason mirrors fall. Use two fixings, each rated for at least twice the mirror’s weight, and never hang a mirror over a bed or a sofa from a single point.
Step 5: Drill And Fit The Anchors
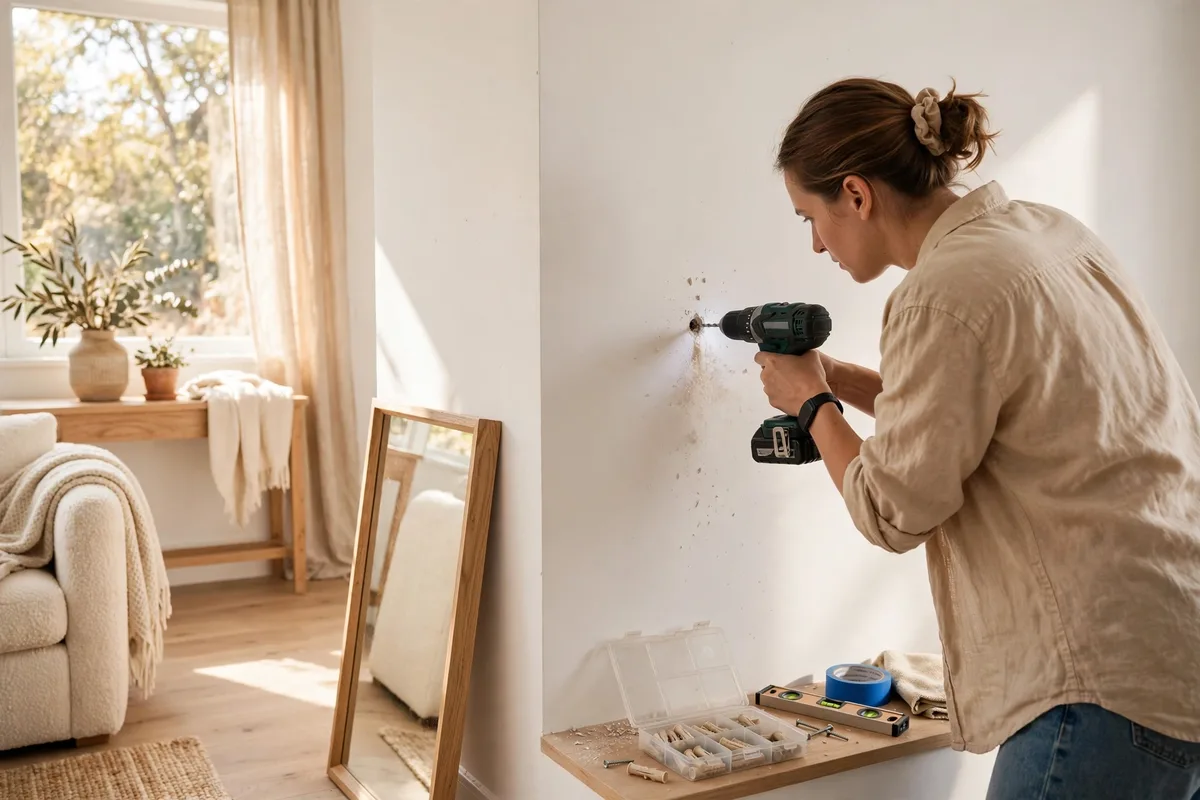
Choose the bit for the wall you actually have: a standard bit for a timber stud, a masonry bit for brick or block, a tile or glass bit for tile. Wrap a small piece of tape around the drill bit at the correct depth as a visual guide, so you do not drill too deep or too shallow. The hole should be slightly deeper than the anchor or wall plug, and the plug should fit tightly before you drive the screw in.
For a stud, drive the screw straight in — a 2.5-inch wood screw for a wall with half-inch drywall, or a 3-inch screw for a plaster wall, so at least 2 inches of thread bite into the stud. For drywall with no stud, push the toggle bolt or anchor through the hole and tighten it until it grips from behind. For brick or block, drill with a masonry bit on the hammer setting, clear out the dust, tap in the wall plug, then drive the screw. If the mortar is soft and crumbly, drill into the brick rather than the joint.
Leave screws slightly proud of the wall if your mirror has keyhole or D-ring hangers — the rings need something to hook onto. If the mirror hangs from a wire, use two screws at the same height and hook the wire across both.
Common mistake: using a wood bit on masonry or a masonry bit on timber. Neither works properly, and the wrong bit is how drill bits snap and holes end up oversized. Match the bit to the wall, and let the drill do the work instead of forcing it.
Step 6: Hang The Mirror With A Helper
Lift the mirror with your helper, lower both D-rings onto the hooks at the same time, and let the weight settle evenly. One person guiding the rings while the other takes the weight is the safe way to do this — a mirror is awkward, heavy for its size, and slippery at the edges. Do not let go until both rings are seated and the mirror is sitting flat against the wall.
If the mirror hangs from a wire, hook the wire over both screws and let it settle, then check that the wire is sitting in the center of both hooks. If the mirror has a French cleat, lift it onto the wall cleat and slide it sideways until it is centered. Clear the floor around you before you lift, so nobody trips over furniture with a mirror in their hands.
Common mistake: hanging a heavy mirror alone. Anything over about 20 pounds, or any mirror wider than you can comfortably hold with both hands, needs a second person. A dropped mirror is not just a broken mirror — it is a safety risk, and the glass does not forgive a fumble.

Step 7: Check The Level And Make It Secure
Put the level on the top edge of the mirror and check it. If it is off, lift the mirror slightly and adjust one side — with two hooks, a small lift and shift is usually enough. Lift one corner slightly to make sure both hooks are taking the weight, not just one. Then step back and look at it from where people will stand. Check the reflection, check the height against the furniture below, and check that the mirror sits flat against the wall with no gap at the top.
Give the mirror a gentle tug forward at the bottom. It should not move. If it rocks or pulls away from the wall, take it down and check the fixings — a loose anchor now is a fallen mirror later. Once it is level and secure, peel off the painter’s tape and clean the glass by spraying cleaner on a cloth, not on the glass, so liquid does not run behind the frame.
Common mistake: checking the level against the floor instead of with the level itself. Floors slope, ceilings slope, and furniture is rarely perfectly straight. The spirit level is the only reference that matters, and the mirror should be level to the room, not to a wonky skirting board.

How To Hang A Heavy Mirror?
Treat anything over about 20 to 30 pounds as heavy, and give it more than a nail. A large framed, ornate or floor-length mirror often weighs 40 to 80 pounds, far more than a single nail in drywall can hold. Hang it from studs wherever possible, use two hanging points at minimum, and use a French cleat for the heaviest pieces. A French cleat is two interlocking angled rails — one screwed to the wall, one fixed to the back of the mirror — and when the mirror hangs, the angled edges lock together and spread the weight across a wide area instead of concentrating it at one or two points. Fix the wall cleat into studs or solid masonry rather than drywall alone.
Skip the wire on a heavy mirror. Over about 50 pounds, the wire becomes the weak point, so hang the D-rings directly on hooks or use a cleat instead. Use closed or safety hooks where a knock could lift the mirror off — hallways, kids’ rooms and earthquake-prone areas. And know the limit: a mirror over about 100 pounds (about 45 kg), or one that needs fixings you cannot find studs for, is a job for a professional installer. Bob Vila’s guide to how to hang a heavy mirror covers the same ground with specific hardware picks, including winged anchors for drywall and the screw sizes for studs and plaster, and it is a useful second opinion before you hang anything very heavy. If you cannot find studs, cannot rate the anchors confidently, or the mirror hangs over a bed or a sofa where a fall could hurt someone, get a professional to install it. That is not a failure — it is the right call.
Hanging A Mirror On Plaster Walls
Plaster and lath walls, common in older homes, need a slower hand than drywall. The plaster is brittle, the lath behind it is thin wood, and a fast drill bit cracks the plaster in a star pattern around the hole. Drill slowly, with no hammer action, and let the bit cut rather than forcing it. Screws into the studs behind the plaster are the strongest option — use a 3-inch screw so at least 2 inches of thread bite into the stud. Where there is no stud, use toggle bolts, which spread the load behind the lath. Check that the wall is flat before you start: a mirror hung on a bowed plaster wall will not sit flat, and it may show a distorted reflection or work its fixings loose over time. If the plaster is already cracked or crumbling around your chosen spot, pick another spot or get the plaster repaired first.
Hanging A Mirror On Tile Walls
Tile is the wall type people fear most, and it is manageable if you go slowly. Drill through a grout line if you can — it is the easiest spot, the simplest to patch later, and the least likely to crack. If you must drill through the tile itself, put a cross of masking tape over the spot to stop the bit slipping, use a tile or glass bit at low speed with the hammer setting off, and apply light, steady pressure. Start with a small pilot hole, then switch to a masonry or wood bit once you are through the tile. Never use the hammer setting on tile, and never rush the first few millimeters — that is when tiles crack. For a light mirror in a bathroom, strong adhesive mirror pads rated for tile can avoid drilling entirely, but they are only for light mirrors on smooth, clean tile, and they are not a substitute for proper fixings on anything heavy.
How High To Hang A Mirror In Every Room?
Height is not one number. It changes with the room and with what sits underneath the mirror. This table pulls the consensus from the guides we read — they agree with each other closely here, which is rare.
| Where | Height Guideline |
|---|---|
| Open wall, hallway or entry | Center 57–60 in from the floor; up to 65 in in a hallway |
| Above a dresser, console or sideboard | Bottom edge 6–10 in above the top |
| Above a sofa or bed | Bottom edge 8–10 in above the back or headboard |
| Above a fireplace mantel | Bottom edge 4–8 in above the mantel shelf |
| Above a bathroom vanity | Bottom edge 5–10 in above the faucet or backsplash |
| Full-length mirror | Bottom edge a few inches off the floor, top above the tallest user’s head |
Two rules sit behind the whole table. First, the mirror’s center belongs at the eye level of the people who will use it, not at the height that looks right from across the room. Second, a mirror above furniture belongs to the furniture, not to the wall — center it on the piece below, keep it two-thirds to three-quarters of that piece’s width, and keep the gap between them small enough that they read as one composition. A decorative mirror used as art rather than for reflection can break these rules, but a mirror you actually look into should follow them.
Where To Hang A Mirror, And Where Not To?
A mirror earns its place by what it reflects, and that is a design decision, not just a hanging one. Across from or beside a window, it bounces natural light back into the room and makes a small space feel bigger — a north-facing room benefits enormously from this. In an entryway, over a console table, it gives a last check before you leave. Over a dining-room sideboard it reflects candlelight. In a bedroom, above a dresser or beside the wardrobe, it makes getting ready easier. If you are still choosing the mirror itself, think about the frame as part of the room — a round mirror softens a hallway, a tall arched mirror suits a bedroom, and a wide horizontal mirror widens a room above a long piece of furniture. Our front door decor ideas show how a mirror works in an entryway alongside the rest of the decor, and our bedroom wall decor ideas cover mirrors as part of a bedroom wall.
Where not to hang one: directly opposite another mirror, which creates a distracting endless reflection. Where it reflects clutter, a bathroom door or a blank wall. Where it catches direct sun into your eyes or onto a television screen. And in a bedroom, some people find a mirror directly facing the bed disruptive to sleep — angling it slightly or moving it to a side wall avoids the issue entirely. The same care applies to the wall itself: if you have just finished how to hang wallpaper or how to hang curtains on the same wall, plan the mirror fixings around those finishes, not through them, and use a backing board if the finish is delicate.
Frequently Asked Questions
Should I Hang A Mirror On One Hook Or Two?
Two, for almost every mirror. Two hooks share the weight between two fixings, keep the mirror level, and stop it swinging if it gets knocked. One hook is only for small, light mirrors. Two D-rings at the same height, screwed into studs or into anchors rated for at least twice the mirror’s weight, is the standard that every guide we read agrees on.
Can Drywall Hold A Heavy Mirror?
Not on its own. A heavy mirror needs screws into the studs behind the drywall, or toggle bolts that spread the load behind it. Use at least two fixings, each rated for at least twice the mirror’s weight, and consider a French cleat for very heavy mirrors. A single nail or a standard screw in drywall alone will pull out — that is the most common reason mirrors fall.
How Do I Hang A Mirror Without Nails?
A light mirror can hang on adhesive strips or hooks rated for its weight, on a smooth, clean, non-porous surface. Clean the wall first, press the strips down firmly, and wait the full curing time before loading them. This only works for small, lightweight mirrors — not above about 12 pounds (5–6 kg), not on textured or damp walls, and never above a bed or a sofa. Check the strips regularly, because adhesive can let go slowly and then all at once. A floor mirror can also lean against the wall with its top strapped to it, which needs no holes at all.
How Do I Hang A Round Mirror?
The steps are the same as for a rectangular mirror, but the fixing positions change. If the round mirror has no hardware, the usual approach is three hooks in a “peace sign” formation — one at 12 o’clock and two lower at 4 and 8 o’clock — or a cable strung between 2 and 10 o’clock. Do not put a single fixing in the center of the back: the weight distribution goes wrong, the mirror sits unevenly, and it can fall.
How High Should A Mirror Be Above A Sofa Or Console Table?
Leave 6 to 10 inches between the top of a console table or dresser and the bottom of the mirror, and 8 to 10 inches above a sofa back or headboard so nobody bumps it leaning back. Center the mirror on the furniture, not on the wall, and keep it about two-thirds to three-quarters of the furniture’s width. Much higher and the mirror floats; much lower and lamps and decor crowd it.
A mirror hung well does two jobs at once: it holds safely on the wall, and it makes the room brighter and bigger. Weigh it, measure the D-ring drop, use two fixings into studs or rated anchors, and check the level before you let go. The whole job takes less than half an hour for most mirrors, and the only part worth slowing down for is the measuring — get the nail height right, and everything after it is easy.