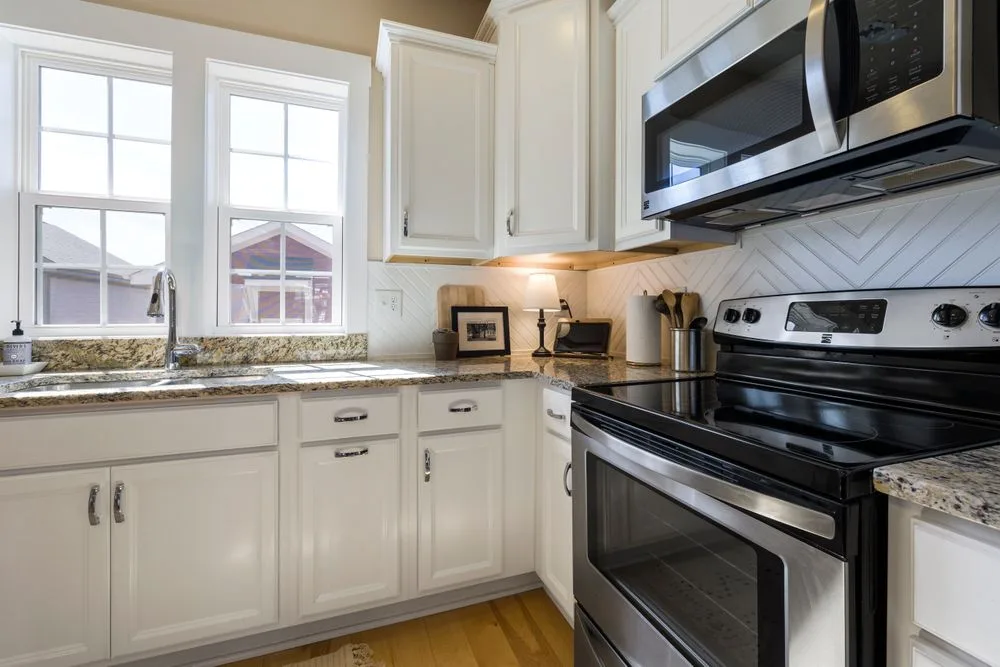
Here’s something nobody tells you before repainting painted cabinets for the first time: the painting is the easy part — two coats of a beautiful color takes an afternoon. What decides whether that finish still looks good in three years, or peels in sheets the first time you scrub a greasy fingerprint, is everything you did before the can opened.
Repainting painted cabinets is a different job from painting bare wood. You inherit an old finish that has spent years absorbing cooking grease, steam, and cleaning sprays — and it may not even be the same type of paint you plan to use. Prep it right and a repaint can look close to factory. Skip the prep, and you’ll be doing it again next year.
The quick answer
If you just want the process, here it is:
- Test the old paint to find out if it’s latex or oil-based (details below — this decides your primer).
- Remove doors, drawers, and hardware, and label everything so it goes back in the right place.
- Degrease thoroughly with a TSP substitute or kitchen degreaser, then rinse.
- Sand to scuff the old finish (120 grit), feathering out any chips or peeling edges, and fill damage with wood filler.
- Prime with a bonding or shellac-based primer suited to the old surface.
- Apply two thin coats of cabinet enamel, sanding lightly with 220 grit between coats.
- Let it cure, not just dry — handle gently for the first few weeks before reassembling and using the kitchen hard.
Now the details — because the shortcuts are exactly where repaints go wrong.
Should you repaint over the old paint, or strip it off completely?
Good news: in most cases you don’t need to strip back to bare wood. Stripping is slow, messy work, worth it only in specific situations.
Repaint over the existing finish if:
- The old paint is sound — no widespread peeling, flaking, or bubbling.
- The surface is mostly smooth, with only small chips.
- You’re changing color or refreshing the same color, not trying to reveal wood grain underneath.
Strip (or at least sand back heavily) if:
- Large areas are peeling. Paint doesn’t stick to a failing surface, no matter what primer you use — the weak layer underneath just lets go again.
- There are many thick, drippy layers from previous rushed paint jobs.
- You want a stained wood look instead of paint. There’s no shortcut around that one.
Most kitchens fall into the first camp. If yours does, repainting painted cabinets without stripping is absolutely doable — you just can’t skip the next two steps.
How can you tell if your cabinets were painted with latex or oil-based paint?
This matters more than almost anything else in the job. Latex (water-based) paint applied directly over an old oil-based finish is one of the classic causes of peeling cabinets: the new coat never bonds, and eventually comes off in strips. It’s also a big reason people end up asking why paint is peeling off their cabinets a few months later.
Painters use a simple test:
- Find a hidden spot — inside a door, or the back of a drawer front.
- Dab a cotton ball or white rag with denatured alcohol (rubbing alcohol often works too) and rub the surface for 20–30 seconds.
- If the paint softens, gets tacky, or color comes off on the rag, it’s latex (water-based).
- If nothing happens and the surface just looks clean, it’s most likely oil-based.
If the test says oil-based, don’t panic — you just need the right primer (below) to bridge the two paint types. The rest of how to paint kitchen cabinets is covered in the sections that follow; this test simply decides where you start.
Prep work: the unglamorous 90% of the job
Remove the doors and label everything
Take the doors and drawer fronts off, and remove handles, knobs, and hinges. Label each door and its cabinet opening with matching numbers on painter’s tape (top-left door = 1, its opening = 1). Put hinges and screws in labeled bags. Doors are rarely perfectly interchangeable, even when they look identical — this five-minute habit saves a genuinely miserable hour later.
Set up a work area — sawhorses or a table — where doors can lie flat and cure undisturbed.
Degrease like you mean it
Kitchen cabinets carry an invisible film of airborne cooking grease, and paint will not stick to it. Wash every surface — doors, drawer fronts, and the cabinet frames — with a TSP substitute or a strong kitchen degreaser, using a scrub pad on the worst areas around the stove. Then rinse with a clean, damp cloth and let everything dry fully.
Skip this step and even perfect sanding won’t save you, because you’re just pushing grease around the surface.
Sand to scuff, fill the damage
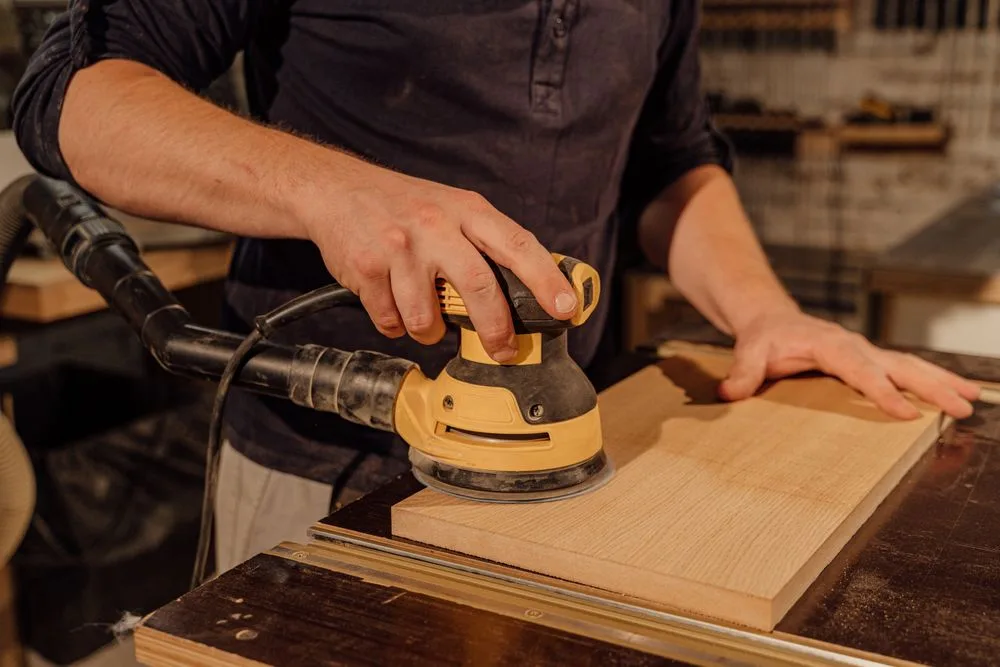
You’re not sanding the old paint off — you’re dulling it so the new coating can grip.
- Sand all surfaces with 120-grit sandpaper or a sanding sponge until the shine is gone and the finish feels uniformly dull.
- Where paint is chipped or peeling, sand the edges until they feather smoothly into the sound paint around them. If an edge catches your fingernail, it will show — and likely lift — later.
- Fill chips, dents, and old hardware holes with wood filler, let it dry, and sand the repairs flush.
- Wipe everything with a damp cloth or tack cloth to remove dust.
While you’re at it, check the cupboards are sound underneath the paint — if a cabinet box or sink unit is failing, no paint job fixes that. Our guide to choosing kitchen sink cupboards that fit properly covers what to look for.
Priming: the coat that decides whether the paint stays on
Primer is not optional on a repaint, even on an already-painted surface. The right primer bonds to the old finish, blocks stains bleeding through, and gives the topcoat something to hold onto.
- For old oil-based paint, stained wood, or oak cabinets: a shellac-based stain-blocking primer — Zinsser BIN is the classic example — is the most reliable choice. It sticks to glossy surfaces, seals tannin bleed from oak, and blocks the grease stains that water-based primers sometimes let through.
- For sound old latex paint in decent condition: a quality bonding primer made for slick surfaces will usually do the job.
Apply one even coat, let it dry per the can’s instructions, then sand lightly with 220 grit, wipe off the dust, and spot-prime any filled repairs.
Painting: thin coats win
Use a paint made for cabinets and trim — regular wall paint is too soft for doors that get grabbed, bumped, and scrubbed daily. Two families are popular with painters:
- Urethane-alkyd enamels, such as Benjamin Moore Advance or Sherwin-Williams Emerald Urethane Trim Enamel. These level out smoothly and cure hard.
- 100% acrylic cabinet enamels, which dry faster and clean up with water.
Before you commit to a color and sheen, it’s worth reading Benjamin Moore’s cabinet painting advice on picking a finish — satin or semi-gloss is the usual sweet spot, since flat finishes mark easily and hold grease.
Application tips that make a real difference:
- Two thin coats beat one thick coat every time. Thick coats sag, show drips, and stay soft underneath.
- A small foam or microfiber roller gives a smooth finish on flat doors and frames; use a good angled brush for edges and detailed profiles. Then leave it alone — over-brushing as paint starts to dry leaves marks.
- Spraying gives the smoothest result if you have the equipment and a place to do it, but it’s optional, not required.
- Sand very lightly with 220 grit between coats, wipe the dust away, then apply the second coat.
Drying is not curing: the patient part
Your cabinets will feel dry to the touch within hours. That does not mean the paint is hard. Most cabinet paints take 2–4 weeks to fully cure, and during that window the finish is vulnerable — doors stuck to frames, rings from cups set down on a drawer front, and chips from one knock against a countertop all happen in week one.
Practical approach: let doors cure flat for at least a few days before hanging them, use small felt or silicone bumpers where doors meet frames, and be gentle for the first few weeks.
How long does the whole project take? For a typical kitchen, most DIYers should expect 3–5 days of actual work spread across about a week, counting removal, cleaning, drying time, and reassembly. If your doors are too far gone for paint to save — cracked, swollen, or warped — replacing just the doors is often smarter than refinishing; our guide to choosing replacement kitchen unit doors walks through how to match sizes and styles.
And the cost? DIY materials — degreaser, sandpaper, primer, a gallon of good enamel, brushes and rollers — typically run to a few hundred dollars. Professional cabinet refinishing typically costs several thousand, which is exactly why this job is worth doing carefully rather than quickly.
Why do repainted cabinets peel? The mistakes behind most failures
If you’re repainting painted cabinets because a previous job failed, one of these almost certainly caused it:
- Painting over grease. The number one culprit. The new coat bonds to the grease film, not the cabinet.
- Skipping the scuff-sand. Glossy old paint is a low-grip surface; unprimed topcoat over it peels like a sticker.
- Latex straight over oil-based paint without a bridging primer.
- No primer over repairs and oak. Filler spots flash through the finish, and oak tannins bleed yellow-brown stains through light colors.
- Thick coats and rushed recoats. Paint applied too heavily, or recoated before the previous coat dried, stays soft and marks permanently.
- Using the kitchen hard during curing. Slamming, scrubbing, and steaming a two-day-old finish.
- Painting in a cold or humid room. Most enamels want mild, dry conditions to level and harden.
Every one of these is a prep or patience problem, not a “bad paint” problem — which is oddly encouraging: the fix is in your hands.
FAQ
Can you paint over already painted cabinets without sanding?
You can, in the narrow sense that paint will come out of the can — but it usually won’t last. A light scuff-sand is what turns a glossy, low-grip surface into one primer can bond to. If sanding is truly impossible, a bonding primer is essential, but sanding plus primer is the combination that holds up.
Do I really need to remove the cabinet doors to repaint them?
You can paint doors in place, but you’ll fight drips on vertical surfaces and miss the edges. Doors painted flat level out smoother and cure undisturbed — worth the extra half hour.
What is the best paint for repainting painted cabinets?
Look for an enamel made for cabinets and trim, not standard wall paint. Urethane-alkyd enamels (Benjamin Moore Advance and Sherwin-Williams Emerald Urethane are the lines painters mention most) level smoothly and cure hard; 100% acrylic cabinet enamels are the faster-drying, water-cleanup alternative. Satin or semi-gloss is the practical sheen for a working kitchen.
How many coats of paint do repainted cabinets need?
One coat of primer plus two thin topcoats is the standard recipe for repainting painted cabinets. A very dark old color going to white (or the reverse) occasionally needs a third thin coat. Judge by coverage after the second coat dries — not while it’s wet, when everything looks patchier than it is.
How long before I can use my kitchen normally again?
You can usually cook in it once the doors are back on — a few days after the final coat. But treat the finish gently for 2–4 weeks while it fully cures: no aggressive scrubbing, no resting hot or heavy items against freshly painted surfaces, and keep felt bumpers in place so doors don’t stick.
The bottom line
Repainting painted cabinets is one of the highest-value jobs in a kitchen, and its secret is boring: test the old paint, wash off the grease, scuff the shine away, prime properly, and lay on two thin coats of a real cabinet enamel. Do those things, in that order, and the finish won’t just look good on day one — it’ll still be holding up years later, long after a rushed job would have started peeling.