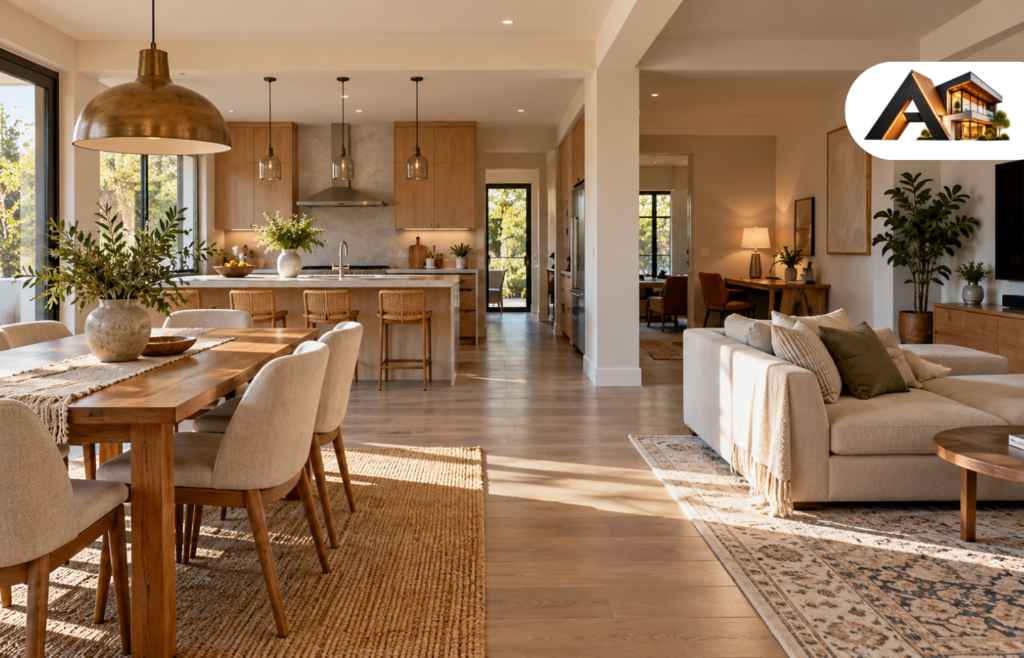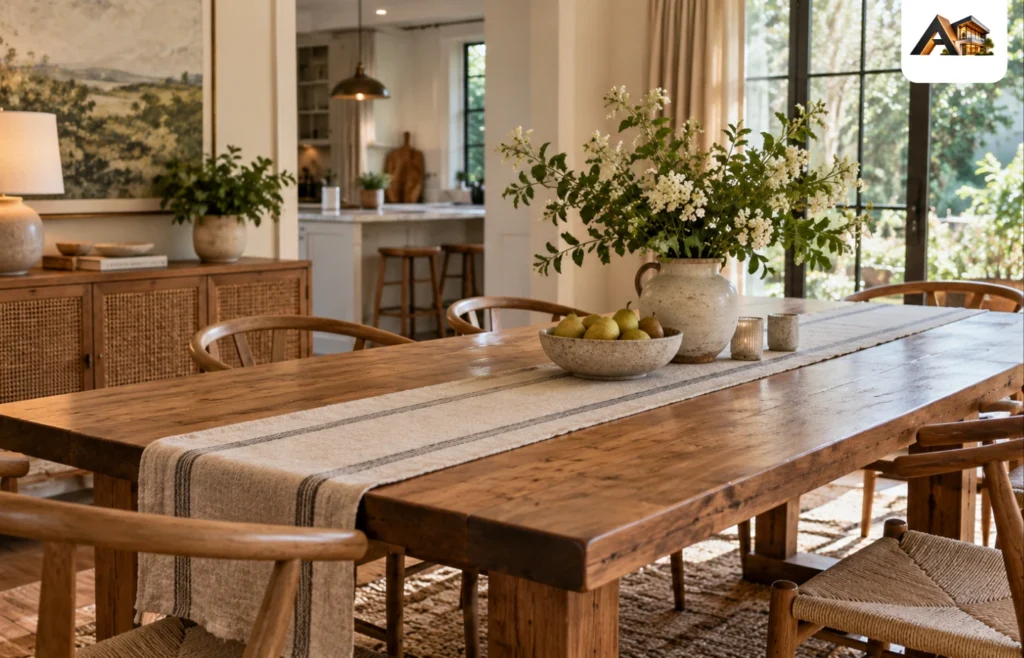

The right pendant lights for kitchen island lighting should illuminate the worktop, suit the island’s proportions, and feel comfortable from both sides of the counter. A beautiful shade can still disappoint if it blocks conversation, exposes a glaring bulb, or leaves your main preparation area in shadow.
Start with the island’s dimensions and how you use it. Then compare fixture styles, plan their spacing, and check the light output before choosing a finish. This guide explains how to bring those decisions together.
Start With What Your Island Needs
An island used for chopping, reading recipes, and homework needs useful light across its working surface. An island mainly used for breakfast and conversation may place more emphasis on softer illumination and comfortable views.
Pendants can contribute task lighting and decorative interest, but they should work with the kitchen’s other lights. General ceiling lighting illuminates the room, while dedicated task lighting serves particular work areas. Under-cabinet lights help with perimeter counters; they do not automatically solve poor lighting on a central island.
Before shopping, stand where you usually prepare food and identify what is missing. Is the island itself dark, or does the whole kitchen need better lighting? That distinction helps you avoid buying decorative pendants and expecting them to solve every lighting problem.
Which Pendant Style Suits Your Kitchen?
Compare how a fixture looks when switched off with how it behaves when illuminated. Shade material, bulb position, and the direction of the light all deserve attention.
| Pendant type | Design effect | What to check before buying |
| Clear glass | Keeps views through the room relatively open | Whether the exposed bulb feels harsh from stools and nearby seating |
| Opal or frosted glass | Creates a softer-looking, glowing shade | Whether enough light reaches the worktop |
| Metal dome or cone | Adds a defined shape and can direct light downward | Beam coverage and whether the bulb is recessed inside the shade |
| Ceramic shade | Introduces color, texture, or a handmade appearance | Fixture weight, cleaning instructions, and light direction |
| Woven shade | Adds texture to a simple kitchen | Cleaning access and any distracting light patterns |
| Linear pendant | Creates one continuous feature above an elongated island | Illuminated length, mounting requirements, and LED serviceability |
These are starting points for comparison. Two fixtures with similar shades can perform differently because of their openings, diffusers, and light sources.
For a kitchen with strong stone veining or detailed cabinetry, consider a simpler pendant silhouette. In a quieter room, a distinctive shape or colored shade can become the main decorative feature.
Finishes can relate to the room without matching every handle and tap. For example, a black pendant might repeat dark window frames, while a ceramic shade could echo a backsplash color. Check finish samples where possible: two products described as “brushed brass” may look noticeably different.
How Many Pendant Lights Should You Use?
Choose the number of pendants together with their size. Island length alone cannot tell you whether two large fixtures or three smaller ones will work better. Manufacturer guidance also treats fixture size and island size as connected decisions.
Two larger pendants are worth considering when you want fewer objects interrupting the view. Three smaller fixtures can create a repeated rhythm along an elongated island. One linear pendant offers another arrangement, especially when several separate shades would feel busy.
A single pendant may suit a compact island, but check its coverage. A narrow pool of light in the middle may leave both ends poorly lit.
Avoid choosing the count just to match the number of stools. Seating positions can change; the lights need to serve the countertop and the room.
Compare Two Layouts Before Committing
Draw the island to scale and place your shortlisted fixtures above it using their actual dimensions. Compare two larger shades with three smaller ones.
Then consider the elevation—the view from across the room. A layout that fits neatly on paper may still create a wall of opaque shades between the kitchen and living area.
Lightweight cardboard silhouettes held at the proposed height can help you judge visual bulk before the electrician fixes the final positions.
Get Pendant Size and Spacing Right
Measure the finished countertop, including its overhangs. Record its length and width, the ceiling height, and the locations of existing electrical boxes.
Use the fixture’s widest dimension, rather than its ceiling canopy, when planning the arrangement. For an irregular shade, check both its width and depth.
Spacing advice can sound contradictory because it uses different reference points:
- Center-to-center spacing measures between the middle of adjacent fixtures.
- Edge-to-edge spacing measures the open gap between their shades.
For example, two 14-inch-wide pendants placed 30 inches apart at their centers have a 16-inch gap between their edges.
Kichler suggests approximately 12–24 inches between the widest parts of multiple mini pendants, with larger pendants needing more separation. Treat that as a planning reference, then check your actual fixtures and their light distribution.
A Worked Spacing Example
Suppose an island is 96 inches long and you are considering three pendants, each 12 inches wide.
If their centers sit at 18, 48, and 78 inches from one end:
- Center-to-center spacing is 30 inches.
- The clear gap between shades is 18 inches.
- Each outside shade edge sits 12 inches inward from the nearest island end.
This is an illustrative layout, not a universal recommendation. It shows how to check the arithmetic before assessing appearance and illumination.
Also check the island’s width. A shade that fits comfortably along the length may still feel oversized above a narrow countertop.
How High Should Pendants Hang Above the Island?
A common starting point is 30–36 inches, or approximately 76–91 centimeters, from the countertop to the bottom of the fixture. This is design guidance rather than a universal electrical-code requirement. Kichler’s kitchen lighting guide uses this range.
Test the proposed position from several viewpoints: standing at the preparation area, sitting on a stool, and looking toward the kitchen from an adjoining room. Check whether the shade interrupts conversation or exposes the light source directly to your eyes.
A higher ceiling does not automatically require raising the fixture farther above the worktop. Often, it requires a longer suspension to reach the intended position.
For example, with a 108-inch ceiling, a 36-inch countertop, and a proposed 34-inch clearance, the overall ceiling-to-fixture-bottom distance is:
108 − 36 − 34 = 38 inches
Check whether the product’s stated hanging height includes its shade and canopy. A listed cord length is not necessarily the complete installed height.
For sloped ceilings, confirm that the mounting system supports the ceiling angle. Do not assume a rigid-stem fixture will hang correctly without the appropriate fitting.
Choose Comfortable Light, Not Just an Attractive Shade
Brightness, light color, and color rendering describe different qualities. Comparing them separately makes product specifications more useful.
Brightness and Coverage
Lumens describe light output. When comparing fixtures, check whether a listing gives bulb lumens or delivered fixture lumens, which account for the assembled fitting’s effect on the output. Kichler identifies delivered lumens as the more useful measure of installed fixture performance.
There is no single lumen figure that suits every kitchen island. The required output depends on the work area, mounting height, shade design, and contribution from other lights.
Ask for an illuminated showroom demonstration or manufacturer information showing where the light falls. A bright shade does not necessarily mean a well-lit countertop.
Color Temperature and Color Rendering
Color temperature, measured in kelvins, describes whether the light appears warmer or cooler. It does not describe brightness.
As a design starting point, compare 2700K and 3000K samples in your kitchen. Check them beside cabinet finishes and against existing lighting before choosing. Consistency matters when several light sources illuminate the same surface.
Color rendering describes how objects appear under the light. A CRI of 90 or higher is a useful specification to look for when comparing products, particularly where food and finish colors matter.
Glare and Dimming
Inspect the fixture from stool height. A bulb concealed when you are standing may be directly visible when you sit down. Also look for reflections on polished countertops.
Dimming gives you more flexibility between food preparation and evening use. However, confirm compatibility among the bulb or integrated LED, its driver, and the proposed dimmer.
If you want the light to become warmer as it dims, look specifically for dim-to-warm technology. Ordinary dimming does not necessarily produce that color change.
Check Installation and Ownership Details Before Buying
The purchase price is only part of the decision. Moving electrical boxes, repairing the ceiling, adding suitable controls, or supporting a heavier fixture can change the project’s scope.
Have a qualified electrician assess hardwired installation, mounting support, and any wiring changes. Follow the fixture instructions and applicable local requirements.
Before ordering, confirm:
- Hanging range: Can the fixture reach the intended height?
- Ceiling compatibility: Does it suit a flat or sloped ceiling?
- Mounting arrangement: Does it require one electrical connection, several connections, or additional support points?
- Light-source replacement: Does it use replaceable bulbs, or can its integrated LED components be serviced?
- Cleaning access: Can you reach the inside of the shade and remove it as instructed?
- Replacement parts: Are spare shades and other vulnerable components available?
For an island with a cooktop, plan lighting alongside ventilation. Check the hood and cooking-appliance instructions before placing decorative fixtures nearby. A layout suitable above a breakfast counter may not suit a cooking zone.
A linear pendant can simplify the visual arrangement, but do not assume it needs only one attachment point. Check the installation drawing before budgeting.
FAQs
Should pendants be centered over the island or the kitchen?
Usually, center the arrangement on the island it serves. In an asymmetrical layout, assess the main work area and the view from adjoining rooms before finalizing positions. Existing ceiling boxes should not be the only deciding factor.
Can you use pendants above an island with a low ceiling?
Yes, if the fixture’s minimum installed height leaves suitable countertop clearance and comfortable sightlines. Check the complete assembly height. A compact shade may work where a tall lantern or long rigid stem will not.
Should island pendants match the dining-room light?
They can share a finish, shape, or material without being identical. If both are visible together, consider letting one arrangement carry more visual detail so the room does not feel crowded.
Are integrated LED pendants better than fixtures with replaceable bulbs?
Neither is automatically better. Integrated LEDs allow slim and unusual designs, while replaceable bulbs make future changes to brightness and light color more straightforward. Compare serviceability, warranty terms, and replacement-part availability.
Make the Final Choice in the Room
The best pendant lights for kitchen island lighting fit the countertop, provide useful illumination, and remain comfortable during everyday use. Shortlist the style, test the size and hanging position, then verify the electrical and maintenance details. A few careful checks before ordering can prevent a fixture that looks right online from feeling wrong at home.