
Garlic asks for almost nothing and gives back more than nearly any other vegetable you can grow. A single bulb planted in fall becomes a full head by next summer, and home-grown garlic tastes noticeably stronger and fresher than most of what sits on a supermarket shelf for months. The catch is timing. Plant too early and the cloves sprout soft growth that winter damages. Plant too late and they never root before the ground freezes. Get the window right, and garlic is one of the most forgiving crops in the garden.
The good news is that the window is wide, not narrow. Across most climates it stretches over several weeks in fall, and the signs that tell you it is time are easy to read: cooling soil, the first light frosts, and nights that make you reach for a sweater in the garden. This guide covers when to plant garlic by climate, how to choose between hardneck and softneck types, the exact planting steps, and how to carry the crop through winter to a summer harvest.
Why Fall Planting Gives You Bigger Garlic
Garlic needs a cold period to form proper bulbs. When cloves sit in cool soil over winter, they grow roots in fall, rest through the cold months, and then surge upward in spring with an established root system already in place. That head start is why fall-planted garlic consistently grows larger heads than garlic planted in spring.
Spring planting still works, and it is better than skipping a year entirely, but the bulbs usually finish smaller because they miss the cold period and the fall root growth. If you live in a climate with very mild winters, spring planting is more competitive, but for most gardeners fall is the clear winner.
There is one more reason fall planting suits garlic so well. The bed is occupied from fall until the following summer, which sounds like a long commitment, but it actually fits the garden calendar neatly. Garlic goes in after summer crops finish and comes out in midsummer, right when space opens up for a second round of planting. Plan the spot knowing it will be busy for many months, and give it full sun for the whole stretch.
When To Plant Garlic By Climate
The rule most extension guides repeat, including Cornell Cooperative Extension’s garlic guide, is simple: plant garlic four to six weeks before the ground freezes. That gives the cloves time to grow roots without pushing much leafy growth above ground. A little green showing before winter is normal and not a problem, but tall, soft growth going into hard freezes is what you want to avoid.
What that rule means in calendar terms depends on where you garden:
- Cold climates (roughly zones 3 to 7): plant from mid-September through November, with most gardeners aiming for October. In colder areas, plant on the earlier side so roots establish before deep cold arrives.
- Mild and warm climates (roughly zones 8 to 10): plant later, typically in November or December, once soil has cooled. In the warmest areas, some gardeners chill seed garlic in the refrigerator for several weeks before planting to make up for the missing cold period.
- Soil temperature as a check: one useful rule of thumb is to plant when soil has cooled below about 60 degrees Fahrenheit but is still well above freezing. If you are wearing a sweater in the garden most days and the first light frosts have arrived, you are usually in the window.
If you miss the window entirely and the ground has already frozen solid, do not force it. Planting into frozen ground gives cloves no chance to root. In that case, wait for early spring, plant as soon as the soil can be worked, and accept that the harvest will likely be smaller. Mark the calendar for next fall, because that is when garlic earns its keep.
Hardneck Or Softneck: Pick The Right Type
Garlic comes in two main types, and choosing the wrong one for your climate is one of the few mistakes that genuinely limits the harvest.
Hardneck garlic suits cold winters. It produces fewer but larger cloves around a stiff central stalk, and in early summer it sends up a curly flower stalk called a scape. Hardneck varieties generally store for a shorter time than softneck ones, but their flavor is often described as stronger and more complex.
Softneck garlic suits mild winters and warmer climates. It has no stiff central stalk, which is why it is the type you see braided in markets. Softneck heads usually hold more cloves, and they tend to store longer than hardneck heads.
A practical way to choose: if your winters regularly freeze hard, start with hardneck. If your winters stay mild, softneck is the safer bet. Either way, buy seed garlic from a garden supplier or nursery rather than planting cloves from the grocery store. Grocery garlic is sometimes treated to prevent sprouting, its variety is unknown, and it may carry diseases that spread in garden soil. Seed garlic costs more per bulb, but each bulb breaks into several plantable cloves, so a small order plants a generous row.
When the bulbs arrive, keep them in a cool, dark place with airflow until planting day, and break them into cloves only on the day you plant. Cloves separated too early dry out and lose vigor. Choose the largest, firmest cloves for planting and set the small inner ones aside for cooking. Big cloves grow big bulbs.
Choose And Prepare The Planting Spot
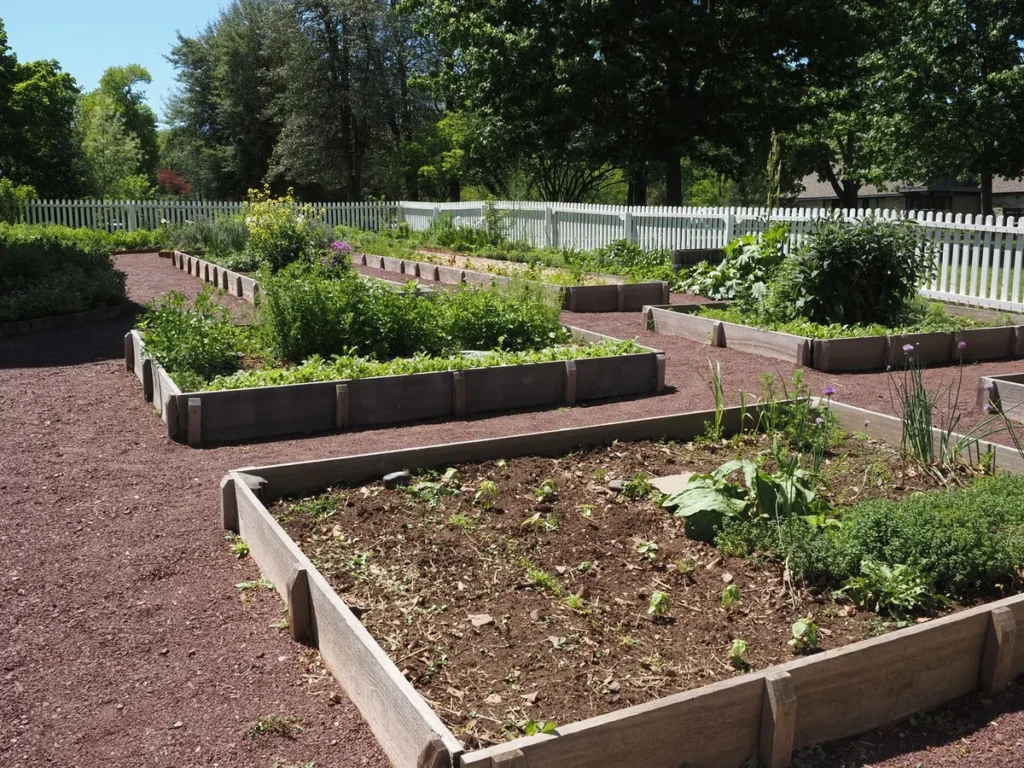
Garlic wants full sun and soil that drains well. Standing water is its enemy, because wet soil rots cloves over winter. A raised bed solves drainage problems neatly, and our guide to building a raised garden bed walks through the construction if your ground stays soggy. If you are filling a garden bed for the first time, the same soil principles apply: loose, rich, and free-draining.
Work compost or well-rotted manure into the bed before planting, and add a nitrogen-rich amendment if your soil is lean, since garlic is a hungry feeder and nitrogen supports strong root growth in fall and leafy growth in spring. Clear away weeds and the remains of summer crops first, because garlic will share that bed for many months and weeds compete with it all the way to harvest.
One more planning point matters. Avoid planting garlic where onions, garlic, or other alliums grew in the last year or two, since diseases can build up in the soil. Rotation is a simple habit that keeps the crop healthy year after year, and it costs nothing.
How To Plant Garlic Step By Step
Planting garlic takes less than an hour for a typical home row, and the steps are the same whether you plant ten cloves or a hundred.
Break the bulbs apart on planting day. Keep the papery skin on each clove. The skin protects the clove in the soil, so do not peel it off.
Sort your cloves. Plant the largest, firmest ones and cook with the rest. Damaged or soft cloves are not worth the space.
Dig or poke holes about 2 to 3 inches deep. Extension guides vary slightly here, with most recommending 2 to 3 inches, so aim for that range rather than planting shallow.
Set each clove pointy end up, flat root end down. This is the detail that matters most. A clove planted upside down still grows, but it wastes energy turning around, and the bulb finishes smaller and misshapen.
Space cloves about 6 inches apart, with rows about 12 inches apart. Garlic bulbs need room for their roots to spread, and the more room each clove gets, the larger its bulb tends to finish. Crowded garlic grows small.
Cover with soil and firm it gently. Remove air pockets without compacting the bed into a brick.
Water well after planting. Moist soil helps roots start before winter, so water if the ground is dry.
Mulch thickly. Cover the bed with 4 to 6 inches of straw, shredded leaves, or similar loose mulch to protect the cloves through winter.
That is the whole job. From here, winter does most of the work, and your main tasks wait until spring.
Mulch: The Step That Protects Your Crop
Mulch deserves its own section because it does more for garlic than for almost any other fall-planted crop. A thick layer of straw or leaves insulates the soil, softens the freeze-and-thaw cycles that heave cloves out of the ground, holds moisture, and suppresses weeds through spring.
Apply the mulch right after planting, before the ground freezes. Four to six inches sounds like a lot, and it settles over winter, so do not skimp. In spring, when green shoots push through, resist the urge to strip the bed bare. Instead, move the mulch gently around any shoots that struggle to emerge, and leave the rest in place. It keeps moisture steady and weeds down while the plants grow, and it saves you weeding work all season.
Avoid mulch that carries weed seeds, since you will be fighting those weeds next spring. Clean straw and shredded leaves are the usual favorites, and they break down into the soil by harvest time.
Caring For Garlic Through Winter And Spring
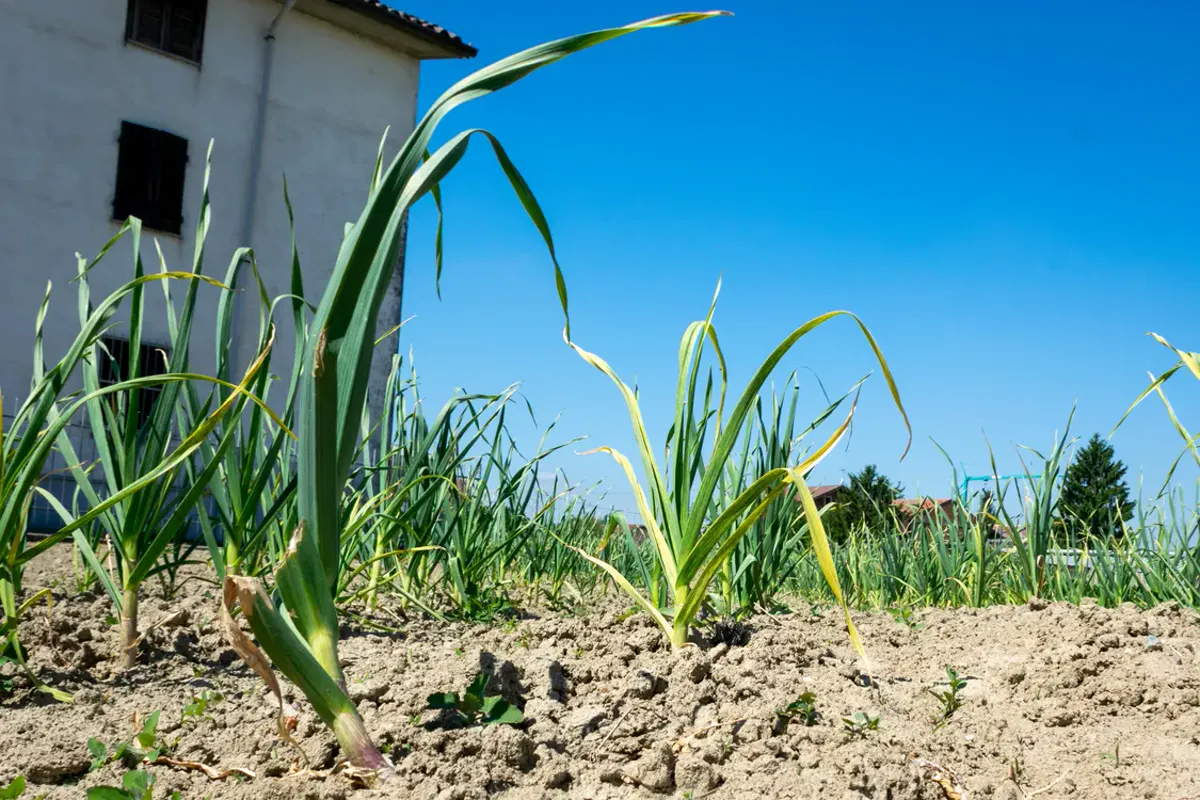
Garlic is quiet in winter, and that is normal. Roots grow slowly underground while nothing shows above the mulch. In early spring, green shoots appear, often earlier than any other vegetable in the garden, and growth speeds up fast from there.
Three jobs carry the crop from spring shoots to summer harvest:
- Feed in spring. Garlic is hungry, especially for nitrogen. Side-dress with a nitrogen-rich fertilizer or feed with diluted fish emulsion every couple of weeks in spring until the scapes appear. Stop feeding once scapes show, since the plant shifts its energy to bulb formation from that point.
- Water steadily. Garlic needs consistent moisture while bulbs form. About an inch of water per week from rain or irrigation is a common guide, tapering off as harvest approaches. Inconsistent watering, swinging between soaked and bone dry, gives uneven bulbs.
- Weed regularly. Garlic has shallow roots and hates competition. Weeds steal water and nutrients, so pull them while they are small, taking care not to disturb the garlic roots near the surface.
For hardneck growers, one more spring job arrives in early summer: the scapes. These curly flower stalks should be cut once they form a full curl, before they straighten. Removing them sends the plant’s energy back into the bulb instead of into flowers and seeds. The bonus is that scapes are delicious, with a mild garlic flavor that works in pesto, stir-fries, and salads, so cutting them is a harvest in itself, not a chore.
When And How To Harvest Garlic
Harvest timing decides how well garlic stores, so it is worth watching the leaves rather than the calendar. Garlic is typically ready from late June into July, though timing shifts with climate and variety. The signal is in the foliage: when several lower leaves have turned yellow-brown while the upper leaves are still green, the bulbs are ready.
That balance matters because each green leaf corresponds to a papery wrapper around the bulb. Harvest too late, when most leaves have died, and the wrappers break down, leaving cloves exposed and storage life short. Harvest too early, and the bulbs have not finished sizing up. When roughly half the leaves have browned and half remain green, you are in the window.
Stop watering about a week before harvest so the soil dries out, then loosen the soil with a spading fork and lift the bulbs gently. Do not yank them by the stalks, since bruised bulbs rot in storage. Shake off loose soil but do not wash the bulbs, and do not peel them yet.
Curing is the final step, and it is not optional. Hang the whole plants, or lay them in a single layer, in a shady, dry, well-ventilated spot out of direct sun for three to five weeks. Once the stalks and roots are dry, brush off remaining soil, trim the roots and tops to within about an inch of the bulb, and store the heads in a cool, dry, dark place with airflow. Properly cured garlic keeps for months, and some varieties last close to a year, with softneck types generally outlasting hardneck ones.
Mistakes To Avoid When Planting Garlic
- Planting grocery-store garlic. It may be treated to prevent sprouting, its variety is unknown, and it can carry disease into your soil.
- Planting cloves upside down. Pointy end up, flat root end down, every time.
- Planting too shallow or too crowded. Shallow cloves heave out of the ground in freeze-thaw cycles, and crowded cloves finish small.
- Skipping the mulch. Bare soil heaves, dries, and weeds over, and the crop pays for it all season.
- Harvesting by the calendar instead of the leaves. Leaf color, not the date, tells you when bulbs are ready and how well they will store.
- Skipping the cure. Freshly dug garlic that goes straight into a closed container molds. Three to five weeks of air-drying makes the difference between garlic that keeps and garlic that rots.
Frequently Asked Questions
Can I Plant Garlic In Spring Instead Of Fall?
Yes, but expect smaller bulbs. Spring-planted garlic misses the cold period and the fall root growth that size up the harvest. Plant as early as the soil can be worked, choose the largest cloves, and keep the plants well fed and watered. Then plant again in fall for a full-size crop next summer.
What Happens If I Plant Garlic Too Early Or Too Late?
Planting too early lets cloves push tall, soft growth before winter, which cold can damage. Planting too late, after the ground has frozen, gives roots no time to establish. The safe window is four to six weeks before the ground freezes, when soil has cooled but is still workable.
Do I Need To Peel Garlic Cloves Before Planting?
No. Keep the papery skin on. It protects the clove in the soil. Only the outer bulb wrapper comes off when you break the head into cloves, and any clove that loses its skin or feels soft should go to the kitchen, not the garden.
Why Did My Garlic Bulbs Come Out Small?
The usual causes are small seed cloves, crowded spacing, poor soil, or inconsistent water and feeding. Plant only the largest cloves, give each one about 6 inches of space, feed in spring, and water steadily while bulbs form. Spring planting also produces smaller bulbs than fall planting.
How Long Does Home-Grown Garlic Last In Storage?
Properly cured and stored in a cool, dry, dark place with airflow, garlic keeps for months. Softneck varieties generally store longest, sometimes close to a year, while hardneck types tend to keep for a shorter period. Check stored heads now and then and use any that soften first.
Conclusion
When to plant garlic comes down to one window: fall, four to six weeks before the ground freezes, once the soil has cooled. Inside that window, the rest is straightforward. Pick hardneck for cold winters and softneck for mild ones, plant the biggest cloves pointy end up about 2 to 3 inches deep and 6 inches apart, mulch thickly, feed and water through spring, cut the scapes, and harvest when the lower leaves yellow. Follow those steps and a small fall afternoon turns into a summer harvest that tastes better than anything from a store shelf. Plant it this fall, and next summer you will wonder why you waited so long.